I’ve spent the last week pondering how to get a highly detailed but very small hand embroidery design onto a piece of linen, with the least amount of grief possible.
The Least Amount of Grief Possible is the operative phrase.
For me, the transfer process of any embroidery design is always a bit of a hurdle. I don’t mind doing it, as long as I know it’s going to be successful. And once I’m doing it, even if I’m unsure, I’m ok.
It’s just that whole Gearing Up to do something I’m unsure of, that gets me. It looms. It swells into a mighty mountain. I turn in twenty different directions just to avoid looking at it.
Which is all rather silly, isn’t it? It’s not as if I haven’t transferred embroidery designs to fabric before! But, when it’s a project I want to be extra-careful about; when it’s a project that presents some logistical difficulties; when it’s a project for someone else… there’s always a little fear.
(True confessions here…)
So, this is the situation: I was asked to embroider a prayer book cover for a little girl making her First Communion next month.
I couldn’t say no. After all, it’s for my niece. And she adores me… well, she adores me, the way a six year old does when she wants something. Know what I mean?
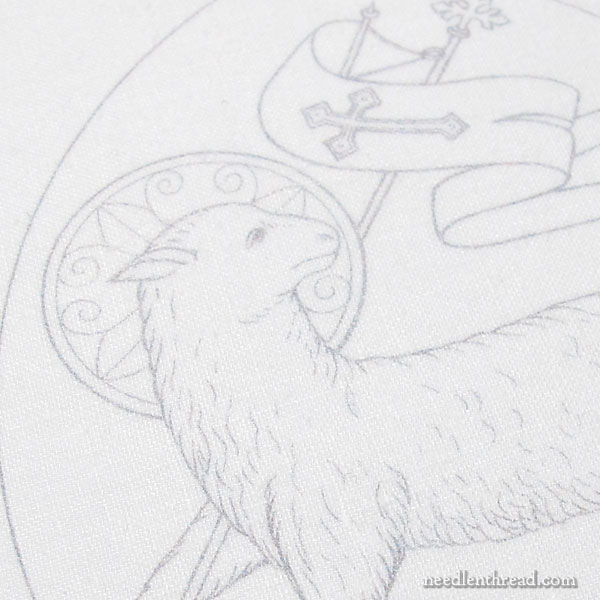
This is what she wants on her prayer book cover:
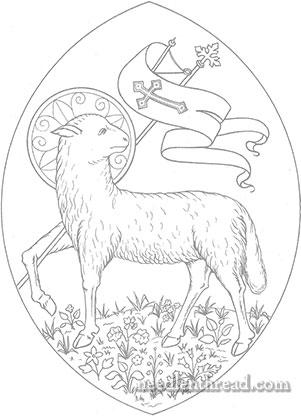
Now, the design above would not be so difficult to transfer at at it’s regular size, which is rather large. But reduce the design to about 4.5″ tall, and you can see how that much detail might be a bit of a bear to transfer.
I thought about just making a simple tracing of the main lines of the design, and then sketching in details where needed.
I thought about just winging it on the details. But that’s a bit risky.
I thought about telling my niece to take a hike.
But then I decided that was risky, too.
I thought about persuading her to something much simpler, like this cross and flowers design that I embroidered for her older sister’s prayer book cover years and years ago.
But, deep down, I really like the design, too, and, deep down, I’m kind of excited about embroidering such a small design with such minute details in it. I think it’ll be fun!
And deep down, I really do want to embroider a picture I know she likes.
And so, I pondered.
What to do, what to do…
And then I measured the book – front cover, spine, back cover – and I calculated seam allowances. Then I sketched up a model and made a paper version to test my finishing ideas.
This is when I made an interesting discovery. I discovered that the whole design, including the expanse of the cover and seam allowances, fit within the boundary of a regular piece of letter-sized paper.
And that was an interesting discovery, because when something can fit on a regular piece of letter-sized paper, there’s always the possibility that the handy-dandy home printer can be employed.

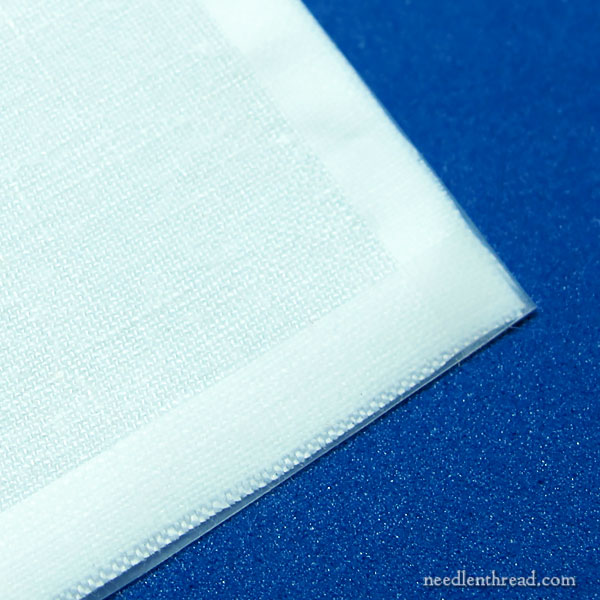
First thing I did was dig out a letter-sized sheet of freezer paper.
I foraged about for a large scrap of white ecclesiastical linen. Why specifically ecclesiastical linen? It has nothing at all whatsoever to do with the subject matter of the embroidery. Instead, it’s the fact that it’s a closely woven, fine linen in a fairly good weight, but “thin” – not a heavy, thick linen.
This point seemed important to me at the time, since I was planning to feed it through my printer. But more on that in a bit…
I ironed the linen first to make sure it was perfectly flat and wrinkle-free. I placed the sheet of freezer paper, shiny side down, on top of it. Then I ironed the freezer paper with a hot iron, to adhere it to the linen.
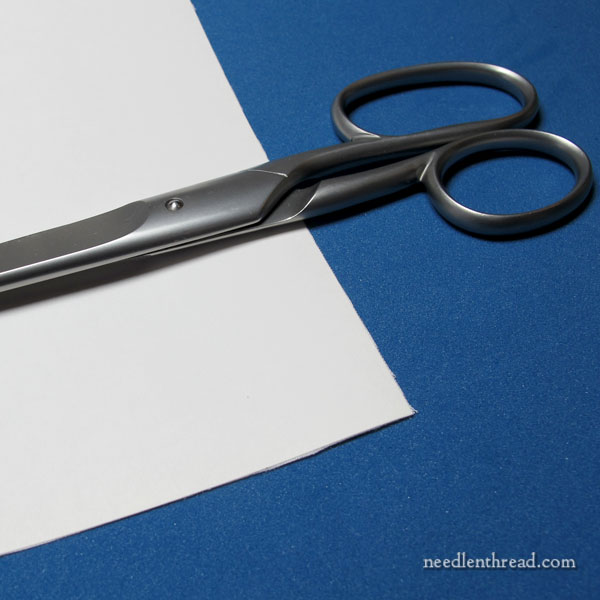
Next up, I trimmed the excess linen from the freezer paper.
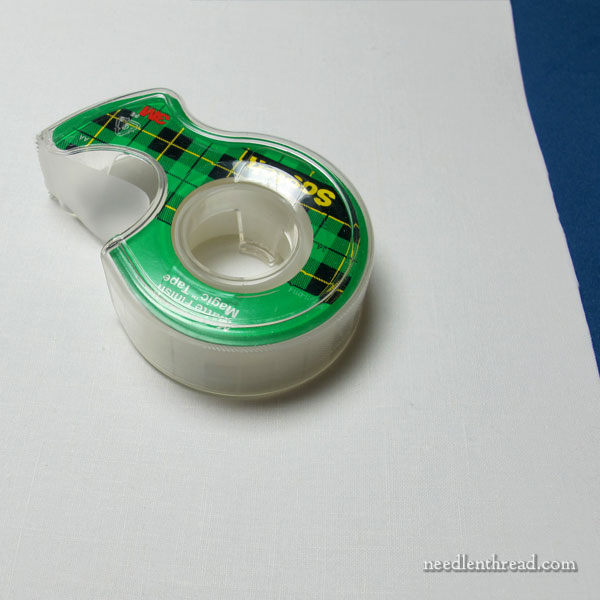
Then, some Scotch tape. I wanted a tape that would adhere, was not too thick, and would still release easily enough when I was finished.
I taped the edges of the freezer paper and linen, folding the tape over the edges to make sure they were fuzz and fiber free – no straggly linen threads or anything hanging about.
At that point, my fabric was ready.
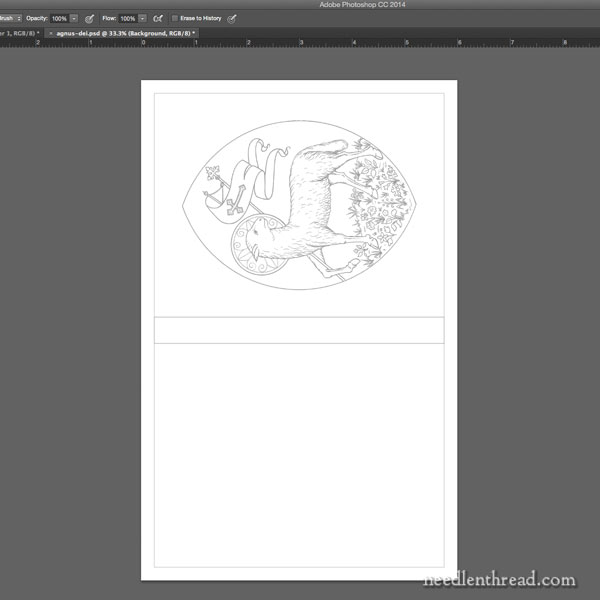
From there, I went into Photoshop and set up the design, reducing it to fit within the size of the book cover.
I ran a few test prints to make sure I was satisfied with the placement of the design.
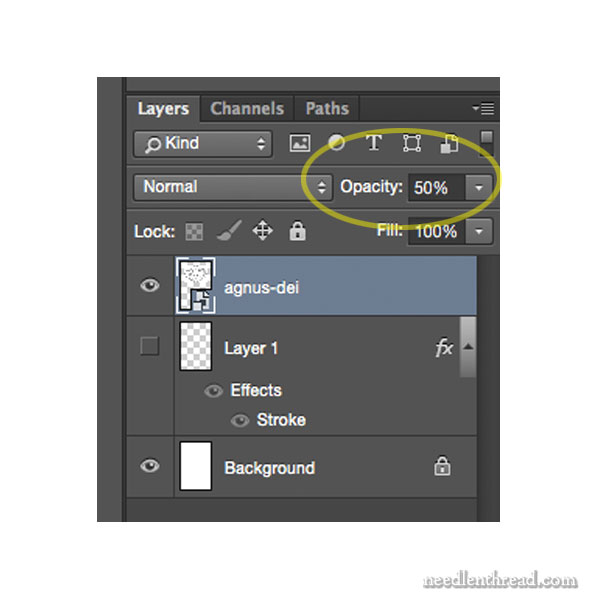
Then I reduced the opacity on the layer to 50%, so that the lines would not print black, but light grey.
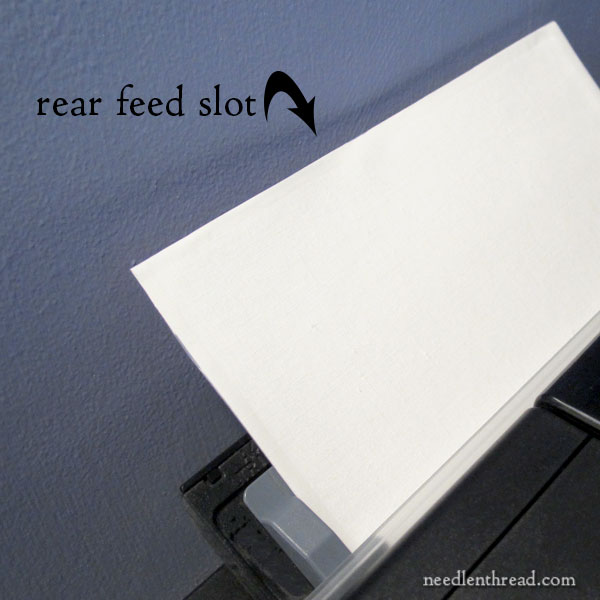
I loaded the linen on the paper face up in the rear feed tray on my printer.
I waited.
The printer warmed up a bit, pulled the paper in a little, tasted it…
and spat it back out.
At this point, I did what every self-respecting luddite would do: I smacked the printer.
Then I loaded the linen back into the rear feed slot.
The printer pulled it in a bit, performed another taste test, and decided it was good!
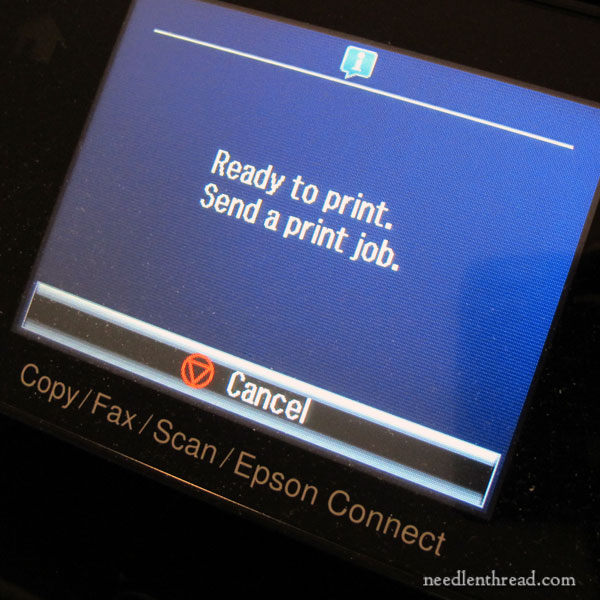
I patted the printer kindly.
(It really is a good printer!)
And in a split second, out came my linen, still on the freezer paper, in excellent shape, with a perfectly printed, pale gray design on it.
Oh, Happy Day!
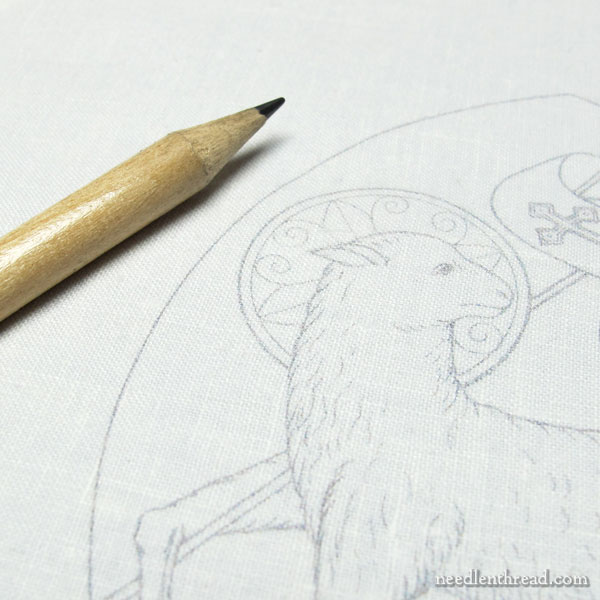
To put the size of the design in perspective, here it is next to the tip of a regular pencil.
Next steps: I removed the tape along the edges, carefully peeled the freezer paper away, and voilá! The design on the linen, ready to stitch!
It really came out perfect! I ironed the fabric face down from the back, just in case the ink needed setting.
I’ll be stitching the design with DMC cotton. This is for a kid, after all! And I know how dirty the white linen cover will get, despite every precaution. It will need to be washable.
I’m not ready to mount the linen on a frame and start the stitching just yet, though. After the pleasant results of this little experiment with this particular linen, I’ve decided to try it again on a heavier linen – Alba Maxima linen, which is a medium weight fabric.
That’s my plan for first thing this morning, and then, if it comes out well, I’ll be ready to start stitching.
And if it ruins my printer, you’ll hear me howling!

