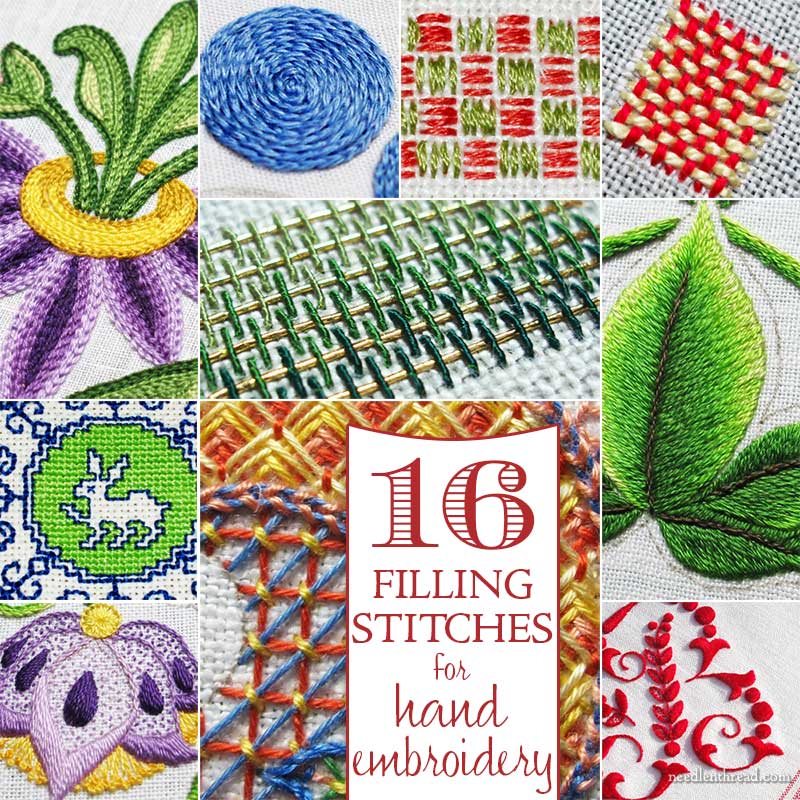
Whether you’ve just begun your embroidery journey, or whether you’re a seasoned stitcher, you’ve probably asked yourself, “What stitch should I use to fill this area?” at some point.
To help you answer that question, I’ve rounded up 16 different filling techniques that can be effectively used in embroidery, with links to articles and tutorials.
Satin Stitch
Satin stitch is the queen of filling stitches. It’s gorgeous and versatile, but really only suitable for smaller areas that need filling.
You’ll find numerous tips to help you perfect your satin stitch here.
Stem Stitch Filling
Stem stitch is best known as a line stitch, but it also makes a great filling stitch.
You’ll find an article full of tips on stem stitch filling here, and a how-to video for stem stitch here.
Chain Stitch Filling & Tambour Embroidery
Another stitch more often associated with lines, chain stitch makes a terrific filling!
You can work chain stitch as a filling in the traditional manner of working chain stitch, filling the area by working rows close together.
These articles on tambour embroidery will show you what chain stitch looks like when worked as a filling. If you feel particularly adventurous, you might invest in a tambour needle to speed up the process of filling areas with chain stitch.
Split Stitch Filling
Another line stitch, split stitch also works as a filling stitch. Medieval stitchers knew this well, and they perfected the method of filling embroidered figures with split stitch, in a technique that’s known as Opus Anglicanum.
Just as with any line stitch, to fill with split stitch, work the rows next to each other until the area is filled. This article demonstrates what split stitch looks like, filling a circle, and it also demonstrates the different between split stitch and split backstitch.
Long & Short Stitch
If you want to fill a large area either in solid color or in subtle shading, you can’t beat long & short stitch for a filling technique!
Beginners might be intimidated by the technique – it’s often listed as an “advanced” technique in embroidery books – but in fact, long & short stitch is a Very Forgiving Stitch! It’s definitely worth learning!
You can find a complete series of long & short stitch lessons here, including videos to help you along.
Detached Buttonhole
Not all filling stitches need to be perfectly flat and smooth. Detached buttonhole stitch makes a nice textured filling that’s worth learning. It works well with leaves, robes, large shapes, small shapes.
Trellis Stitch
Trellis stitch is another detached filling stitch with a bit of texture to it.
Lattice Work & Laid Work
Oh, lattice stitches make wonderful fillings! They can be wildly patterned and intricate, or rather subtle and simple, depending on colors chosen and the approach.
The lattice sampler layout guide is a great way to learn a variety of lattice filling stitches in a sampler format.
You can also find a variety of lattice filling tutorials here on Needle ‘n Thread, in the Stitch Fun index.
Bokhara Couching & Romanian Couching
Bokhara couching and Romanian couching are worth learning. They’re nice techniques for filling small and large areas. One is a little more textured than the other, but they both have a little texture to them and can develop a patterned look to the filling.
Seed Stitch
Never underestimate simplicity!
Seed stitch is one of the easiest stitches to learn, as it’s just a matter of taking small straight stitches, but it can be very effective for creating a lighter filling in a large space. You can even shade it.
You can find tips on seed stitch here, where I used it on the Secret Garden project.
This article on adding texture with seed stitch has a few tips in it, too.
And there’s a very outdated (hoping to update it this summer!) how-to video for seed stitch here.
Pattern Darning and Cloud Stitch
In this article, you’ll find some examples of pattern darning and of cloud stitch, but of which can be used for filling spaces.
Cloud stitch is a kind of reversed lattice stitch, where the tacking stitches are stitched first, and then threads are run underneath the tacking stitches.
Pattern darning is using a series of running stitches in a particular layout, to fill an area.
Woven Filling
Woven filling works well in small to medium spaces, especially when you want to fill something that should look woven.
Couched Fillings
Couching has been used for filling large areas for centuries.
You can see a good example of undersided couching in this article on Opus Anglicanum.
In this article on using silk chenille, I use couching to hold down a furry silk thread. You can also see couching used on silk chenille in this article, underneath the tree.
You’ll also see some good examples of couched fillings using silk gimp in this article.
Burden Stitch
Depending on the approach you take with burden stitch, it can result in an airy shaded filling or a much denser filling. In this article, you’ll see burden stitch at work using silk gimp and gold threads. The gimp couches over the gold thread in rows, to create a staggered filling. Scroll down through the article to find the section on burden stitch.
Cross Stitch
Even though cross stitch isn’t considered a “surface embroidery” stitch, it makes a great solid filling, and it can be used effectively in surface embroidery, too, not just in counted cross stitch. There are other techniques that involve cross stitch as well, such as Assisi embroidery, which involves cross stitch or long armed cross stitch, voided areas, and sometimes blackwork.
These are just a few stitches and techniques that make good fillings for embroidery. I hope you find the list useful!
Glitch in the Newsletter
For those of you who enjoy receiving my articles in your email inbox, I apologize for the glitch yesterday. If you didn’t hear from me yesterday, it’s because there was a server problem right as the email was going out, so only a small handful of you received yesterday’s article on how to embroider on knit fabrics.
I think the problem’s been fixed, but I suppose we’ll see!
Enjoy your weekend!

