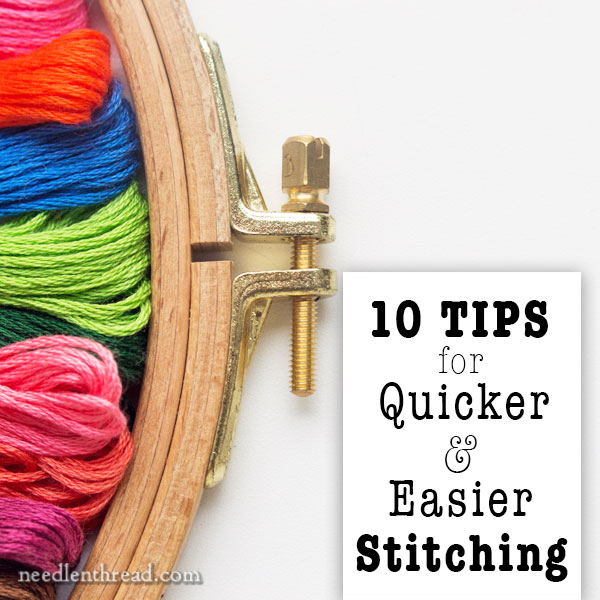
A few weeks ago, I compiled this list of suggestions for how to make a stitching session easier and more productive.
I know this sounds a little weird. Easier and quicker are not necessarily two things we’re seeking when we embroider.
We pretty much already know that hand embroidery isn’t quick (in fact, that’s one of the reasons we like it, right?), and, when we embroider, we’re not normally looking for an easy way out of our chosen project. If we choose a challenging project, it’s because the challenge is part of the fun!
But the ten tips below are not really meant for speeding up your stitching to the point of machine-like production levels, and they’re not meant to simplify your stitching to the point of Boring. Instead, they’re just suggestions that will make an embroidery experience better (as in, more pleasurable and less frustrating), while at the same time allowing the embroiderer to make more progress on actual stitching during any embroidery session.
Here are my ten tips, and I’d love to hear your suggestions, too!
1. Take a stand!
No, not while you’re stitching (though some folks do!). I mean, get a stand! A floor stand, a table stand, a sit-on hoop, a lap stand, or just something you rig to hold your hoop or frame – whatever kind of embroidery stand suits your stitching style.
Having your work on a stand of some sort so that you don’t have to hold your hoop or frame with one hand accomplishes two things: 1. it frees up one hand, so you have both available for stitching; and 2. it eliminates fatigue and can save your joints from future problems.
I’ve reviewed several types of stands here on Needle ‘n Thread, all of which I use and like:
Needlework System 4 stand – and lap / table stand
The Necessaire from Needle Needs
Judy O’Dell’s “Just a Thought” Stand
Sit-on Embroidery Hoops (which also come in a clamp-on version for tables)
2. Gather it up!
Gather all your supplies for a given project ahead of time. If you’re working “off the cuff” – just random embroidery that is relatively unplanned – at least gather what you think you’ll use. This will save you from stopping mid-session to go foraging about for supplies.
I recently wrote an article on Craftsy about gathering and organizing supplies for embroidery projects. It covers the basics of what I gather and how and why. You might gather other things. But do gather ahead of time – it’ll save you time!
3. Snip it!
Pre-cut your threads and organize them on holders of some sort, ahead of time. Pre-cutting your threads will save you a lot of time during the actual stitching process. Using pre-cut threads allows you to separate individual strands of floss easily, if you use a “hitch” system for your threads. You can read about that here.
Here are some systems and ideas for organizing pre-cut embroidery threads using a hitch system:
Thread drops
Make your own thread cards
Annie’s Keepers
4. Thread it!
Pre-thread your needles. Especially for projects that requires lots of the same thread type in any given area, pre-threading several needles before you begin your stitching session will save you time, mid-session, when you’ve gotten into the groove of stitching and don’t want to stop!
5. Park it!
Park your needle and thread. Parking threads involves bringing an un-finished or finished thread to the front of your work, out of the way of your current stitching, so that you can either use that thread again, or you can end it off later, when you end off your other threads.
Here’s an article on parking embroidery threads, so you can see the concept in use and how it works.
6. Railroad it!
For parallel, smooth stitches, try railroading instead of using a laying tool.
What’s railroading? Railroading is a little trick that works when you’re stitching with two strands of floss, and working straight-stitch type stitches, like cross stitch, tent stitch, seed stitch, and satin stitch.
When you’re working with two strands of floss and you want them to lie parallel, a laying tool is a handy thing, but it it takes time to use.
So instead, you can railroad your straight stitches by taking your needle down into the fabric between the two strands, so that the working thread keeps your two strands of floss separate as it passes through into the fabric.
You can find an article on railroading embroidery threads here.
7. Stay in front!
Start and end your threads on the front of your fabric.
Using a waste knot and small holding stitches eliminates having to turn your work over to end or begin threads. This saves a lot of time, especially if you have your work on a stand.
Here are some articles that can show you how this concept works:
Anchor stitches on a line
Starting and traveling threads
8. Choose wisely!
In any endeavor, when you’re trying to make something, using the right tools for the job is important. It saves frustration, fumbling, and corrections.
This is especially true concerning needles for embroidery. Here’s an article to help you choose and use the right embroidery needle for the job.
9. Prepare it!
Prepare your ground fabric before you start your project. This includes, especially, neatening the edge of the fabric.
I know it sounds like an extra step, but it will save you from the bother of fraying fabric threads while you’re stitching, and it will save you from massive thread jams on the back of your fabric, if you pick up stray frayed threads unaware. This has happened to me more times than I’d like to admit, and it’s a Huge Time-Waster!
In the long-run, the extra step of neatening the edge can save you a lot of time, and it will certainly save you frustration and bother while you’re embroidering.
10. Clean as you go!
Just like when you’re cooking in a really small kitchen, there are very big advantages to cleaning as you go, or staying organized as you stitch.
Use a pincushion or something similar to stick needle into. Use some kind of receptacle for orts (thread scraps). Have a consistent place to put your scissors.
There are lots of handy gadgets available to help you keep organized while stitching, but really, a little tray will do the job. If you’re prone to searching for scissors, you might consider using a scissor pull – I love mine and use it constantly.
One More and Over to You
One more thing that helps me accomplish more in a stitching session: I listen instead of watch. I accomplish more stitching in a shorter amount of time if I am listening to music or an audio book, rather than watching TV or a movie.
Of course, most of the time, when watching and stitching, we aren’t really watching – we’re listening, with an occasional bit of watching. But even then, when you’re watching, you do tend to pause and get sucked in once in a while.
For many, that’s the whole fun of stitching – you can do it while you watch TV or a movie. After all, it’s nice to do something with your hands when relaxing in the evening.
For those, though, who are trying to be more efficient with their stitching, try listening to something that doesn’t have a visual component. You’ll see a huge difference in what you can accomplish!
So, how about you? What are some of your tips for making the embroidery experience more pleasurable and more efficient (insofar as being able to accomplish more in the stitching time that you have available)? I’d love to hear your thoughts, tips, ideas, and suggestions – and so would everyone else! Join the conversation below!

