All this talk about embroidery floss organization lately has raised some good questions from fellow stitchers, from newbies and experienced alike.
One recurring question has to do with the embroidery floss pull skein, and how to pull thread successfully from the pull skein without having to wrestle a knotted clump of embroidery floss to the ground to subdue it.
Let’s address that question today. I’m going to give you the key to unlock the secret of the pull skein! We’ll also discuss the whole notion of the “blooming” end of the embroidery floss.
This is a pull skein. It’s a skein of embroidery floss – usually the six-stranded kind – and (according to the concept, anyway), you should be able to pull usable lengths of floss from the skein without having the skein bunch up into an un-pullable knot.
That’s the concept, and it’s a brilliant one! It makes it easy to remove a length of floss, but keep all the information tabs on the floss and keep the floss constrained in a tidy skein.
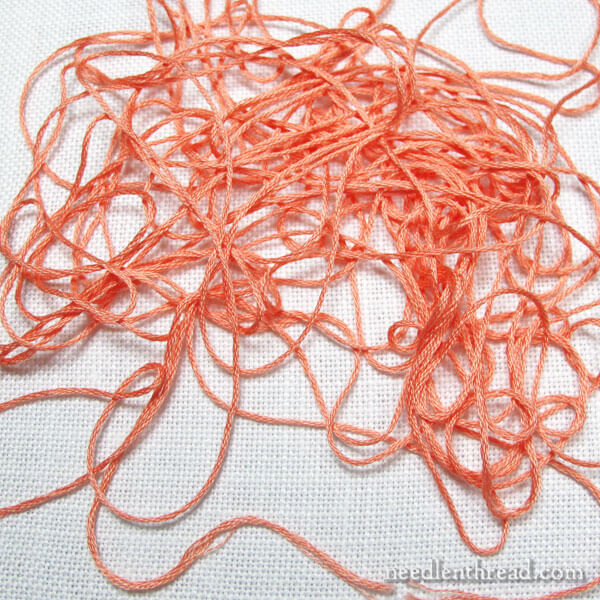
But oh, oh, oh! How many times have we pulled on the floss, only to end up with a burgeoning mass of confused, knotted thread that requires hours and hours of untangling before it can be used again?
If you’ve experienced this – granted, I might be exaggerating just a wee bit – then listen up! I’ll solve your thread woes right here.
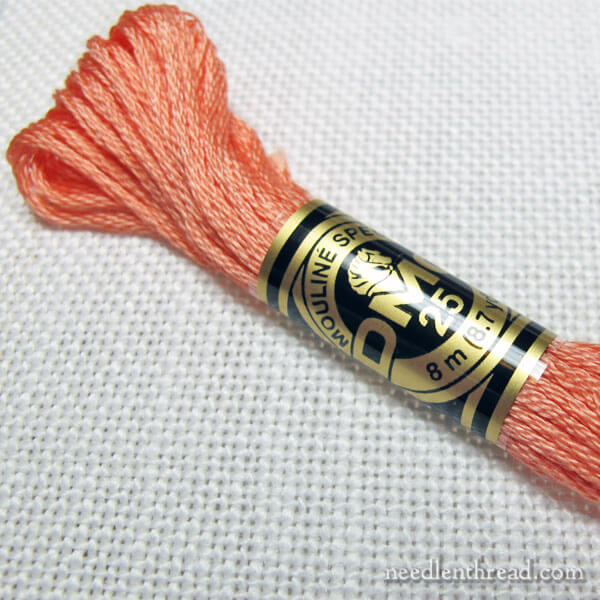
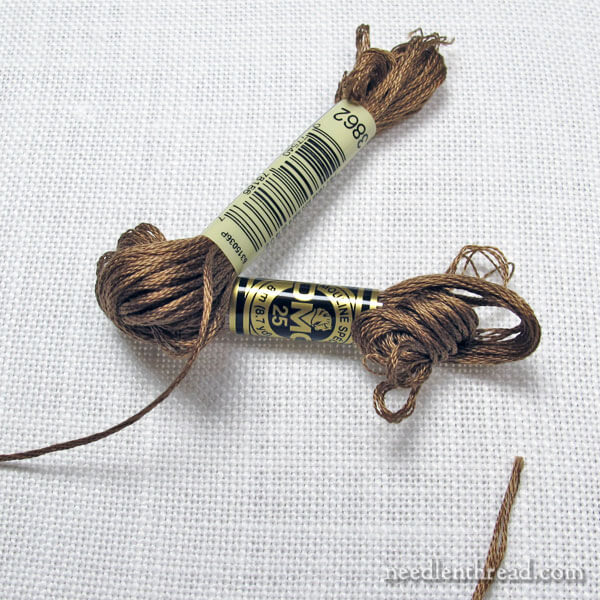
The pull skein for stranded floss generally has two information tabs on it. The short tab, above, is normally the brand and type tag. For this example, it tells you that the skein of floss above is DMC, that it’s “Mouliné Special” 25 (their famous 6-stranded floss), and that there are 8 meters of it.
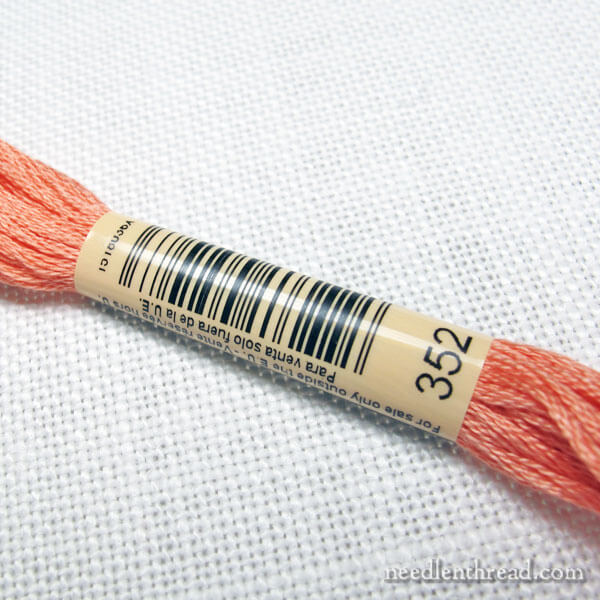
The longer tab on the other end of the skein has the bar code on it (used for inventorying), but more importantly for the stitcher, it has the color number on it.
Of the two tabs, this is the more important tab, for two reasons: the color number and…
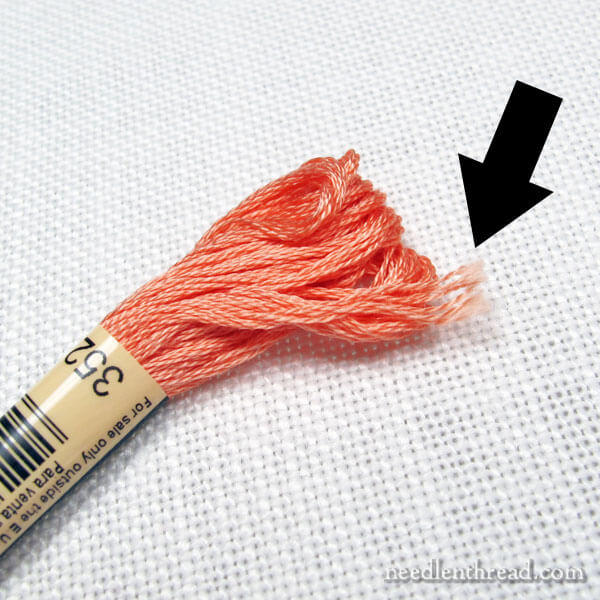
…that.
See it?
Somewhere on the long-tab-end of the skein, you’ll find an end of floss.
That end of floss is your friend.
99% of the time, it will come through for you.
Always look for the end of the floss down beyond the long tab.
Although it often sticks out from the end of the skein (somewhere beyond the long tab), if you carefully examine that end and follow its path backwards into the skein, it will look like it’s coming from inside the skein.
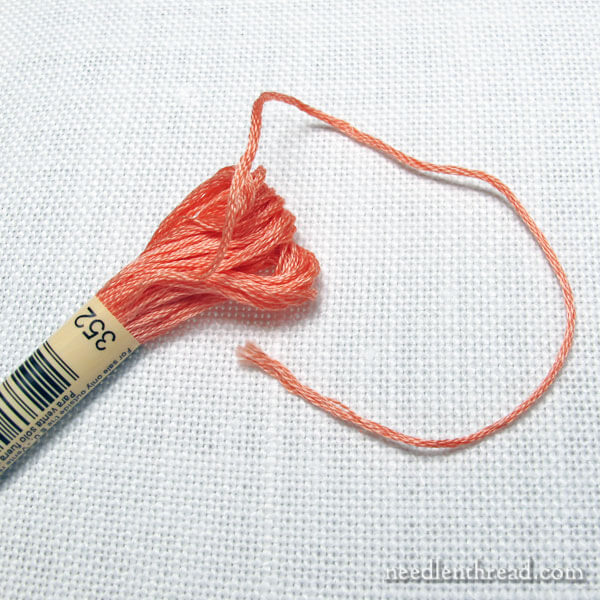
You can pull that end of the floss, and if you pull it carefully and slowly, you should be able to…

…pull…
…and pull…
…and pull!
And the whole skein should pull out with nary a knot.
Or at least, with nary a massive, time-consuming knot. Occasionally, you might get a slip knot or something similarly simple to remove, but you shouldn’t end up with a huge knotted clump that takes any amount of time to sort out.
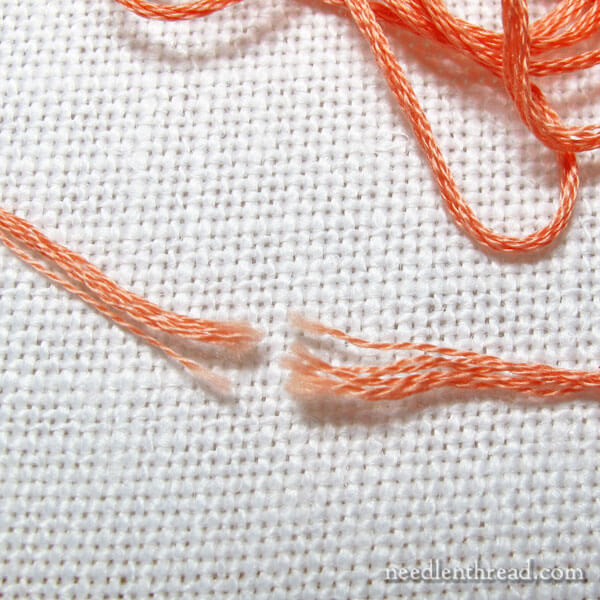
Oh, look! Here, we have the two ends of the skein. Notice that they both have fuzzy tips. One is a bit more separated than the other. Some people call this the “blooming” end of the thread.
We’ll talk about that below.
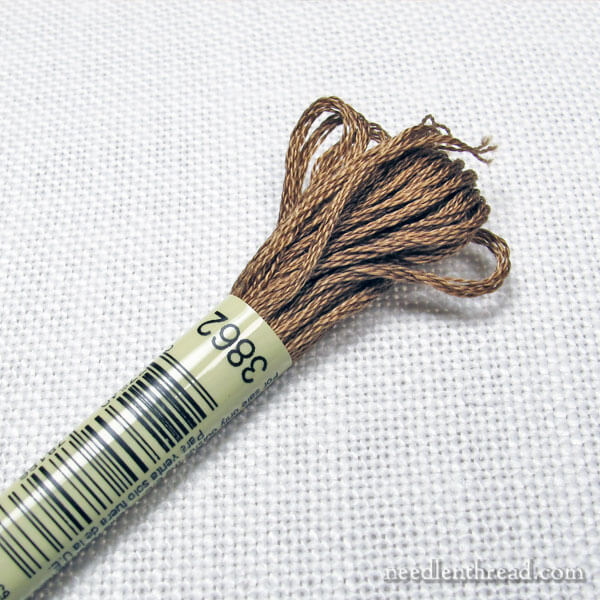
Here’s another pull skein. We’re at the long tab, and you can see an end beyond the long tab. Remember – it’s your friend!

Somewhere, down by the other end of the skein – often underneath the short tab – you’ll find the other end of the floss.
If you’re planning to use the skein as a pull skein, this end is not your friend.
Another thing you’ll notice about this end: if you follow the thread backwards from the end, you’ll see that it is on the outside of the skein.
If you try to treat this end like the pull-able end of a pull skein, you will end up with a mess. And actually, it won’t let you pull much. The skein will knot so much, that you’ll have to remove the tabs completely and spend time sorting the mess out.
If, however, you’re planning to remove both tabs and wind the floss onto bobbins or measure out the whole skein into pre-cut lengths, then this end is your friend, because it’s easy, with the tabs removed, to just unwind the loop of floss – assuming you haven’t pulled on it with the tabs still on.
If you’ve pulled on it, you’ll need to sort out the mess before you can wind the floss on bobbins or measure out lengths to pre-cut.
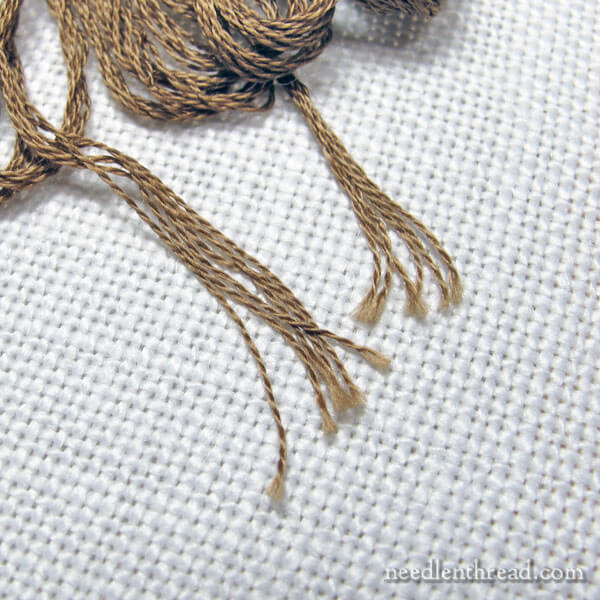
Here are the two ends of the floss on the skein.
Those Bloomin’ Ends
If you’ve learned to seek the “blooming” end of the floss and pull from there, there’s a flaw in that reasoning.
If you saw these two ends above, which would you judge as the blooming end?
Sometimes, folks rely on the “blooming end” theory, because they believe it has to do with exposing the correct direction to cut from, so that you’re stitching with the “grain” of the floss. You can read my article on floss grain and why I don’t subscribe to the whole grain direction idea, if you want to explore that topic further.
On the other hand, if you look for the “blooming” end of the floss because it is the more exposed end, the end that gets more wear and tear during storage and shipping and handling in the store and all that – and therefore, the end looks more bloomed than the less-exposed end that’s usually tucked somewhere under the short tab – then I’ll buy that. The exposed end sticking out will probably be a bit fluffier than the other end.
But it’s not a sure-fire way of knowing which end to pull. If the non-pulling end, after all, has been exposed a lot – maybe it slipped out from under the short tab, or maybe the short tab shifted (these things happen a lot!) – then the non-pulling end could look pretty frayed, too.
The most certain approach to take with a pull skein is to seek the end of the thread that is located somewhere beyond the long tab, that looks like it’s coming from inside the skein, and to pull gently from there.
For those who have asked for tips on how to conquer the pull skein, I hope this helps!
If you have any questions, comments, further suggestions, feel free to join the conversation below.

