On Monday, I shared with you a pattern for cross-stitched snowflakes of a folky sort, that can be used to embellish table linens, ornaments, and whatnot for the holiday season.
In that article, we chatted about three ways that you can work cross stitch – or any counted technique, really – on plain weave fabric, but I didn’t clarify the third way you could do it, because I hadn’t finished my little stitchy projects to test it out.
But now I’ve finished them, so here we go!
All three methods involve some sort of something that supplies a grid for the plain weave fabric. Remember, plain weave fabric is any fabric that isn’t an even-weave fabric like the kind you’d normally use for counted work. There’s no grid on plain weave fabric, so you have to supply a grid, if you want decent looking cross stitches.

The first two options I mentioned were waste canvas and soluble canvas.
Waste canvas is a stiffish, open-weave fabric that you stitch over, and then you pull the threads of the canvas out from underneath your stitches.
Soluble canvas by DMC is a plastic sheet with evenly spaced holes in it, and you stitch into those holes.
A Third Option for Cross Stitching on Plain Weave Fabric
The third option is really very simple. It involves another product, and you might even have some on hand. It’s called Sticky Fabri-Solvy, and it’s a printable, stick-on, water-soluble stabilizer. It comes in printer-sized sheets (12 to a package), and it’s very easy to use.
Although I haven’t written an article devoted solely to Fabri-Solvy, I’ve written a tutorial and review about Transfer-eze, which came out before Fabri-Solvy, and which is exactly the same concept.
Mostly, Transfer-Eze and Sticky Fabri-Solvy are used in the hand embroidery world for surface embroidery. They supply an easy way to print a design and get it onto your fabric, to start stitching right away. They do have some drawbacks – and you certainly wouldn’t use them on any kind of embroidery that you couldn’t wash! – but this type of printable, water-soluble stabilizer is terrific for projects on washable household items, like flour sack towels and the like.
So, using Sticky Fabri-Solvy for cross stitch is not really much different from using it for surface embroidery, except that, instead of printing a design, you just print your grid.
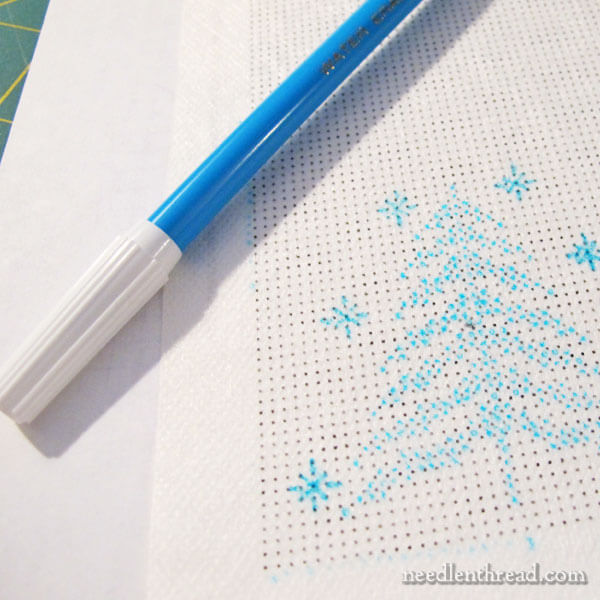
I like to print a dotted grid (I’ve included a PDF printable for this particular dotted grid below), rather than a full-line grid, but you can do either.
Then you just work your cross stitch on the grid, using the dots or the intersections on the grid as your stitch placement guide.
Or, you can do what I did, and use a water-soluble marker (or something similar – don’t use a Sharpie!) to pre-mark the design, so that I didn’t have to refer to a chart while actually stitching.
Pre-marking on the Solvy makes portable stitching super easy. If you’re riding in a car, commuting on a train or bus, flying on an airplane, or sitting in a waiting room somewhere, you don’t need to refer to a chart while you’re stitching.
Make sure that you test before hand to see if the pen you’re using to mark the design onto the Solvy will show, once the Solvy is stuck on your fabric. If you use a light blue pen like this and then stick the Solvy onto a light blue fabric, for example, you won’t be able to see the marks.
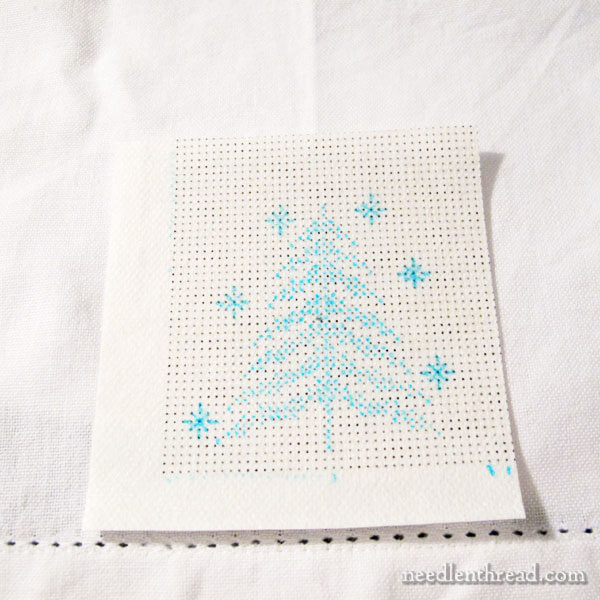
If you decide to pre-mark you design, you can cut around it, leaving a few squares of the grid for a margin (don’t cut right up to where your stitches end, as the Solvy gets messy on the edge if you’re stitching right over the edge).
Then, determine the placement of the design on your fabric, peel away the paper backing, and stick the Solvy into place.
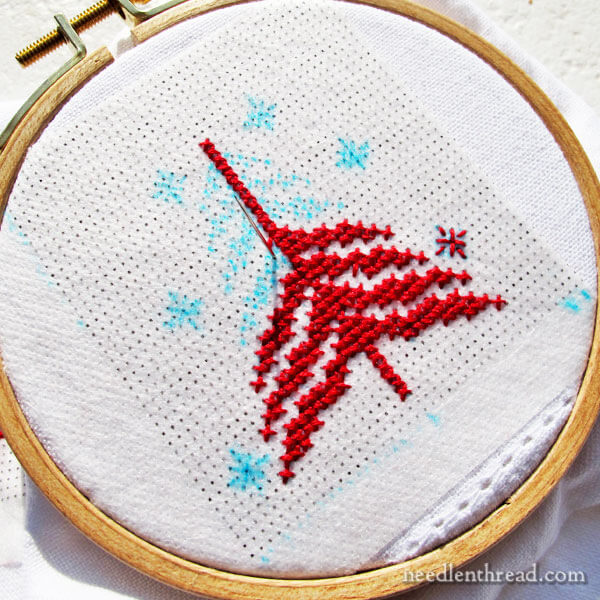
Stitch away!
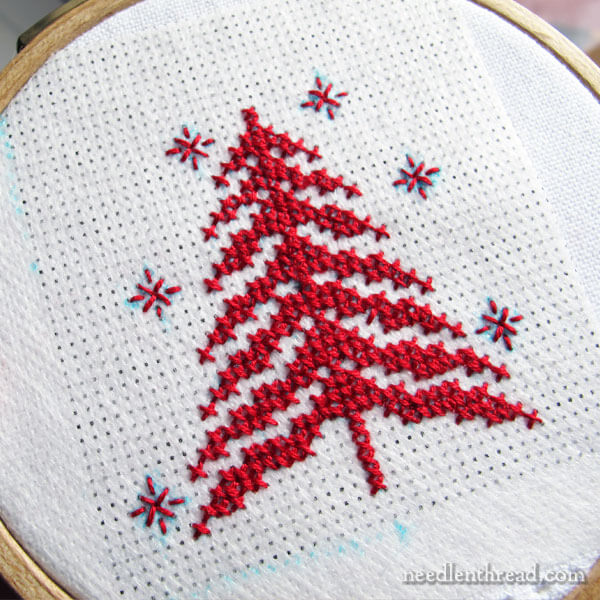
When you’re finished with the stitching, the next part is kind of fun!
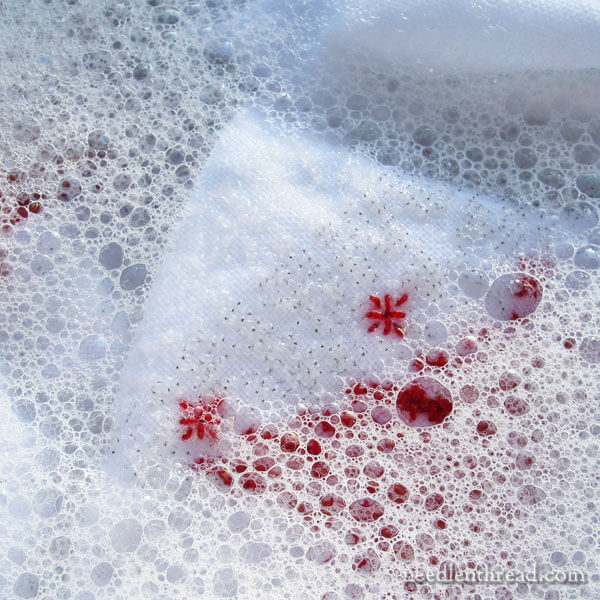
A little warm, soapy water bath for a few minutes, some extra spraying with the nozzle to make sure all the stabilizer and soap are rinsed away, and you’re finished!
The Pros and Cons of Different Methods
There are some pros and cons, in my opinion, to all three methods for working counted cross stitch on plain weave fabric.
Waste Canvas
Pros: It’s easy to see. It provides a similar “tactile” stitching experience to even-weave, since the needle slips right into a pre-determined spot. It can be had in different counts – 8.5 count, 10 count, 14 count, and 18 count, depending on the brand. It’s relatively inexpensive, compared to the water-soluble canvas mentioned below.
Cons: Waste canvas requires an extra step of basting the waste canvas in place. Waste canvas requires extra time and effort for the removal of the waste canvas, since you have to pull out each thread of the canvas individually from underneath the stitches. If you have a complex design, with lots of isolated stitches in it, I’ve found that removing the threads can really disrupt the stitches, even if you’ve pulled them tight. Some types of waste canvas recommend wetting the canvas before pulling the threads, to facilitate pulling them out. My stitches never look as good with waste canvas, but I know some stitchers really love the stuff.
DMC Water-Soluble Canvas
Pros: It’s easy to use, but it’s not always easy to see. Sometimes, especially if you’re working on white fabric, you might need to tilt your hoop to catch the light, so you can see where the holes are in the canvas. It provides a similar “tactile” stitching experience to stitching on even-weave, because there are pre-determined holes that your needle slips into. It allows for very precise stitching. It dissolves away after the stitching, without leaving any gapping between the stitches and the fabric. It works well, and it’s fun to stitch on.
Cons: It requires the extra step of basting the canvas onto the fabric. It works best when the design area and soluble canvas fit within your hoop. Because it is a plastic-like sheet and somewhat stiff, it’s difficult to hoop up if the soluble canvas is larger than your hoop. It is only available in 14 count canvas. It only comes in an 8″ x 8″ sheet, and the $5+ price tag for the one sheet is a bit steep.
Printed Grid on a Sticky Fabri-Solvy
Pros: Of all three methods, this is the least expensive for the amount of grid that you get. You can pick up a 12 sheet package for anywhere from $10-$12 at local quilt shops, sewing stores and the like, or, if you don’t have one available, you can find it for less than $10 through Amazon. You can pre-mark your design onto the Solvy, so that you don’t have to refer to a pattern while you stitch. It’s easy to hoop up, you can apply a hoop over the Solvy easily so that you can work larger designs with smaller hoops (which is great for long borders), and there’s no extra basting involved. It washes right away, quickly, and it doesn’t leave any space between the stitches and the fabric or disrupt the stitches at all. You can choose your stitch count and print a grid for whatever stitch count you want.
Cons: If you like the tactile stitching experience of even-weave fabric, where the needle slips right into the hole, you won’t get that with Sticky Fabri-Solvy. Stitching on this is like working surface embroidery. You have to be precise in the placement of your needle on the dots on the grid. And, while other stitchers say they never experience any stickiness on their needles when they use this stuff, I invariably always experience a slightly sticky residue on my needle when I stitch with this particular stabilizer. It’s not a big deal – I just run my needle into my pincushion now and then to freshen it up – but it is there, and I do feel it.
Printable Grid
If you want to give Sticky Fabri-Solvy a try with a printed grid, here’s a PDF for a 14 count grid that you can use. It will print on 8.5 x 11″ Fabri-Solvy, with a 1/2″ margin all around.
You can then pre-mark your design if you want, using a water-soluble marker or another marking tool (as discussed above). Or you can just stick the dotted Fabri-Solvy on your fabric and follow your design as you stitch.
Print at 100%, if you want an accurate 14 count grid.
14 count printable grid for Fabri-Solvy (PDF)
Creating Your Own Custom Grid
You can create your own printable graph paper online for free here at Incompetech. You can choose different types of graphs, different per-inch increments, and so forth, for any type of graph paper you want.
The cross-grid graph paper will give you just the intersections, and you can play around with the settings, until you get just a dot for the intersection. If you choose x and y lengths of 10 percent, and a cross line weight of 0.5 – 0.7, you’ll end up with dots. Then you can choose the cross spacing (however many intersections you want per inch – 14 for 14 count, 18 for 18 count), and you can also choose the color of the cross (the black works fine – the grey won’t show up well on the Sticky Fabri-Solvy).
What I’m Doing with This Stuff
I’m using these concepts to set up quite a few different cloth napkins, table toppers, and the like. I’m using a slew of mix-and-match folky motifs, which I’ll be sharing with you, for the designs. They all work together, but they aren’t all the same, which I think is a fun approach.
I’ll be working on these over the next several weeks, but especially while convalescing after surgery, which will take place November 18th. So if you don’t hear from me for a while around the 18th, you’ll know why. I’ll be on vacation at the hospital – just kickin’ back, you know!
This type of stitching is perfect for my current situation, and maybe some of you are in a similar situation, where you want something to do with your hands, but not something complicated. This takes very little planning and preparation, few supplies, no complex instructions. But it gives me something to do with my hands, and it will result in some nice Christmas gifts, which I’ll definitely be glad of, come December!
I hope you find these ideas handy! If you have any other ideas, or if you have any questions or suggestions, feel free to leave a comment below!

