Happy Friday all around!
Today, I’m going to take you through my latest tiny stitching adventure and tell you my thought processes and how they didn’t work, but then how they did work, and hopefully convince you that it’s ok to plow ahead even when the results of your stitching are looking a bit dim.
My adventure started when I succumbed to the temptation of working the elements of Late Harvest (an embroidery project designed by Hazel Blomkamp and featured in her book Crewel Intentions) completely out of order.
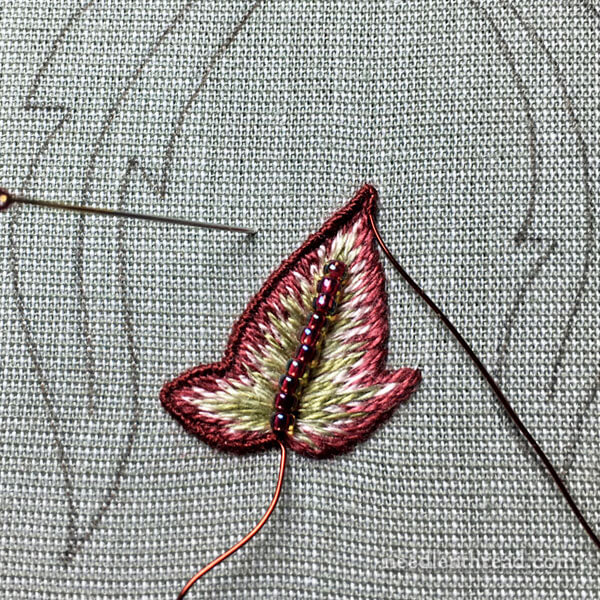
And I’m starting with a photo of the semi-conclusion of the adventure, just so you don’t get discouraged.
Let’s talk about this a bit…
When you’re working an embroidery kit – and even when you’re working your own design – there’s usually a certain order of work to follow, depending on the type of embroidery you’re doing.
In this particular project (which I’ve written about in detail here, if you’re just joining in), a whole bunch of embroidery techniques are employed, from regular surface embroidery, to beadwork, to stumpwork.
If you’re not sure what stumpwork is, it’s a three-dimensional embroidery technique, often involving elements stitched separately using wires for stability and shape, and then those elements are cut from their fabric and added to the main project. You can learn more about stumpwork here, in my review of an excellent stumpwork class that’s available online.
Now, because stumpwork elements are three-dimensional (they stick up off the fabric), and because they involve things like wires, the stumpwork elements are normally added as the last step in finishing off an embroidery project that features stumpwork.
It’s a good idea to wait to the end, because you don’t want your regular surface embroidery threads to go to war with 3D elements that are sticking up everywhere on your fabric. It just makes sense to add the 3D stuff at the end.
But sometimes, when you’re working on a kit, you might do what I do. I like to hop around to the elements that interest me, that entice and beckon me to the point that I can’t resist at least trying them.
And such was the case with Late Harvest. I was really keen to get going on the stumpwork elements, even though I’ve not finished even a fraction of the surface embroidery in the project.
And that’s ok, because I can work the stumpwork pieces on separate fabric and then wait until the end to add them to the overall picture.
So, that was my plan. I decided to ignore the recommended order of work and to jump forward to fiddling with stumpwork.
I resolved before I started the stumpwork pieces that I would follow the designer’s instructions to the letter.
And then I started.
And then I oscillated in my resolve.
And then I fretted.
And then everything came out ok.

First, there was the matter of transferring the stumpwork design elements to the fabric used for them.
Following Hazel’s instructions, I grouped these elements – I thought there were only three groups at that point, but then I realized I was wrong – into the center of the stumpwork fabric, so that they would fit comfortably within the confines of a hoop.
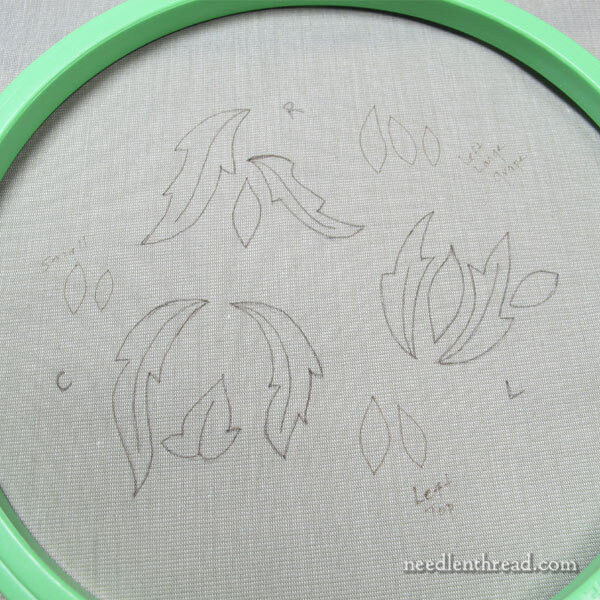
Then I realized that there were several more bunches of stumpwork leaves that had to figure in on that fabric, and so I traced them, too.
All the stumpwork elements have to be traced on the stumpwork fabric and the embroidery on them has to be completely finished before you can actually cut any of them away from that fabric. This conserves fabric, and since this is a kit, I don’t want to waste any of the fabric and come up short in the end.
In order not to be confused by which group was which, I labeled each group of stumpwork elements with some little code words and letters, the meanings of which I will have undoubtedly forgotten when it’s time to cut the pieces out and place them on the project.
According to Hazel’s recommendation, I made sure all the elements could fit inside an 8″ embroidery hoop. Only the 8″ hoop didn’t really fit well on the fabric, so I made sure they fit inside a 7″ embroidery hoop.
It’s a little cozy, but it works.
Hazel recommends using a plastic hoop for the stumpwork pieces, so that, when you’re finished stitching them, you can actually leave the fabric in the hoop and wash the piece (still in the hoop) and let it dry (still in the hoop). This eliminates the extra step of blocking or damp stretching the embroidery.
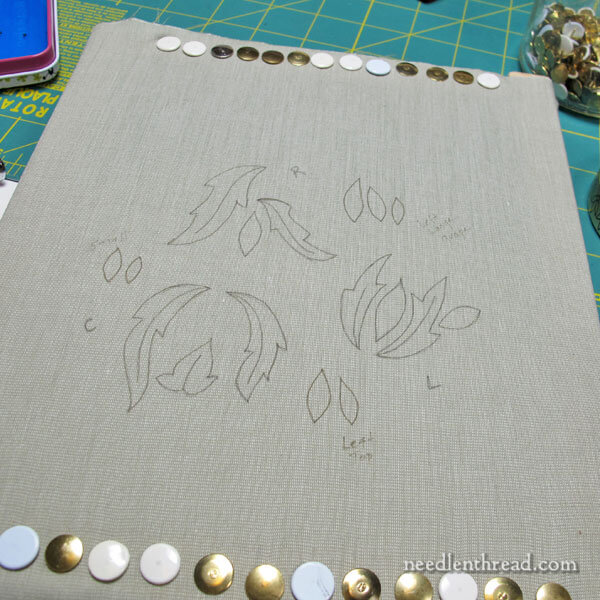
After making sure all the elements duly fit in the hoop, I framed up the fabric on Evertite stretcher bars, thereby totally ignoring the designer’s advice.
Sorry, Hazel honey!
There’s absolutely no reason you can’t use the plastic hoop. But for me, it just didn’t work out.
Well, truth is, I didn’t even bother trying.
Three reasons: 1. I am not in love with plastic hoops; 2. I wanted both hands absolutely free to do the stumpwork, and a frame allows me to do this because I can clamp it onto my floor stand; and 3. I prefer the consistent tension a frame gives me.
So…so much for following the instructions to the letter.
At this point, I re-resolved to follow the instructions to the letter, and continued forward.
And then I read the instructions and found myself backwards again.
The leaves are worked in long and short stitch shading, from the center vein out to the edge. I’ve already discussed this at length, in my last article on Late Harvest. It does work, going in that direction, from inside out.
But for me, it’s completely backwards and it feels funny. And the day I sat down to do this, I was already feeling discombobulated in other ways. I didn’t want one more discombobulation to deal with.
And so, again, I ignored the designer’s recommendation.
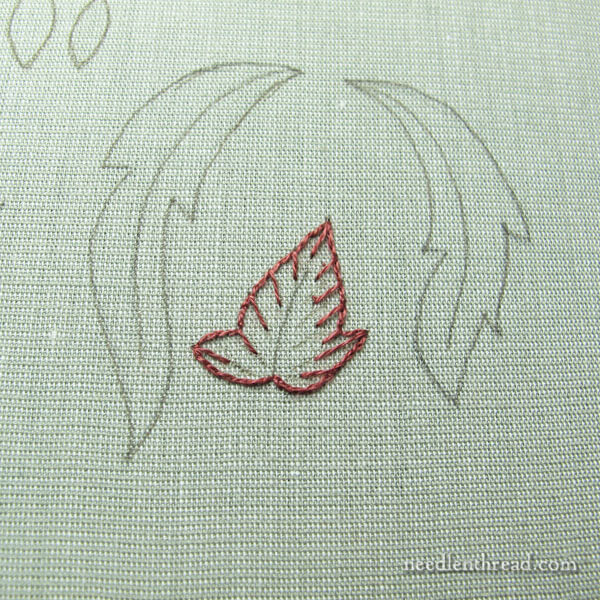
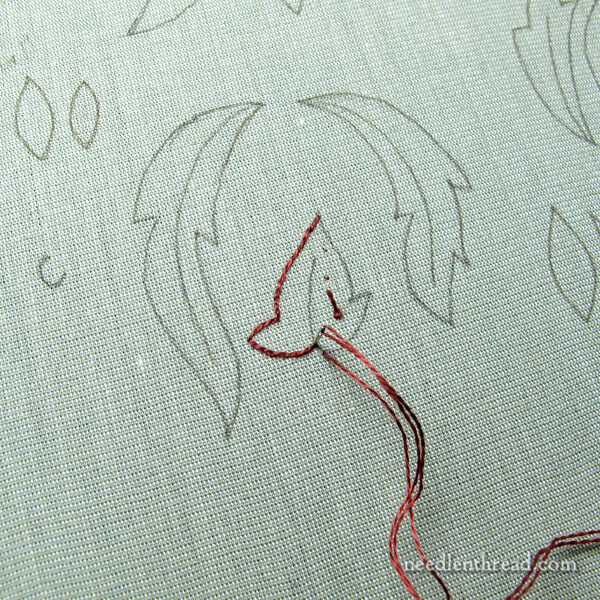
I worked the leaf in the traditional long-and-short-stitch way, outlining first with split stitch, then working from the outer layer of color and filling towards the growth point in the leaf.
If you want to see this method at work, you can learn all about using long and short stitch for filling leaves in this tutorial on long and short stitch shading for simple leaves.
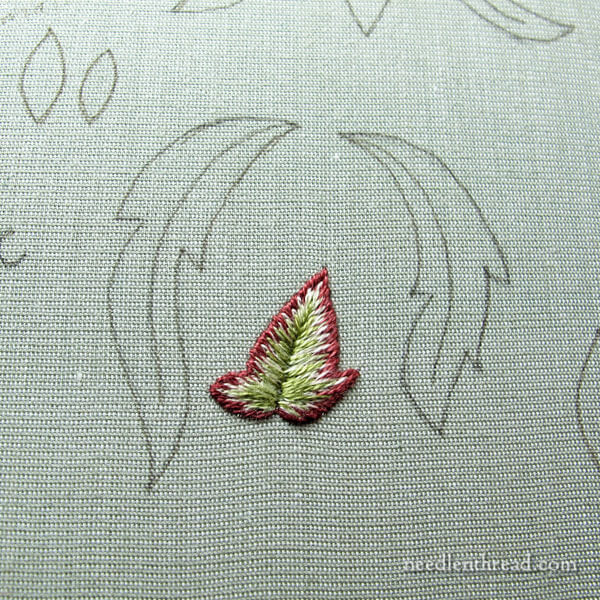
And, in fact, the outcome was probably the worst long and short stitch shading I’ve ever done in my life. It just looked awful to me.
I was so discouraged.
I knew part of the problem was that I wasn’t using magnification, even though (deep down) I knew I needed it. The element is small. The background fabric has a little sheen to it. These things play with your eyes and makes it hard to see things perfectly clearly.
Another part of the problem was that it’s a tiny element and I was squeezing four shades into it, trying to ensure the majority of the shading was towards the center of the leaf. And that makes things rather tight and sticky when you get to the middle of the leaf.
In any case, though I wasn’t pleased with the leaf in general, I decided to plow forward and to follow the rest of Hazel’s instructions for the rest of the leaf.
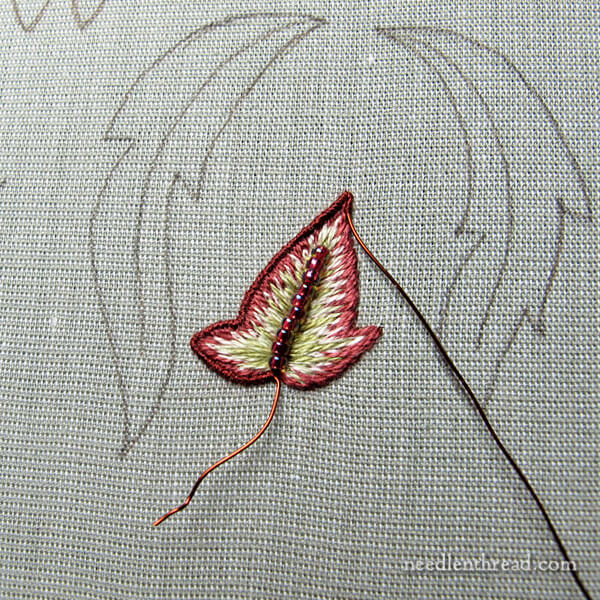
Once the beaded vein was couched in place and the stumpwork wire outline begun, I was a bit more pleased with the leaf.
I thought to myself, Self, this looks ok. No need to fret.
Now, another point to mention – if you haven’t noticed it – is that the stumpwork wire is added at the end, after the leaf is embroidered.
In most stumpwork approaches, the wire is stitched on first (usually using buttonhole stitch), and then the element is filled from the wire, inward. Hazel doesn’t do it this way. She embroiders the inside of the leaf first (from inside to outside) and then she fixes the wire to the outline of the element by stitching tiny overcast stitches (like satin stitches) over the wire, around the leaf.
This was a surprise to me, because I’ve not worked a stumpwork element in this way before. But it works. And in fact, I like it a lot. I like the overcast stitching over the wire better than buttonhole stitch. And I like the way the wire hugs up right next to the edge of the leaf, creating this smooth, cord-looking outline around it.
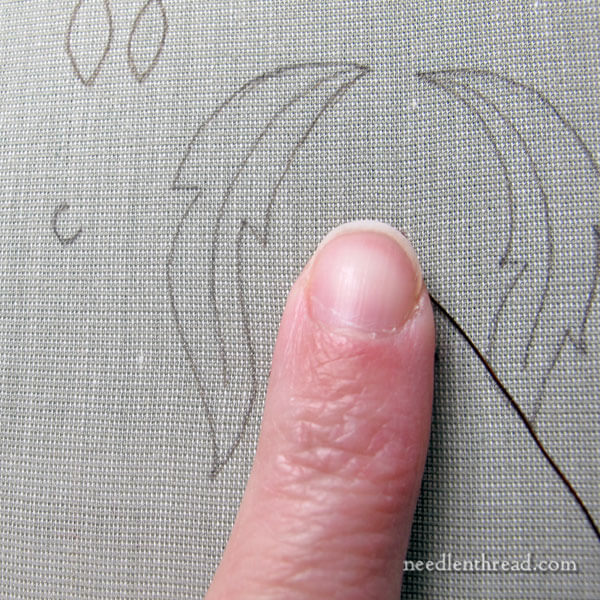
Just to give you an idea of how small the leaf is, the tip of my index finger (which could use some TLC these days) covers it completely.
Overall, I’m pleased with the way the leaf came out.
And this just goes to show you a few things:
1. You don’t always have to follow the designer’s directions.
2. But sometimes, it’s a good idea to follow the designer’s directions.
3. If an element in your project is not coming out exactly as you would wish, instead of starting over, consider plowing through to the end. You’ll have a better perspective when the embroidery is completely finished. What might have looked shoddy at first will most likely look a lot better once it comes completely together.
Now, the question is, do I work the rest of the stumpwork elements before going back to the main design, or do I go back to the main design and leave the stumpwork for later? Or do I trade off – a little stumpwork, a little surface work?
I’m still debating these fine points.
Have a lovely weekend!

