Purple and green. It’s a color combination I’ve always loved!
Strangely enough, I don’t wear it. I don’t decorate with it. But golly, I do like it.
And it was with purple and green in mind that I first fell for the “Leafy Blooms & Dots” alphabet that you’ll find in Favorite Monograms.
Today, I’ll show you a stitched sample from that alphabet. As always, there are parts of the letter that I really like, and parts that I’d do differently if I were stitching it again. But it was a fun little sample to stitch, and it worked up pretty quickly. And it provided a good purple and green fix – it’s been a while since I’ve stitched with this combination!
If you want to stitch it with the same approach, you can always change the color palette if you’re not a purple and green fan and make any other adjustments you want along the way, too!

All the techniques in this particular monogram have already been discussed in previous letters, so I’ll give you a run-down on the embroidery techniques and stitches I used, with links to tutorials or articles where they are explained.
Embroidery Stitches & Techniques
For example, the green filling that predominates is all stem stitch filling, shaded by combining two different colors in the needle at once. This is exactly the method I explained when we looked at this E monogram a couple weeks ago.
All the little purple dots are worked in satin stitch, in the same manner as the little dots in the E monogram, too, explained in this article that shows the finished E.
The purple flowers were embroidered in long & short stitch. This particular tutorial will come in handy to work the flowers, and this is where you’ll find a video on long & short stitch.
All the small leaves in the monogram are worked in fishbone stitch in two strands of floss.
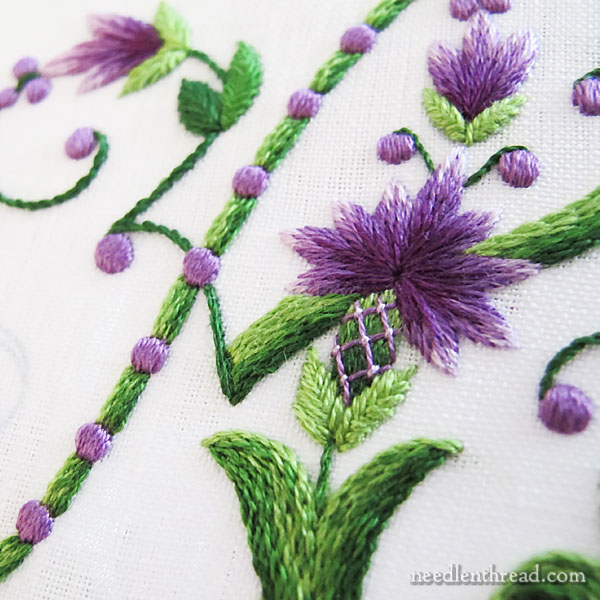
The base of the main flower is embroidered first in greens in long and short stitch, and then crossed over with a lattice in purple, with couched intersections in a lighter purple. You can find a video for lattice work here.
I added the lattice over the green long and short stitch because I wanted to convey a vague idea of a thistly look. That’s what the design reminds me of, but in reality, the letters aren’t really adorned with thistles. Still, with a little manipulation, I think the idea comes across a bit!
The majority of the stitching in green is done with two strands of floss in the needle, except for the tiniest stems that show up here and there, and those are worked with one strand of green. You can see two of those above the main flower in the photo above, stitched with one strand of dark green.
All the satin stitching and all the long and short stitching are done with one strand of floss in the needle.
Embroidery Materials & Supplies
The materials and supplies I’m using on all the monograms are pretty much the same. I might switch up the linen ground fabric, depending on what small cuts of unused linen I have available and I might switch up the threads a bit.
Here’s what I used on this particular letter.
I used a 4″ hoop (with the inner ring bound – here’s a tutorial for that).
For needles, I used crewel needles #7 and #9.
The linen is just a good white Italian linen I had on hand, but you can use any good, closely woven linen (or cotton, or silk, or wool – whatever ground fabric you want to use!).
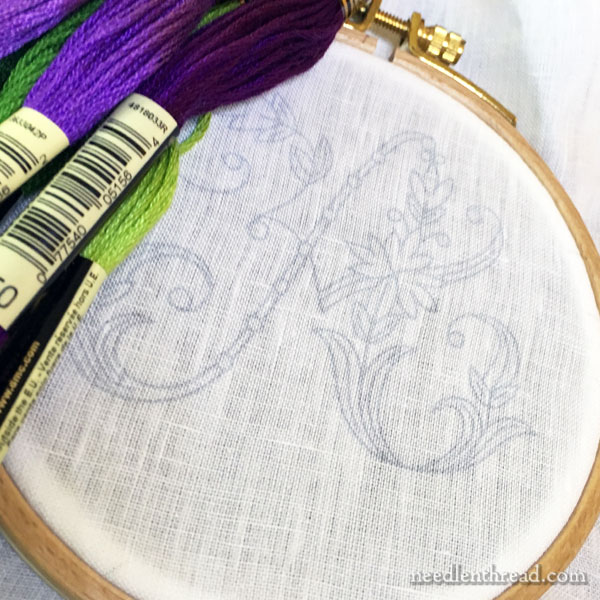
To transfer, tracing over a bright window with a pencil works pretty well. If you have a light box, that’s even better. I use this particular light box and I love it!
You can also use an iron-on transfer pen like this one that I reviewed here. I like those for quickly transferring a design that will have all the lines completely covered by embroidery.
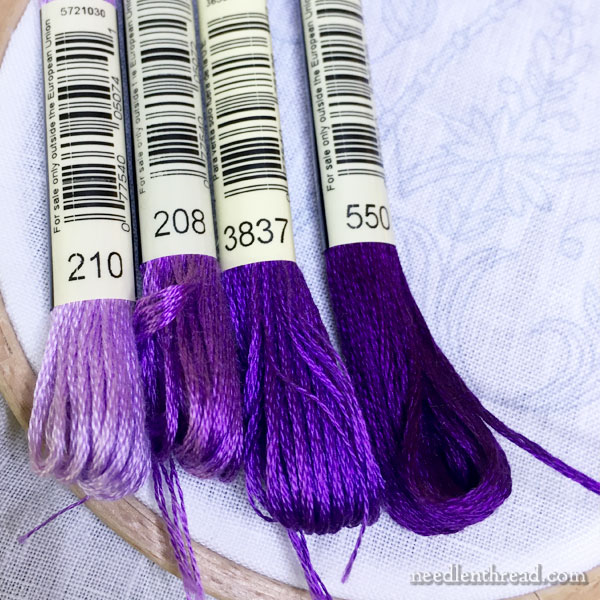
These are the purples I used – 210, 208, 3837, and 550.
I always find that the selection of purples in any embroidery thread line a bit sparse. Compared to other colors, the purples are not quite as abundant! But these four shades worked well for this, I think.

And these are the greens that I used: 704, 905, 986.
What I Like
I like the color palette and I would definitely stitch the whole alphabet in these colors!
I like the satin stitch dots. They look like … I don’t know. Little pieces of shiny purple candy!
I like the long and short stitch flowers. And I like the lattice work over the green long and short stitch at the base of the main flower.
I even like most of the stem stitch shading. It’s a technique I use frequently and find it enjoyable to stitch. In this letter, I like it on the skinny left side of the main body of the A.
What I would Do Differently
If I were to embroider this letter again, I’d do the lower right “foot” of the A differently. I didn’t pay any real attention to the layout of the shading. I wasn’t trying to create a “natural” look to it, but if I were to do it again with the stem stitch technique, I’d pay more attention to the way I worked out the shading to give it a little more dimension.
This is a letter I wouldn’t mind working entirely in long and short stitch. But that’s for another day!
More Monogram Techniques & Tips
You can find a whole list of articles with techniques and tips on embroidered monograms here, if you’re looking for other stitching ideas.
The letters that I’m covering in this recent series of samples come from Favorite Monograms, an ebook that’s available in my shop.
If you’re looking for decorative letters that feature step-by-step photo instructions, you might enjoy Stitch Sampler Alphabet – a full alphabet with step-by-step instructions for over 65 stitches and stitch combinations that can be mixed and matched to create your own unique embroidered letters.
Coming Up!
By the end of this week, if all goes as planned, Needle ‘n Thread will be sporting a whole new look. You’ll still be able to find things in approximately the same places – the content structure will be pretty much the same, but the site will be mobile friendly (it will show up a little differently on your phones or tablets), and the look of the site will be slightly different. But all the same content will be here, I promise!
To celebrate the new look, I’ll have a free pattern and project for you, from the kaleidoscopes I showed you earlier this summer.
And in the meantime, this week, I’m working on an article for Stitch Magazine, photographing and testing some extra special thread that I’ll be writing about for you, and setting up a couple more little projects.
Next week, I launch into a workroom overhaul. I plan to take photos as I go, but … gosh. The “before” photos might just be too embarrassing.
Hope your week is off to a great start!

