Whenever I talk about embroidery, I use the term love a lot.
But “hate” rarely comes into my embroidery conversation.
Hate is a strong word. When I was growing up, it was one of those words that garnered a quick reprimand from the Powers that Were.
“Don’t say hate. Say dislike.”
But there are certain areas of embroidery where I find myself courting a love-hate relationship.
As I ventured into this crewel embroidery project, I remembered that crewelwork is one of those areas.
Now, before you write me off, hear me out!
I love the project. And there are many aspects of crewel embroidery in general that I love.
But no matter how much my heart overflows with love for crewel work and this project in particular, there are some aspects that I dislike. Strongly.
Today, I’m going to share with you the deep, dark secrets of this love-hate relationship.
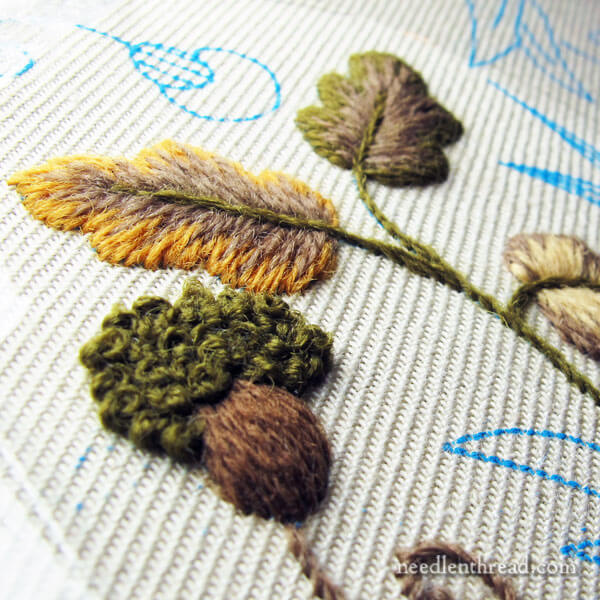
The project that I’m working on is the Mellerstain Firescreen Kit from The Crewel Work Company, which I reviewed here.
I love the kit! It’s fantastic! And I didn’t really realize how fantastic it was, until I really dug into it to begin stitching.
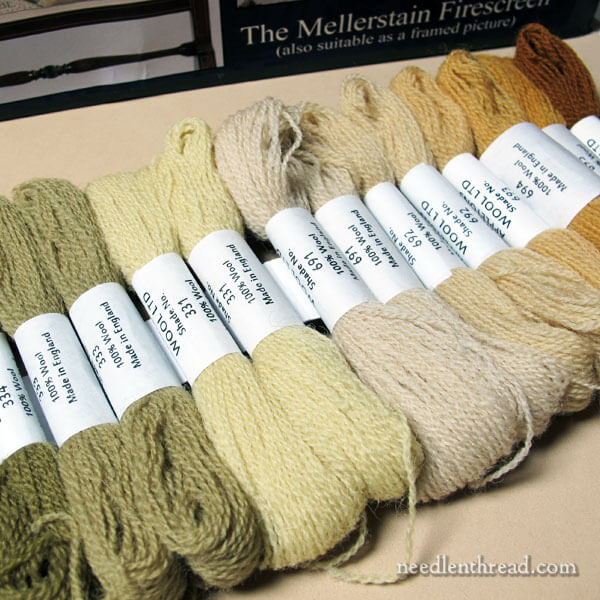
Right out of the package, one aspect that I love is the line-up you see above. It’s not so much the crewel wool thread itself, but the fact that the wool skeins are adhering to a strip of heavy paper.
There are two long rows of skeins like this, all the skeins tucked cozily next to each other, stuck onto paper strips.
If you have one of the Crewel Work Company kits, take my advice: don’t unstick the skeins! Leave them on the paper strip – they are there for a reason.
With the skeins stuck together onto the strip, you can lay out all the skeins in a relatively small space (because they’re cozied up to each other so snuggly), and see clearly the colors of the threads and the numbers on their sleeves.
This arrangement makes accessing the threads for multiple color changes while stitching very easy. As long as you’re pulling the right end of the thread, the crewel wool comes easily off the skein, you clip it, and you stitch away. Next time you need a color, you glance over the numbers, find your victim, pull the thread, clip it, and go. It’s a super easy arrangement, and I love it.
But this also brings me to something that I strongly dislike.
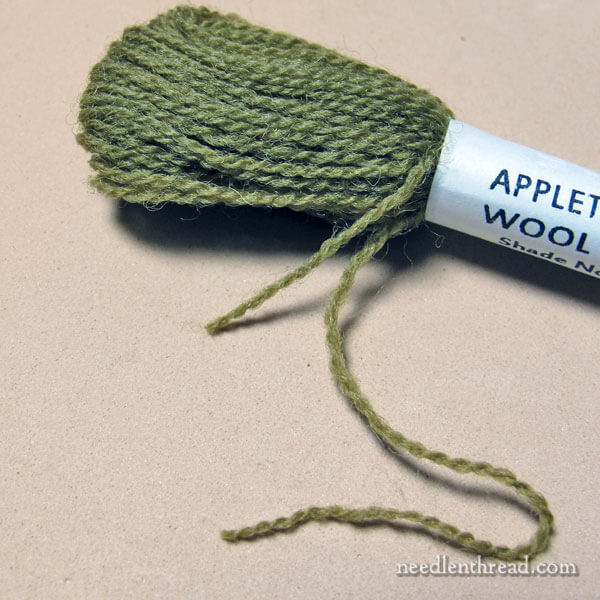
Appleton wool comes on a pull skein. I’ve talked about how to conquer the pull skein before, when dealing with regular cotton embroidery floss.
Well, the Appleton crewel pull skein requires conquering as well.
In the photo above, you can see two ends coming out of the same side of the pull skein, and neither end gives any real indication of where it’s coming from in the skein itself.
Generally, I pull on the longer end that I can find extruding from the skein. And generally, this works.
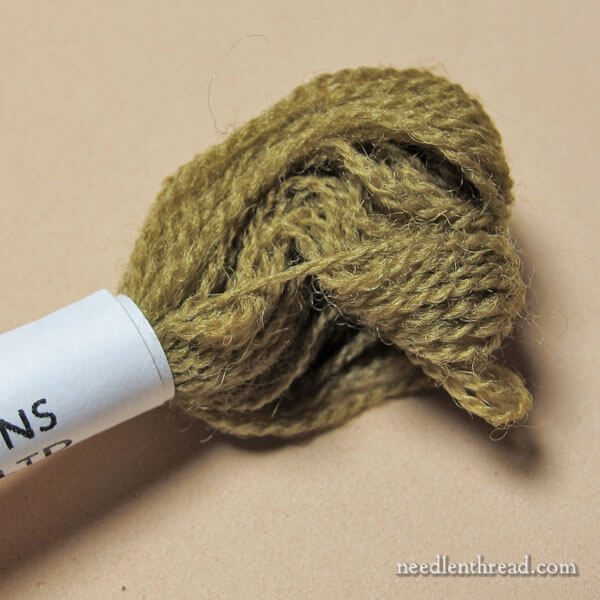
But sometimes it doesn’t! When it doesn’t, you can end up with a knotty mess in your skein.
The solution: pull extra gently at first, until you know for sure which end is the end for pulling. If you’ve got the wrong end of the thread, the other side of the skein will buckle, so you’ll know right away whether or not you’ve got it right.
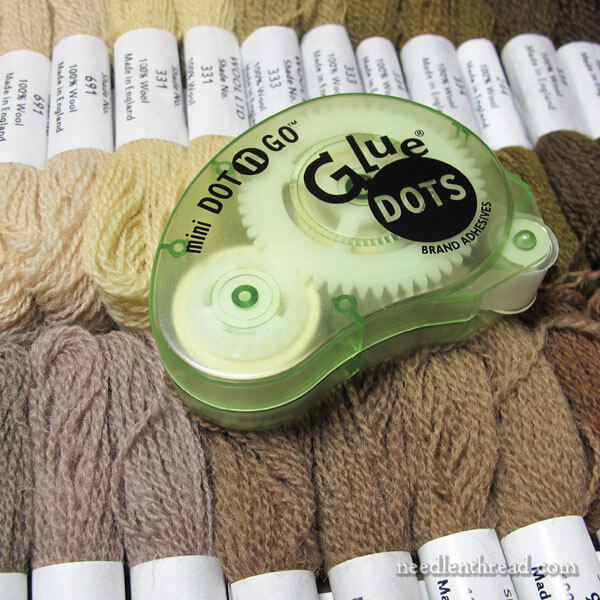
Incidentally, some of my skeins didn’t want to adhere well to the paper strip. And a couple of them had loose sleeves on them.
If you run into either of those difficulties, some strip glue – or, in my case, some strip glue dots – will do the trick. Just tighten up the sleeve and re-glue it (avoiding the yarn), or add a strip of glue or a couple glue dots to the back of the skein sleeve and re-stick it to the paper.
You won’t regret this step! I’m telling you, the paper strips are brilliant.
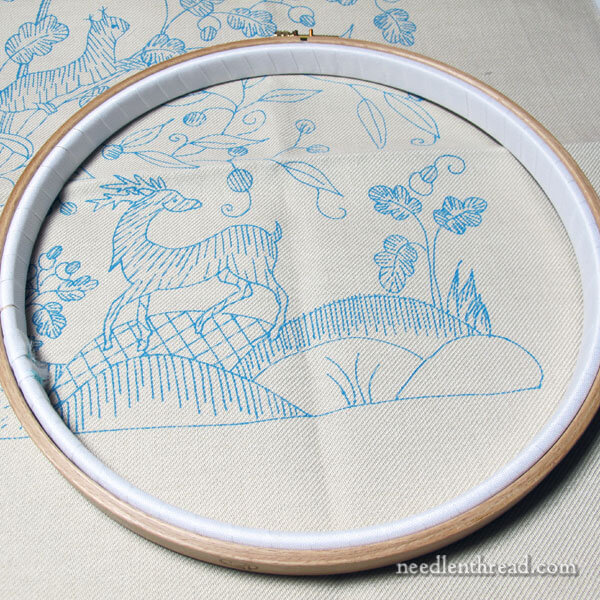
I love the linen twill in this project. It’s super-dee-duper sturdy stuff. I’m pretty sure you could upholster your footstool with it, use it daily with your shoes on, and it would withstand the strain and live to tell about it a hundred years from now.
And I love the clarity of the screen printed design on the linen.
I’m using a large and thick wooden hoop (5/8″ thick) on this project. The inner ring is bound with twill tape, which accomplishes two things: it helps maintain terrific fabric tension, and it helps protect the fabric and previously stitched areas.
The directions in the kit recommend starting in the top right corner of the design, but I hesitated, because I strongly dislike having a lot of excess fabric hanging in the front of the hoop. I prefer to start in the lower corner of a design, when working with this much fabric.
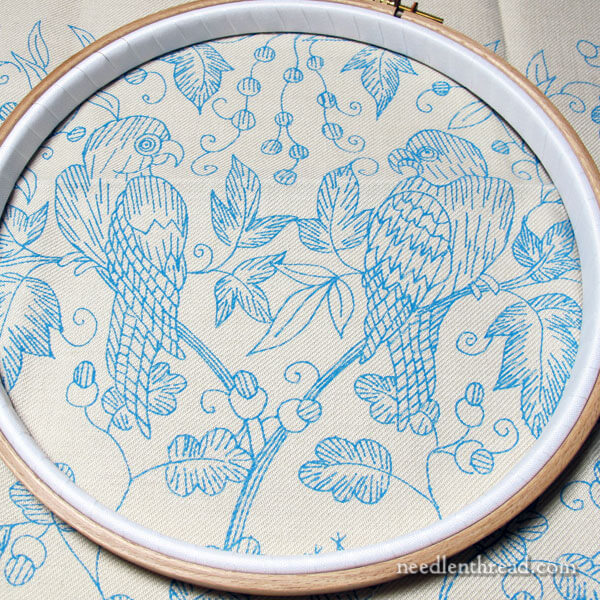
Still, I couldn’t really make up my mind where to start. So I laid the hoop all around the design and checked out different possibilities.
Should I start in the middle, with the birds?
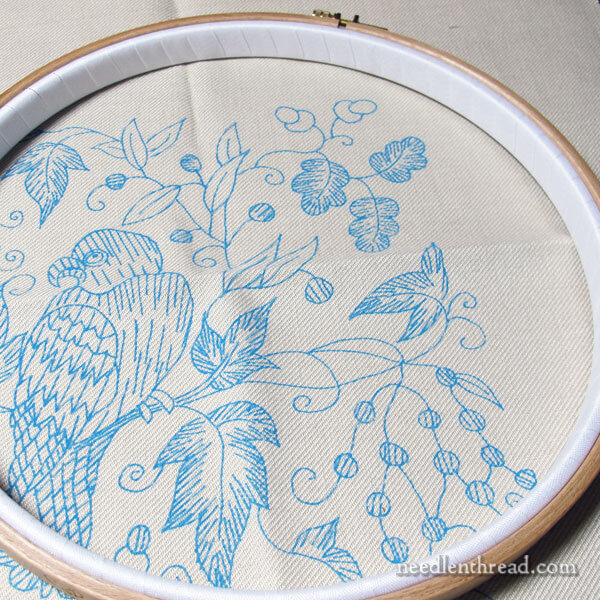
Or maybe I should start in the top right corner. Maybe, down the road, it will make a difference that I don’t foresee.
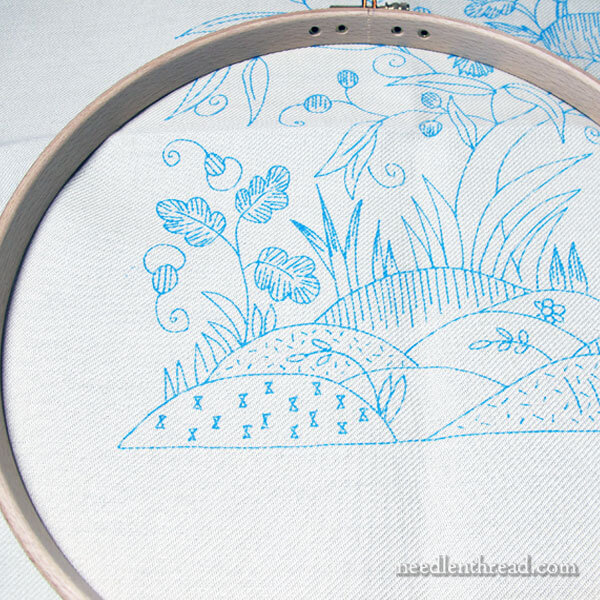
Oh, blast! I strongly dislike not being able to make a decision when it comes to starting. So, what the heck? I’ll just start in the lower left corner, just to be as contrary as possible.
So this is where I decided to start.
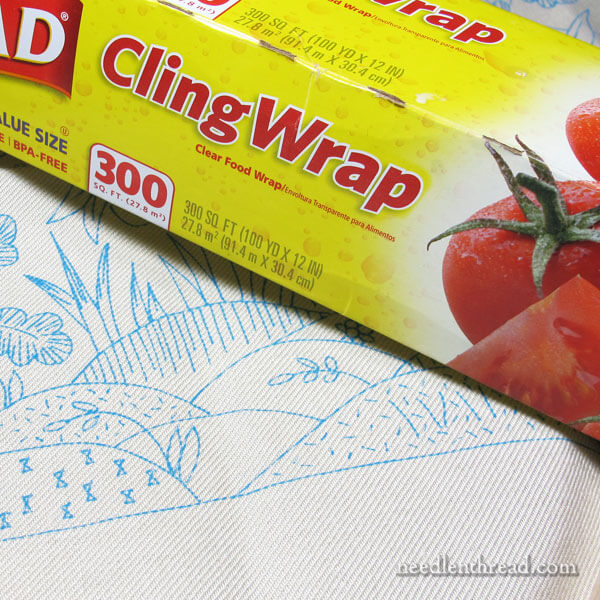
True confession: there are two indifferent things in the world I consistently and freely use the word “hate” for:
1. Scary movies. I hate them. Call me a wimp, but I can’t take horror films – not even on mute.
2. Cling wrap. I hate it. I don’t use it for food storage. I don’t use it for anything. I swear, the stuff is the devil.
The amazing thing is, cling wrap loves me. At any given opportunity, it will cling to me with a tenacity that defies even science. Nothing should be able to stick to a person as well as that stuff sticks to me.
Mind you, it never sticks to a bowl when I need to cover food. And it never sticks to itself when wrapped around a loaf of bread for the freezer. But boy oh boy. It sticks to me. It sticks to my hands when I’m trying to do anything with it. It sticks to my clothes when I’m trying to throw it away. And of course, it sticks to itself! Manipulating it onto anything can end up being One Big Fight.
So I just avoid it.
Yet the kit suggests using it to cover the surface of the fabric in the hoop, hooping up both the cling wrap and the fabric together at once. You cut away the cling wrap to stitch any given area. The cling wrap protects the top of the fabric from dirt and grime and whatnot.
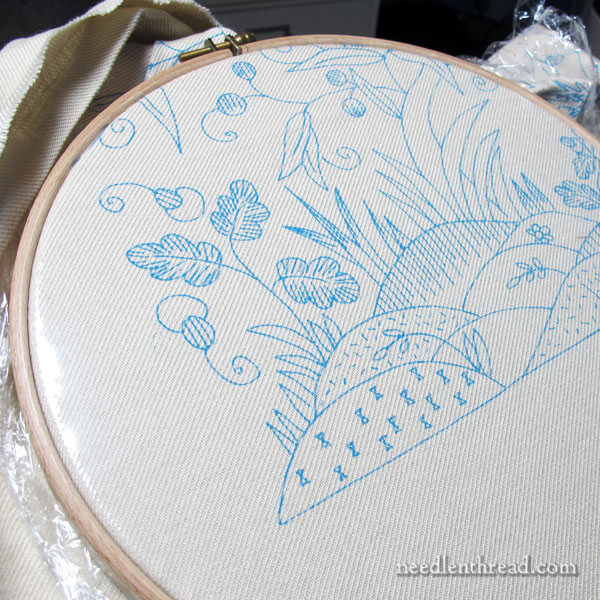
On this point, I decided not to be contrary.
I know there are many designers who use cling wrap in this way, and so I figured I might as well succumb and give it a try.
So far, it has behaved well enough. The little bits I clip away to expose an area for stitching are still floating around the house somewhere, clinging, waiting for me to pass by so they can hitch a ride. But overall, the experience with the cling wrap has been fine.
Who knows? Maybe I’ll grow to love the stuff!
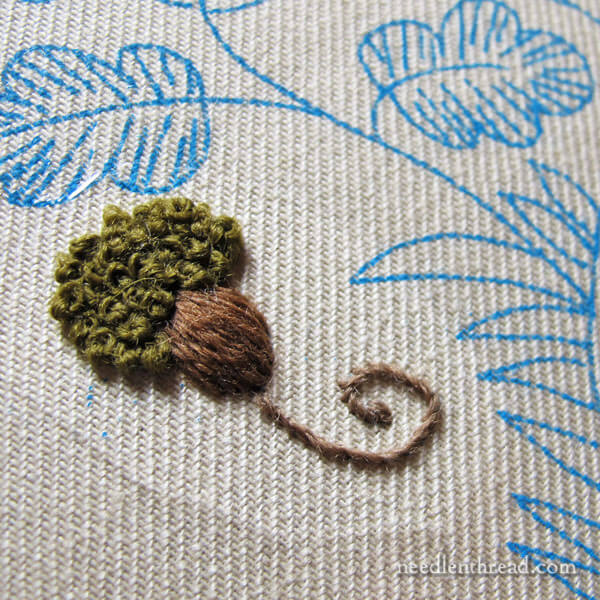
Here’s my first element on the firescreen!
In case you’re not sure what it is – your confusion would be understandable! – it is an acorn with the most elaborate head of curls ever seen on a nut. Takes me right back to The Brady Bunch.
I worked the knots far too loosely on this, hence the exuberance.
And this brings me to another point of loving and strongly disliking.
I love stitching with crewel wool because it covers so quickly! You can fly through an embroidered element in minutes, because it takes so few stitches to cover the area.
If I had worked that acorn in a single strand of cotton floss, it would have taken far longer to stitch it. But with crewel wool, it morphed into existence in less than 15 minutes!
But oh. I strongly dislike the general fuzz of wool, and I especially dislike working French knots with wool. There’s just something about that wooly thread passing through the wraps that gives me the shudders. The tighter the wraps are pulled around the needle, the more it bothers me.
And, if you pull the wraps too tightly around the needle, the thread wears down fast, getting fuzzier and contributing to more hairiness all around.
And if you get a knot in wool thread while pulling through to finish a French knot, you can pretty much just write off the thread. Resolving the problem is practically impossible, no matter how much hair-pulling and fit-throwing you do.
That said, I’m sort of smitten with the abundant cap on the little nut. I think it has personality. I’m dying to stitch a face on it! And, admittedly, I wouldn’t mind a few curls of that ilk myself!
I can get over the fuzzy-wool-French-knot-with-wool aversion without a problem.
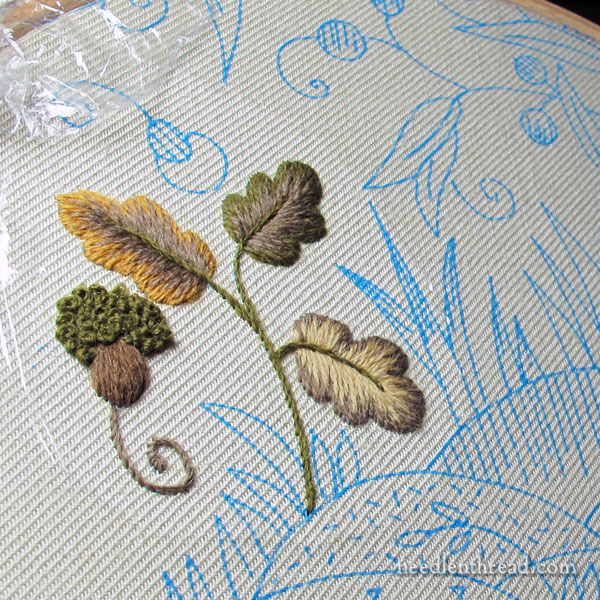
I love… and I mean L-O-V-E… how easy it is to work soft shading (long and short stitch) with crewel wool. The threads just magically meld together. With wool, it takes no time at all to produce a decently shaded leaf in long & short stitch.
This bunch was not an hour’s worth of stitching. And at that rate, the firescreen doesn’t seem like such a huge project after all.
Who knows? I might even finish it this winter!
I hate the fact that I can’t stitch on it today.
But I love the fact that it’s waiting for me, ready to go, for next time!
When it comes down to it, I’d say love wins. As usual, it conquers all.
