How about a variation on a theme? Instead of Stitch Fun!, let’s go with Stitch Fail!
I love the Stitch Fun! series here on Needle ‘n Thread, because I love exploring stitches. But sometimes, what I envision with a stitch or a combination of stitches doesn’t always materialize the way I envision it.
That’s part of the fun of playing with stitches – you can end up with some very exciting results, some happy discoveries, some satisfactory conclusions.
Or you can end up with a Stitch Fail – and, you know, that’s not always a bad thing!
That’s pretty much what today’s tutorial is all about. I’ll tell you about my original intention with this stitch experiment, talk about what actually happened and why, discuss ways you could use the flop anyway, and mull over alternatives to what I was vaguely trying to achieve.
In this Stitch Fun! tutorial from last week, we looked at a combination of the buttonhole eyelet with a lacy buttonhole border growing out from it.
So, what I visualized with this variation was a gathered, ruffly bunch. Something perhaps a little loose and floppy. Something that would make an interesting accent in a stylized garden, or that could serve as, say, some kind of underwater coral growth – something like that.
I intended to bead the outer edge of the original lacy buttonhole wheel eyelet, and then loosely gather the whole stitched element together, to create something sort of …. fluffy-beady-lacy-clumpy-ruffly.
Get it?
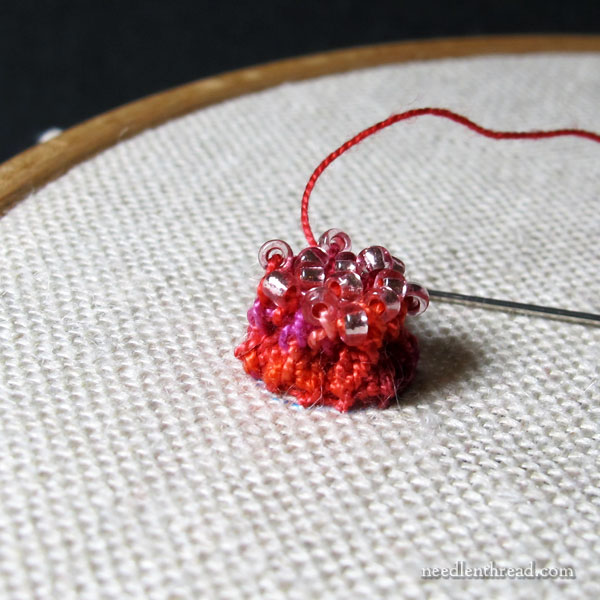
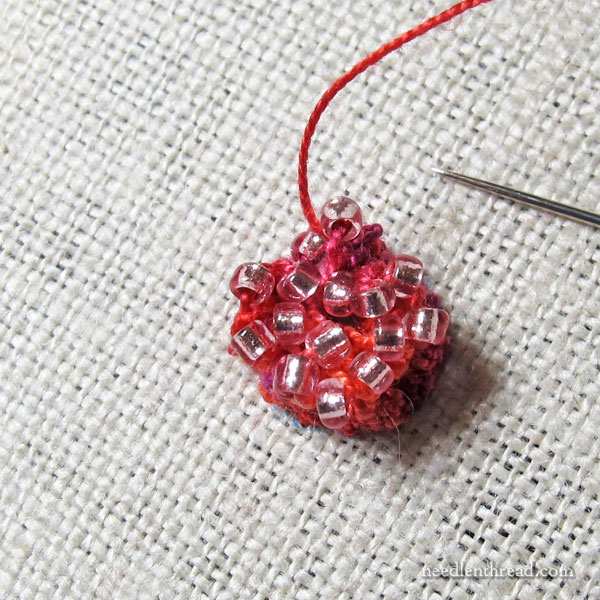
Instead, I ended up with the tight little cluster of something, topped with beads, that you see above.
Is it entirely a fail?
Not entirely, because I could see using the resulting beaded clump as a textured accent in some kind of encrusted embroidery piece. I could see it used as a small, dew-dotted garden element in a three-dimensional knot garden. So there are possibilities for it.
But it still needs work to get to what I was envisioning. I know where I went wrong, and further experiments may get me to the desired result.
In last week’s tutorial, I began with a buttonhole wheel eyelet.
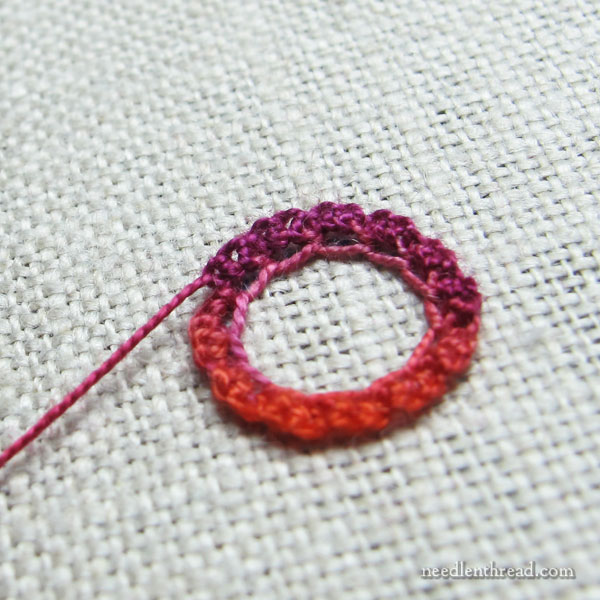
For this experiment, the foundation is simply a chain stitch circle. You can pretty much do the same stuff on a chain stitch that you can do on the edge of a buttonhole stitch, and using the chain stitch eliminated the spokes in the center, which aren’t necessary for what I was imagining.
You’ll find a step-by-step tutorial for how to create a perfect chain stitch circle with an invisible join here, in case you’re wondering how to work a chain stitch circle.
Working on the outside half of each chain stitch loop, I worked three buttonhole stitches all the way around the circle. This is exactly the same concept as this scalloped buttonholed chain stitch combination, which makes a very pretty stitch all on its own.
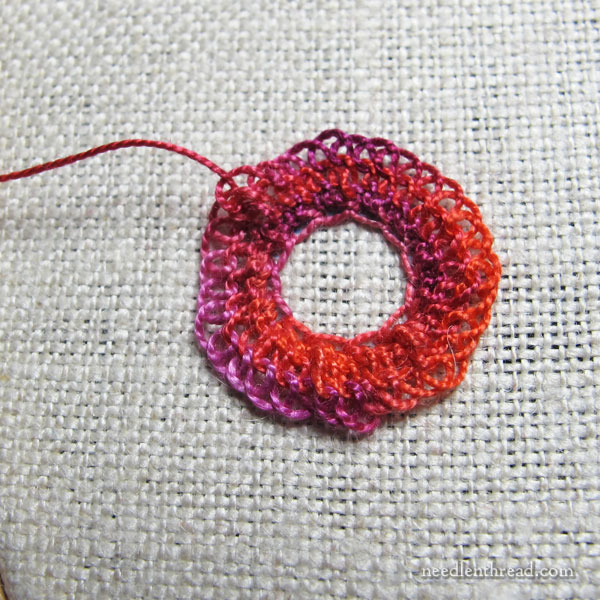
Into the tighter first round of buttonhole stitches, I worked two very loose rounds, buttonholing loose loops in each of the three tight buttonholes on each chain stitch.
This is the same procedure for the lacy round in last week’s tutorial.
The stitches on this ended up quite ruffly, which was ok!
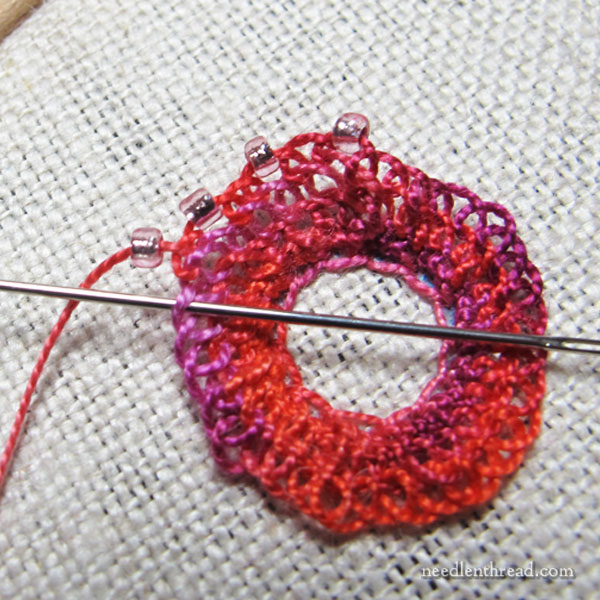
Then, I worked my way around the outer edge of loose buttonhole stitches. I added a bead onto every other buttonhole stitch around that outer edge, working the buttonhole stitches on this round a little tighter than on the previous rounds.
Now, about the beads. These are just light pink seed beads that I picked up in bulk at a craft store some thousands of years ago. And they’re not all that great. They’re inconsistent in size and shape.
I’m using #12 perle cotton here, with a size 7 crewel needle, so the beads must be at least a size 8/0 – perhaps even larger. They’re certainly not small like 11/0 beads or tiny, like 15/0 beads. In any case, the container wasn’t marked with a size. That’s how generic they are! But hey – they worked fine for my purposes here!
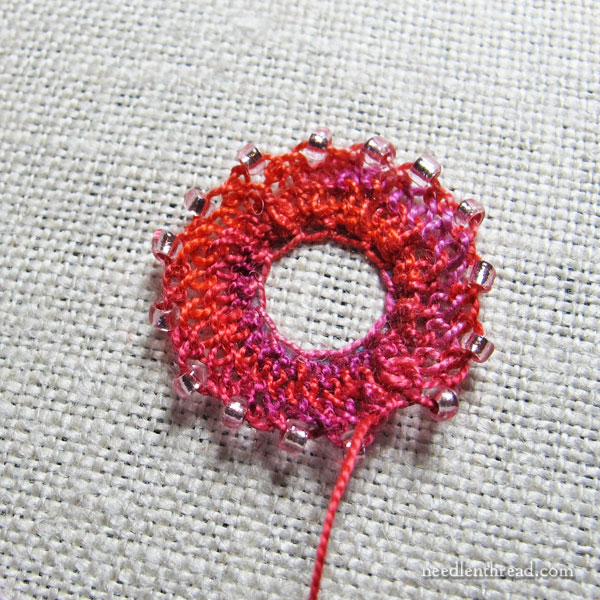
At this point, I’ve made it all the way around the outside edge.
I like it just like this! With better beads, perhaps even a finer thread, and beads that fit that particular thread much better, this could be a fun addition to a textured, beaded sampler. Why not?
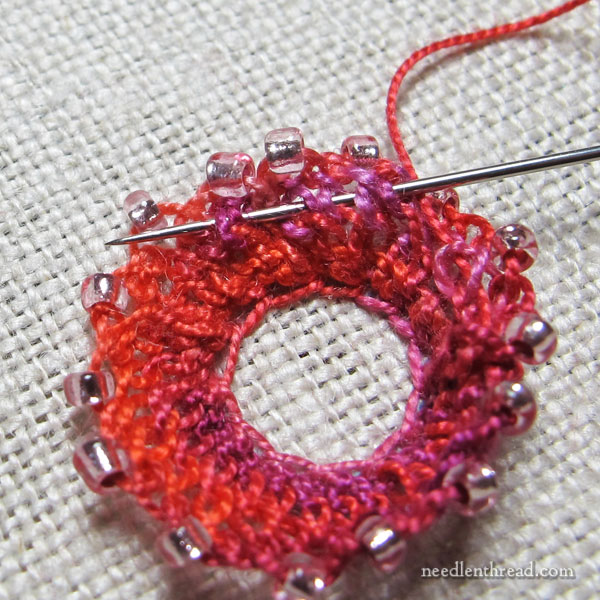
Now, it’s time to gather the whole thing together!
To do this, I ran the needle and thread around the element, picking up every other buttonhole whole stitch intersection between the last round of loose, loopy buttonholes and the beaded round.
My intention was simply to cinch the whole thing together. Why not?
So I did!
And it all tightened up into a little beaded clump.
And while I’m sure there are all kinds of ways to use beaded clumps, this isn’t exactly what I intended.
I wanted a little more “bursting outwards” of the beaded edge. Imagine a cinched sack that has a deep edge, so it ruffles outward a bit when cinched. That’s kind of what I had in mind.
Two adjustments might help produce this: working a couple more layers of the loose and loopy buttonhole stitches (which would require using a very, very long thread) and cinching the whole thing closer to the foundation stitches.
And then, as I mulled and mused and contemplated, my mind floated to the beaded drizzle stitch.
If you want a clumpy cluster of looser, more exuberant beaded ends on stitches – something that’s sort of floppy and wild – try the beaded drizzle stitch. You can achieve a clustery, curly, ruffly effect by working a group of long drizzle stitches topped with beads. It’s a fun approach, and I think it’s more akin to what I was imagining, anyway.
And that was my Stitch Fail! for the week. Totally useless? Maybe. Maybe not! I’ll leave it to you to decide!
What do you reckon? Feel free to join in the conversation below!
