Whether you’re new to embroidery or you’ve been stitching a while, you either have, or will – inevitably – run into certain frustrations with thread!
Now, if you’re a thread junkie, chances are, you’ll try a lot of different threads in your needlework explorations. Your experience, good or bad, will determine whether or not you ever use that thread again.
Unfortunately, a bad experience can often turn us off a good thread.
Over the years, I’ve written many articles about hand embroidery threads, with heaps of tips that can improve your experience with them, especially with those that are troublesome in one way or another.
Funny thing is, even the most basic hand embroidery threads have their annoying aspects. Hopefully, these tips will help you avoid the annoyances and just revel in the pleasure of threads!
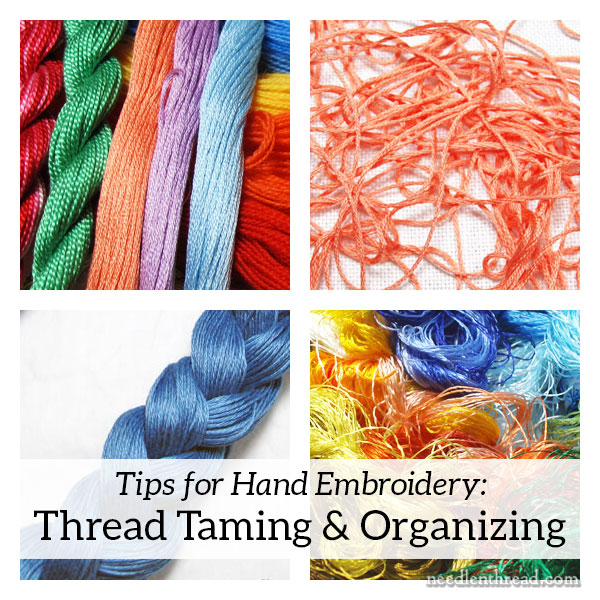
The reason I’ve lumped together organizing and taming into one list of tips is that, sometimes, it’s the organization of your threads that can lead to the necessity of taming them!
If you’re experiencing difficulties with threads, here are some tips that will help you overcome thread grief, irritation, and heartache!
Cotton Floss & The Pull Skein
Cotton floss – the six-stranded stuff (think: DMC, Anchor, and a wide variety of hand died cottons) – is fairly user-friendly stuff.
However, occasionally, you’re bound to run into a snag with the pull skein, which is the way most cotton embroidery floss is put up.
You can learn how to conquer the pull skein once and for all here.
Stripping Floss
Stripping or separating strands of embroidery floss make it not only more manageable, but also more effective. Floss that’s been separated strand by strand and then put back together will create fuller stitches, will lie better on the fabric, and will tangle less frequently.
This tip is for whenever you use more than one strand of regular cotton floss in the needle. It’s called stripping your floss. You can read about it – why to do it and how to do it – here.
Removing One Strand at a Time
When you set up embroidery floss for a project, there are many ways you can go about doing so.
You can keep all your floss in their original skeins, you can set up numbered baggies for each color, you can pre-cut your floss and loop it around something. There are lots of options!
For specific projects, before I start stitching, I like pre-cutting my floss and looping it through a hole, either in a card or some similar solution.
When the floss is looped through a hole, you can then remove one strand at a time very easily.
In this article (featuring a floss system called Annie’s Keepers), I demonstrate how to easily remove one strand at a time from a bunch of floss.
You can also easily make your own thread organizing cards that will serve in almost the same way. Here’s an article that tells you how.
You can also purchase pre-punched, stiff, magnetized cards with an area for writing the thread number on them, that will serve the same purpose.
Or, if you like a more compact set-up, these thread drops work the same way.
I even used key tabs once upon a time as thread organizers, and if you happen upon them in bulk for a cheap price, they work ok!
Taming Large Hanks of Floche – and Other Similar Put-Ups
Some threads are not available in pull skeins. Instead, they come in large loops, and once you cut the thread from the loop, you can end up with a lot of thread falling out of its loopiness.
Floche is a good example of this. It comes in huge hanks, that are more or less a large loop, twisted and folded once. Once you cut the thread loop open, you end up with a massive amount of loose thread!
But if you follow these instructions on taming a huge hank of floche, you’ll be just fine!
Incidentally, any skein of embroidery thread put up in loops – whether the loops are twisted or not – can be tamed the same way.
Many smaller thread companies will put up their threads in twists that dangle from a card. Once you untwist that thread, you’ll see that it’s really just a large loop that’s been twisted around on itself.
Open up the loop and tame the threads the same way as you would a large hank of floche!
Do you have troubles with skeins of perle cotton? Remove the sleeve, untwist the skein, and it’s just one big loop. You can treat it just like the floche in the article above.
And if you’re working with coton a broder and it’s not in a pull skein, here’s an article on handling it – which is much the same as handling a large hank of floche.
Taming Twisted Silks & Other Threads
Lots of threads come in a twist put-up, including some silks and synthetics. When you open the twist, the threads can be very kinky and hard to work with.
This article addresses a simple way to calm down threads in these types of put-ups.
Some folks also like to iron their threads, on an iron set for the type of fiber the thread is made from. Both solutions work.
That being said, it doesn’t hurt to test your method first on a smaller bit of thread rather than the whole skein, no matter what you’re doing to straighten it, just in case!
Any Thread-Readying Tips you Live By?
What about you? Do you live by any particular method of readying your threads for stitching? Especially with problematic threads? If you do, I’d love to hear them and so would everyone else, I’m sure. Feel free to join in the conversation below!
