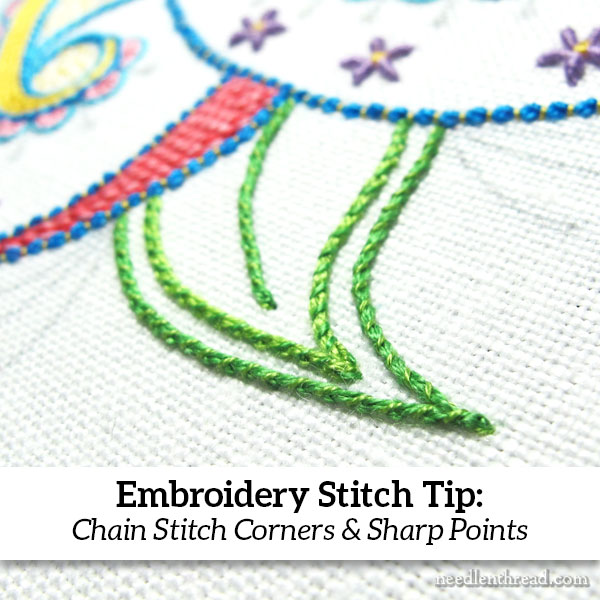
Let’s start off the week in a good way, with a little embroidery stitch tip!
Have you ever wondered how to make a really pointed tip or corner when working a line stitch like chain stitch?
We’ve previously covered embroidering stem stitch corners, but chain stitch is different.
If you employ the same method used with stem stitch when chain stitching, pointy tips and corners will end up being just slightly bulkier than they need to be.
So today, we’ll look at how to embroider chain stitch lines into a nice pointy tips and sharp corners.
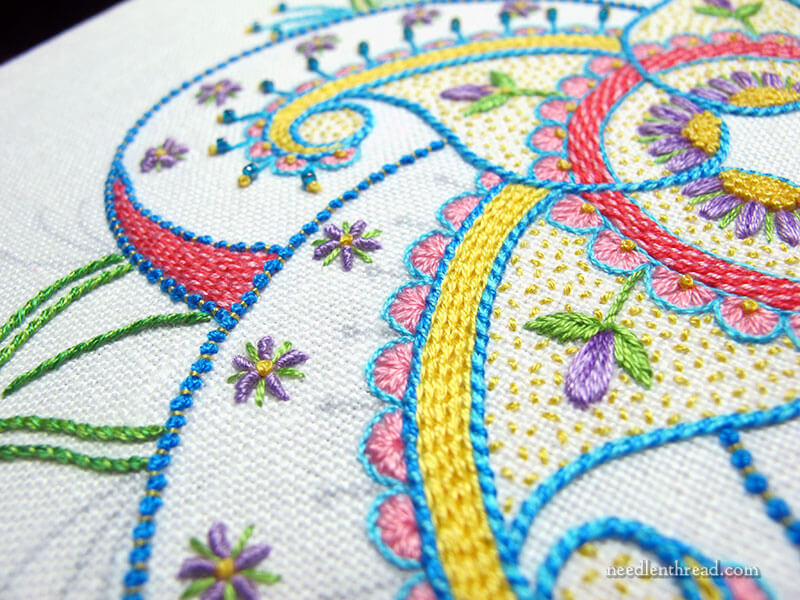
This leaf is an element on the embroidery project I’m finishing up today (no, I didn’t finish it this weekend!) called Birthday Bash, which is an embroidered kaleidoscope design featuring some paisleys that twist their way into a large flower shape.
Around the center of the design, there are five leaves that peek out behind the flower shape. The leaves swash to the side and come to sharp points.
I’m working the design on linen (Alba Maxima, a Legacy Linen that’s a full-weave, 40-count, all-purpose hand embroidery linen), and I’m mostly using two strands of cotton floss, though occasionally, for certain accents, I use one strand.
The leaves are outlined with chain stitch stitched with two strands of floss, and then whipped with one strand.
You can see how to work the chain stitch here in my chain stitch video, and you can read about whipping chain stitches (or any other stitch) here.
Coming to a Sharp Point or Working Corners with Chain Stitch
Here’s little trick with the chain stitch, when working a corner or coming to a sharp point, like the point you see in the photo below.
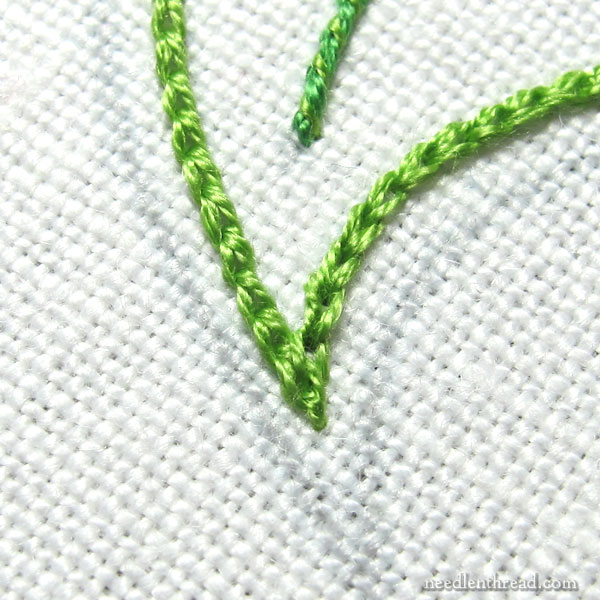
First, I stitched up one side of the leaf, to the tip where the two design lines merge, using chain stitch.
With the first side stitched, I could have started the other side of the leaf at the base, and worked up the second side, meeting the two lines at the tip, but this would create a bulky area at the tip of the leaf, where the two lines merge.
Or, I could have ended the first line at the tip of the leaf, and started down the second side, with the first chain stitch in the new direction starting inside the last chain stitch at the tip of the leaf.
This latter method works, but it’s also a little bulky, with the whole chain stitch coming out of the last stitch at the tip of the leaf.
I also could have butted the two lines up next to each other (I’ll show you this further below). But this creates a broken look where the two lines merge.
So, if you look at the photo above, you can see what I do when embroidering chain stitch lines that merge at sharp points.
I end the first line at the tip of the leaf. You can see the tiny anchor stitch that ends a chain stitch line at the tip of the leaf there.
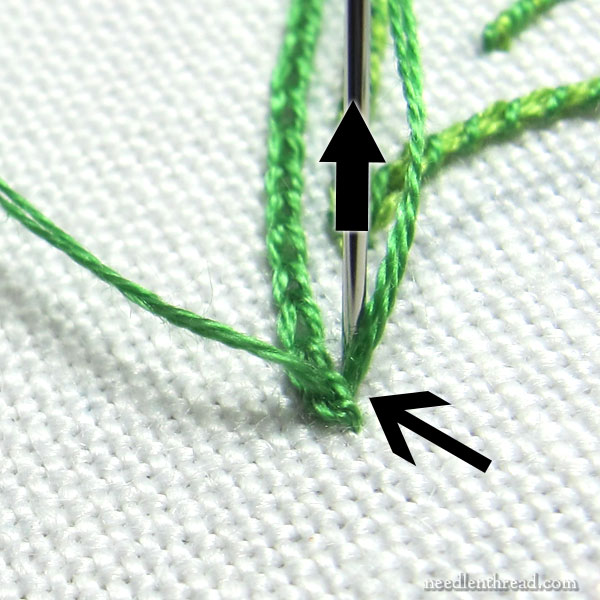
Then, I bring my needle and thread to the front, inside the last chain stitch.
Normally, which chain stitch, you’d head down into the same hole to make the loop of the chain stitch.
Instead, I’m going to split the starting point of the chain stitch, by going down into the fabric just outside that last stitch in the first line.
Essentially, I’m working an open chain stitch with the two “legs” straddling the side of the last chain stitch in the first line.
The narrow arrow in the photo above points to the place I went down into the fabric, just over the loop of the last chain stitch from the first line.
With the loop of working thread on the front of the fabric (because I haven’t pulled all the way through yet), I then proceed with normal chain stitch down the second line.
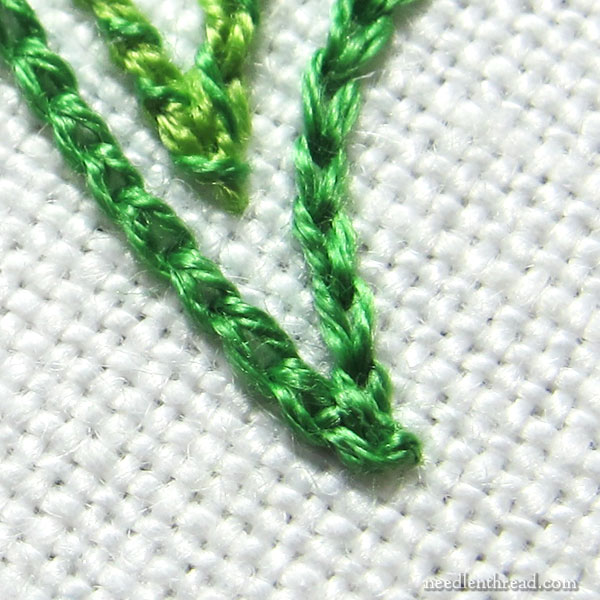
This forms a smooth, tight tip where the two directions of chain stitch merge at the point of the leaf, without adding a lot of bulk point where the two lines merge.

If the point is extremely narrow and extends beyond the merging of the two lines at the tip of the leaf, you can butt the two lines up together where the design lines merge, as shown in the photo above.
The result, though, looks somewhat broken, compared to the method explained above.
If I had employed the same method on the leaf tip in the photo directly above, the connection between the two lines would be much smoother.
The upshot: straddle the last stitch in a chain stitch line when changing directions to create a sharp corner or point.
I finished everything on this piece this weekend, except a couple areas of accent work with beads and French knots and the shaded seed stitching inside the leaves.
The weekend didn’t really go as planned. It was fraught with a hundred little interruptions. I ended up stitching for about four hours total, and I only have about two hour of stitching left. This piece works up quickly. Six hours would have finished it.
So that’s the plan for today!
I hope you’re week’s off to a splendid start!
