Good morning, and Happy Monday! I hope you enjoyed a pleasant weekend and had a chance to spend some time with your needle and thread! I got in zilch-o when it comes to stitching this weekend, but I did manage to prepare 12 embroidery patterns for printing. I can’t wait to show you what’s up with those!
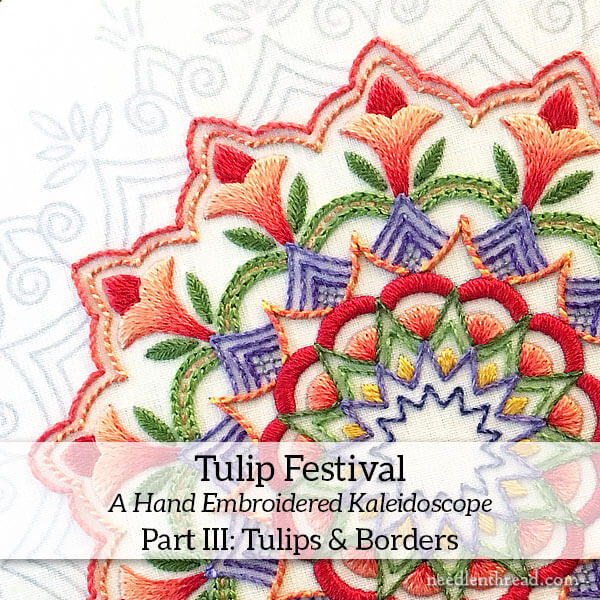
We’ve been working our way through stitching an embroidered kaleidoscope here on Needle ‘n Thread – Tulip Festival, which we’ve visited in two parts so far. Part I of Tulip Festival covers the supplies, threads, set-up, and first seven rounds of stitches on the design. Part II covers the stitches for the the next several rounds.
Today, we’re going to cover the tulips in long & short stitch and a couple layers just beyond the tulips!
Whether you’re stitching Tulip Festival or not, I hope you’ll find some tips & techniques here that can apply to your own embroidery projects!
With the tulips in this section, there’s a certain order of stitching to follow that will give a better result and make it easier to stitch the tulips or any similar motif.
With long and short stitch shading (and many other embroidery techniques), it is a common practice in Western embroidery to start with the elements farthest back in the design. Once they’re stitched, then the next element forward is stitched “over” them. The elements might not technically overlap, but visually, they do, and it helps to keep that visual impression if you start with the back elements and work forward.
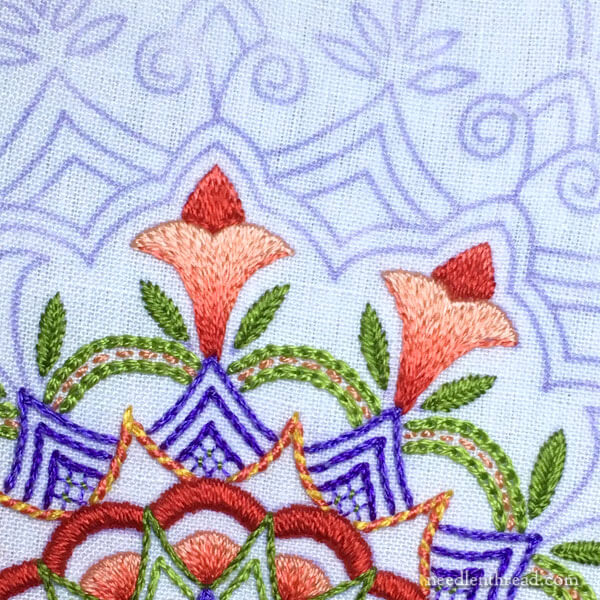
On this particular piece, then, we’ll start with the central “petal” that sits above and behind the rest of the tulip. This element is worked in three shades of the coral red Soie d’Alger – 924, 925, and 926.
Then, we’ll stitch the tulips themselves, which are worked in all the coral-reds, from light to dark – 922, 923, 924, 925, 926.
Helpful Tutorials
If you are not familiar with long and short stitch shading, all of the tutorials in this series on long and short stitch will be helpful, but especially this tutorial on shading around curves and to points and this tutorial on stitching angled elements (especially the scalloped element towards the end of the article).
Additionally, you might want to watch the long and short stitch shading video tutorials here.
The split stitch video tutorial here will help you with the initial outlining that’s worked before the long and short stitch shading is commenced.
One Strand & Split Stitch Outlines
The entire tulip element is worked with one strand of silk in the needle, using a #9 crewel needle.
On the center back petal, use one strand of 924 to work a split stitch line along the top design line of the element (don’t split stitch along the base of the element where it meets the rest of the tulip). Then, work the the long and short stitch shading primarily in two colors, 924 and 925. Then add in just a couple long and short stitches in 926 right at the base of the element, to darken it
I found it easiest to work all the center petals all around the design first, and then go on to stitching all the tulips.
You might prefer to stitch each complete tulip at one time. This is totally up to you!

With the center dark red petal complete, split stitch along the top two petal lines of the tulip in the lightest coral, 922. Don’t split stitch around the whole tulip shape here – just across that top line.
From there, begin the long and short stitch, working the first layer of light stitches over the split stitch line, and then from light to dark down the shape, angling the stitches as necessary to fill the tulip.
Here’s a diagram that gives you an idea of the stitch direction:
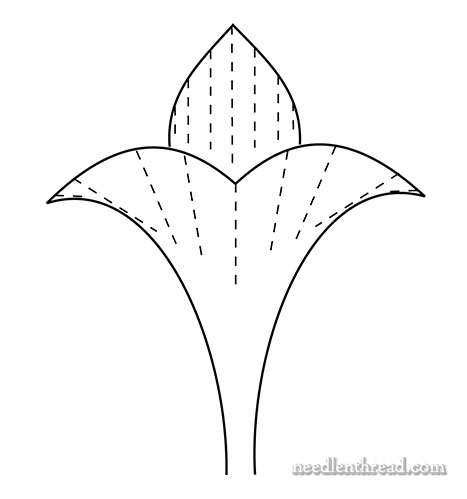
Before ending the thread for the darkest shade (926) of the tulip (at the very base), turn the work over, run the thread under the backs of the stitches to the top of the tulip shape, and bring the thread to the front again at the base of the center dark petal. Split stitch right across the base of that center element in the dark red, over the long and short stitch there, to create a clear visual break.
And that’s the tulip!
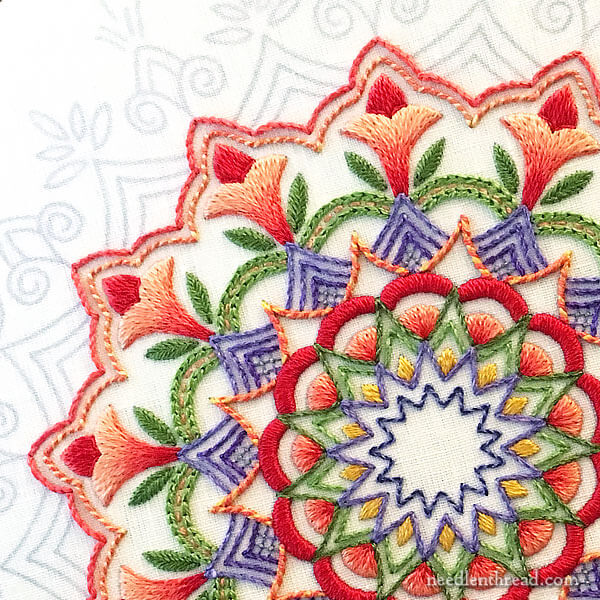
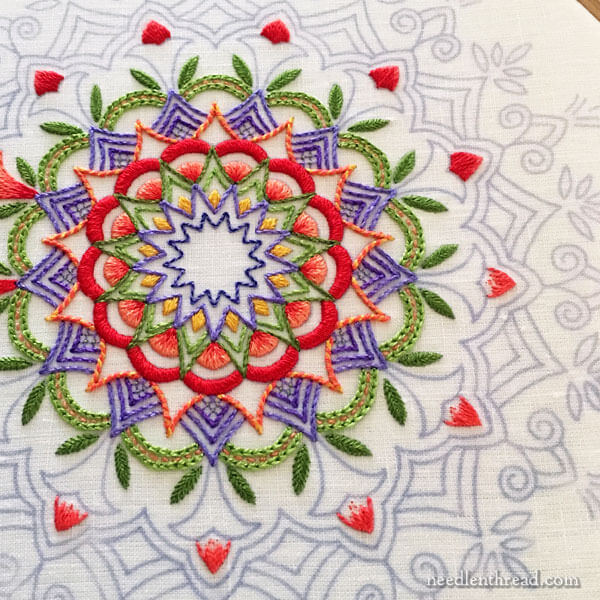
The next layer out beyond the tulips – forming a border around them – is whipped backstitch, worked in the same manner as the yellow and coral whipped backstitch in Part II. Use three strands of gold (2525) for the backstitch foundation for the first layer, and whip that layer with two strands of coral (924).
The second border beyond the tulips is stem stitch in coral 924, using three strands of Soie d’Alger. Besides the stem stitch video tutorial, this tutorial on sharp corners and scallops with stem stitch will be helpful.
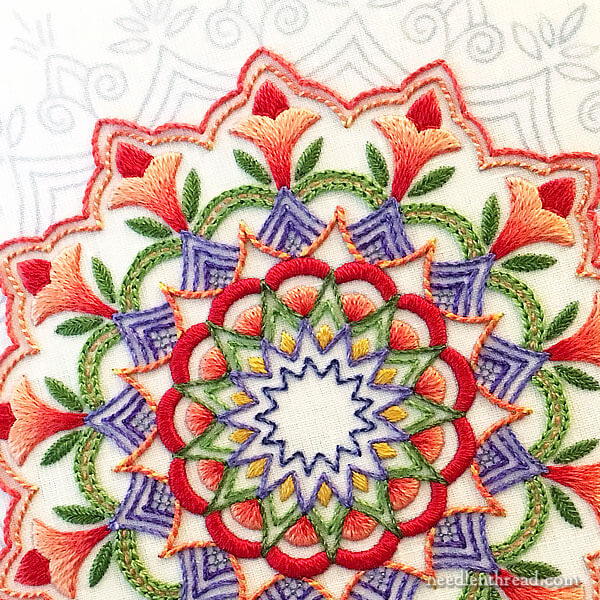
At this point, you have another excellent stopping point for a smaller version of the design.
Unfortunately, I never took a photo of the whole piece at this point! But you can get a good idea from the pictures above of how well the two outer lines beyond the tulips make a nice border.
The last installment of this short series will cover the outer rings of the kaleidoscope with the decorative elements along the outside edge.
Lesson Recaps
You can find the previous lessons in this series through the following links:
Part I – Materials, Threads, Set-Up, and first stitches
Part II – Stitching further out on the kaleidoscope
Tulip Festival Pattern
You can find the design for Tulip Festival in my pattern e-book, Favorite Kaleidoscopes. There, you’ll find a whole range of kaleidoscope patterns for embroidery, from small to large, simple to more complex. There are over 30 patterns in the e-book, ready for you to stitch into your own colorful masterpiece!
Questions?
As always, if you have any questions, comments, suggestions for alternative approaches, or whatnot, feel free to join in the conversation below!
