So, you know how on Monday, I showed you my first embroidery finish of 2018?
Well, this morning, I’m going to show you my first start of 2018.
Now, you might think that the little needlepainted bird from Monday would fall in this category, but in fact, I started it on New Year’s Eve, so it doesn’t count.
But this adventuresome project I’m going to show you today was my first Big Start in 2018!
It’s not a huge project, size-wise, but I suspect that it’s going to be a time-consuming (and attention-consuming) one. I’m excited about it, I’m having a lot of fun with it, I’m learning a lot from it, I’m making some decent mistakes along the way, but I think, in the long run, it might actually turn out ok!

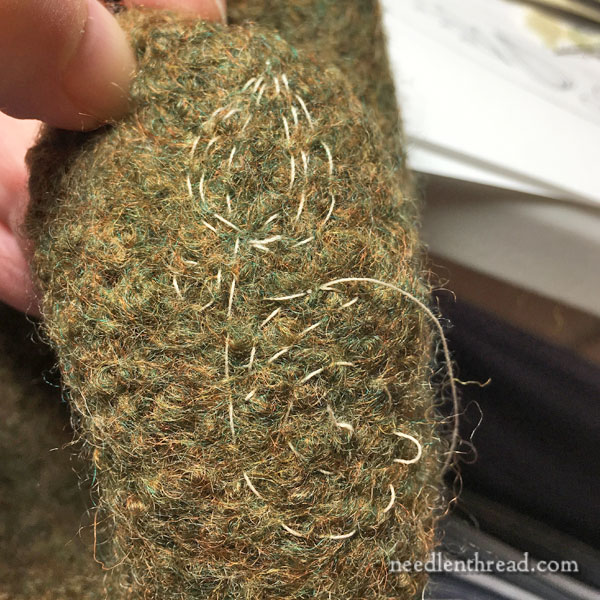
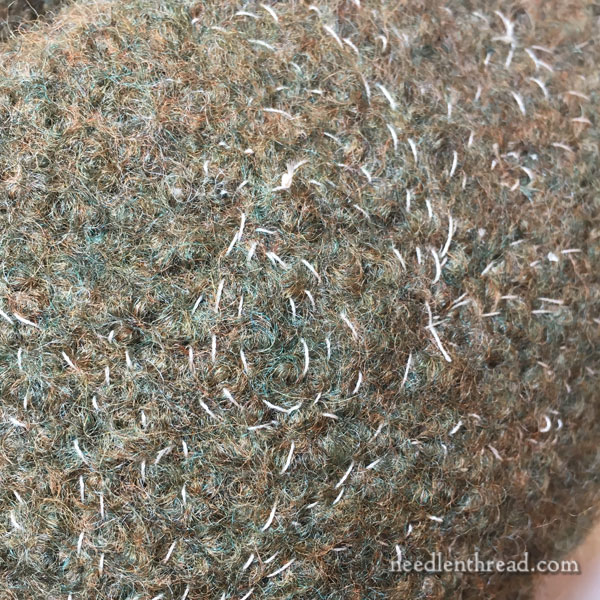
This is a thumb.
It’s probably not the most attractive thumb in the world, as embroidered mittens go. But it’s a start!
If you have a chance, search “Swedish embroidered mittens” on Pinterest, and you’ll probably see what sucked me into this idea in the first place. I’ve long wanted to embroider a pair of felted mittens, just to see if I could pull it off.
After a conversation with my sister about my deep, inner desire to embroider felted mittens (dropping obvious hints that I needed someone to knit some a pair for me), a pair of gargantuan mittens knitted in worsted wool arrived in the mail.

I said, “Wow. These are huge.”
She said, “Just wait.”
And so I went about felting them.
I used my washer, set it on “mini” and hot, dropped the massive mitts into it, dumped in a bit of soap, and let the machine work its wonders. I have an agitating washing machine – it’s the key to felting in the washer – and it really didn’t take very long. I alternated hot and cold, returning the dial to the setting where it would start agitate a couple times in each “load,” and ran the things three times through. In the third pass, I boiled a kettle of water on the stove and dumped it into the machine, too, just to kick up the heat.
In less than two hours, I had a perfectly fitting pair of felted mittens! I shaped them and left them to dry.
The Design
Then, I contemplated a design.
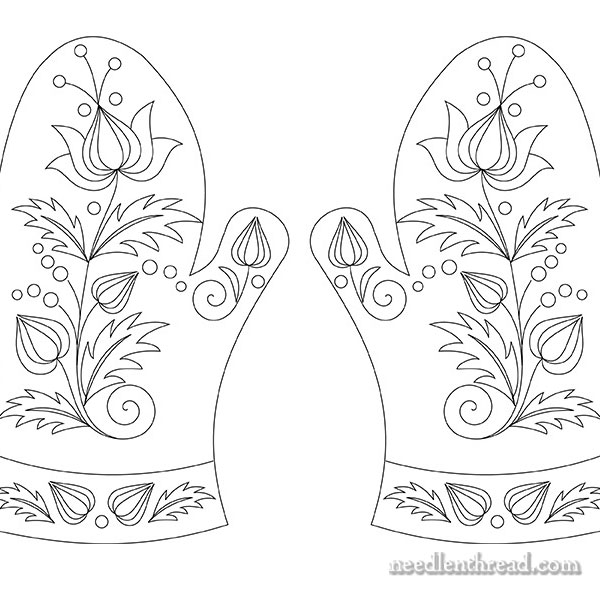
Messing about with this folk flower design, I tweaked it a bit and came up with the above.
Perhaps a bit ambitious for the first try? something said in my head.
Naaaaah! I replied with a fanatical grin.
Design Transfer – A Tough One!
Then, I contemplated the whole transfer question. This was a tough one!
I could try to wing it free hand, but unless my plan is totally random stitching, I’m not so good at that.
I could try prick and pounce, but the wool is very boingy, so I didn’t bother. I figured it would be a bit of a mess.
I could try something like Transfer-Eze or Sticky Solvy, but there were two things against this:
1. I’m stitching with wool. I’m not so keen on the feel of cotton passing through Sticky Solvy or Transfer-Eze (although I will use it occasionally), but I can’t even imagine how much I’d dislike wool passing through the stuff. I think the stabilizer would unduly fuzz the wool up, anyway.
2. This type of water-soluble stabilizer requires good soaking to get all the bits out. Now that my mittens are a practically perfect size, I don’t really want to have to do any long soaking with them again.
The Tissue Paper Tacking Method
So I decided to use this tissue paper tacking method of transfer – or at least, to try it to see if it would work.
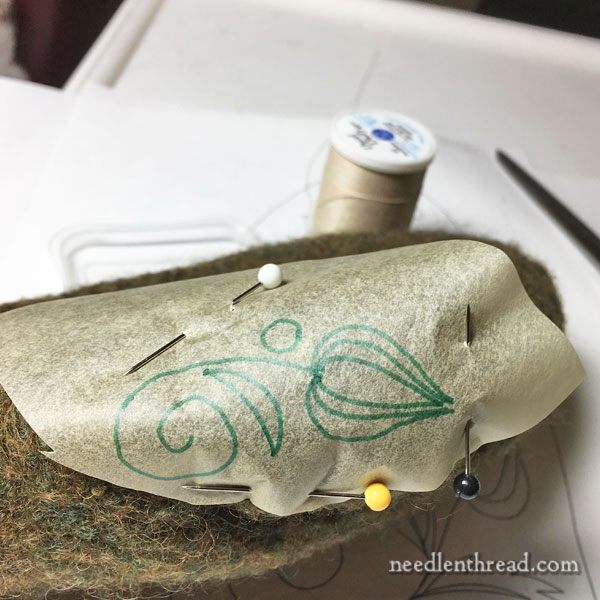
I started with the thumb.
This is not my favorite method of transferring a design, because it adds quite a bit of time to the front end of any project.
But, in a pinch, it’s usually a very accurate and good way to transfer a design. On dark fabrics, on items – like mittens – where other transfer methods won’t work very well, tissue and tacking can come in very… um… handy.
Well… it took a while, but it did work! At least, it worked well enough that I have a good idea of what the design is and where to stitch it!
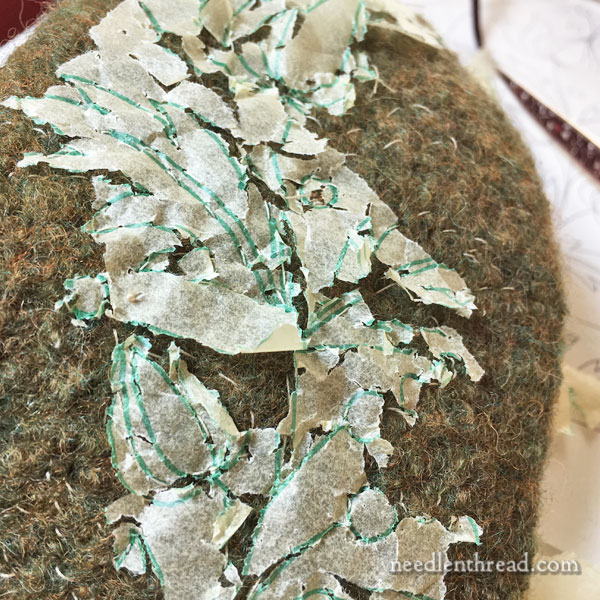
In fact, it took me 2.5 hours to transfer the design onto one mitten.
With the next mitten, I have a few ideas for making the process a little less time and labor intensive.
Wool Threads
Once I had the design on the gloves, I foraged for some wool threads. I’m using Fine d’Aubusson wool, and for the most part, I’ll probably be stitching with two strands in the needle. We’ll see!
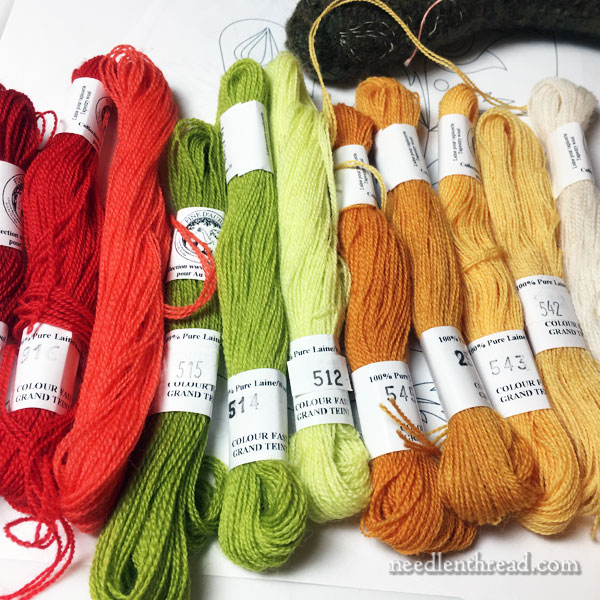
I really, really, really wanted to do a coral, green, and yellow color scheme on these moss green mittens, but I don’t think there’s a coral range available in the Fine d’Aubusson here in the States – though I haven’t checked on new colors recently. So I just used what I had on hand, that would show up on the moss green mittens.
The Beginning
In starting out on the stitching, I decided to start on a thumb, since it’s a small part of the design, and since, if it took me a while to get the hang of it, it’s not the most noticeable part of the mitten.
I did make a couple mistakes, especially in padding under the stitches. I over-padded.
I think, with satin stitch or any similar stitch when working on a ground fabric like this, a little bit of padding is a good idea, because it’s difficult to get the stitches to lie perfectly, due to the irregular and tight but spongy nature of the very thick felted wool. But at first, I thought I’d really have to build up a good couple layers of padding. This is completely unnecessary and it tends to make things lumpy.
Now that I’ve worked a tiny section, I have more of an idea of what to expect with the design and with the whole process.
I’ll share progress – and anything I learn in the meantime!
Any questions, comments, tips, suggestions? Feel free to chat it up below!
