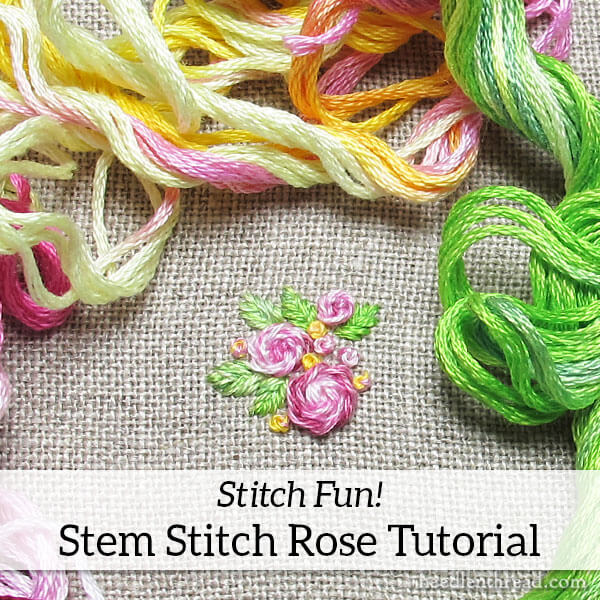
Before we kick off the weekend, here’s a little Stitch Fun! tutorial to get your creative juices flowing!
Now, before I go any further, there’s a caveat. I used a really awful piece of linen in this. So my apologies ahead of time. Sometimes, you just don’t realize how lousy a piece of fabric is, until you see the results when you’re editing photos. I should have known, I should have known!
Lately, I’ve received a lot of requests for information on this particular approach to creating a rose with stem stitch. Usually, the request comes in the form of a photo emailed in. “What stitch is this? Do you have a tutorial?”
So I figured I’d work one up, for the next inquiry.
The stem stitch rose is pretty simple in concept. The most complicated part about it is the center knot that’s often used to start the rose.
But I’ll let you in on a little secret below, after we go through the standard steps for the starting knot, in case you want to skip the knot altogether.
You can make any size roses with this technique. We’ll discuss that below, too.
Materials Used in the Tutorial
In this tutorial, I’m using three strands (from the six) of stranded cotton. I’m using an overdyed cotton in pinks, from Colour Complements.
I pulled each of the three strands out individually from the six (called stripping your floss – you can find a tutorial for stripping floss here), and then I reversed the direction of one of the three strands, so that the overdyed areas don’t line up perfectly. This gives a little variety in the colors as the rose develops.
The fabric I’m regrettably using is a 36 count Zweigart linen. You can see how uneven the even-weave is – and how fuzzy. Argh!
I’m using a size 7 crewel needle.
The Center Knot
So let’s start with the standard center knot!
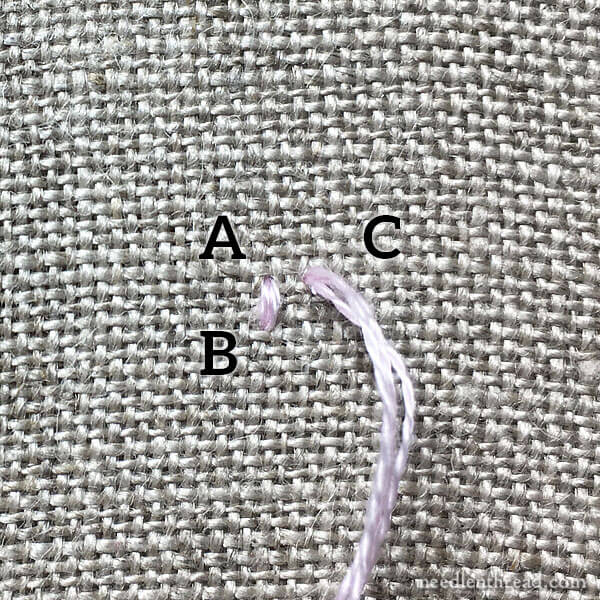
Working over an imaginary square, make a small straight stitch from A to B, and then bring your needle up at C.
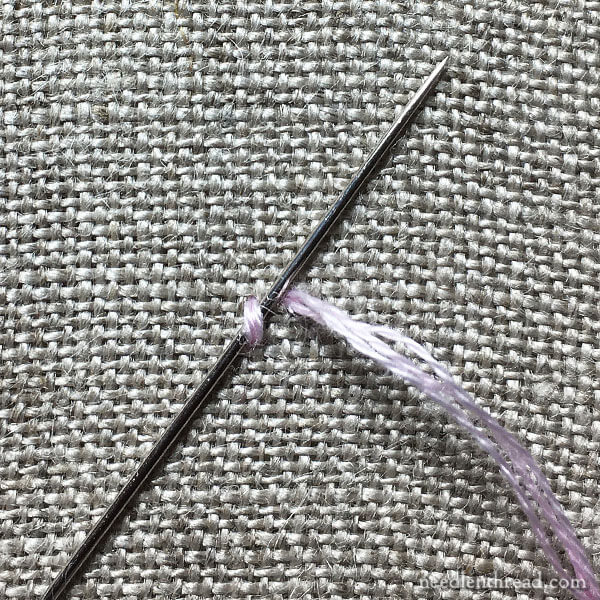
Take your needle and thread over the straight stitch and then pass upwards and under the straight stitch, between A and C, without picking up any fabric, and pull through so that the working thread wraps around the straight stitch.
Then, pass the needle and thread back under the straight stitch, passing under it below the wrap you just made, angling the needle down, and coming out over the working thread.
In this case, the needle is situated inside a larger loop of the working thread, so I don’t actually have to place the working thread directly under the needle. I just picked up the needle inside the loop and pulled, tightening the loop and wrap around the straight stitch and the working thread.
This is very similar to creating an individual Palestrina stitch, if you’re familiar with that stitch.
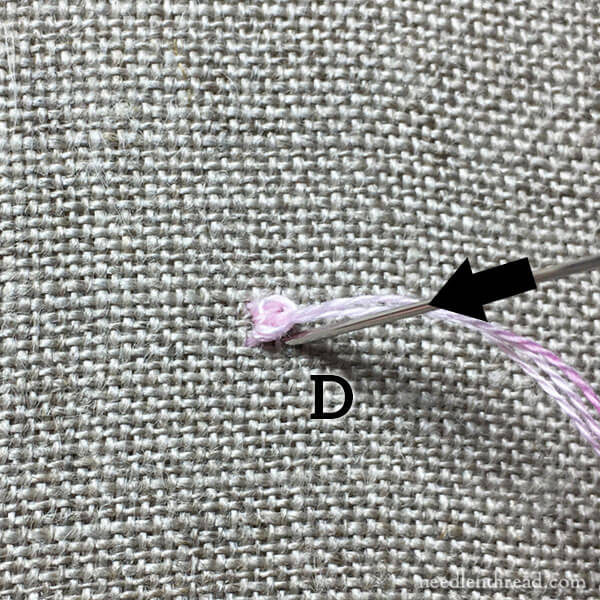
Take the needle and thread to the back at D, which is below C and completes the imaginary square.
This is sometimes referred to as a square knot, and essentially, it creates a knot with 4 legs that enter the fabric at A, B, C and D.
Alternative Centers
You can actually simplify the center of the stem stitch rose by working either a simple cross stitch (which also has four legs, or points of entering the fabric) or just skipping the four-legged approach altogether, and working a center of French knots or whatever you want!
If your center doesn’t have four legs, you’ll just skip ahead in the tutorial to the point where you start stem stitching around the rose, picking up tiny bits of fabric along the way.
But we’ll just assume we’re doing the square knot center!
Stitch Direction!
I’m going to break in here and comment on stitch direction.
Technically, the direction I’m going in this tutorial isn’t entirely consistent with stem stitch. But with this particular technique for creating a rose, it doesn’t matter which direction you work around the flower – it will turn out looking the same, because the stitches are relatively large and somewhat separate from each other.
So you can work clockwise or counterclockwise around the center knot, keeping the working thread to the outside of the rose in either direction – whichever is more comfortable for you!
The Petals
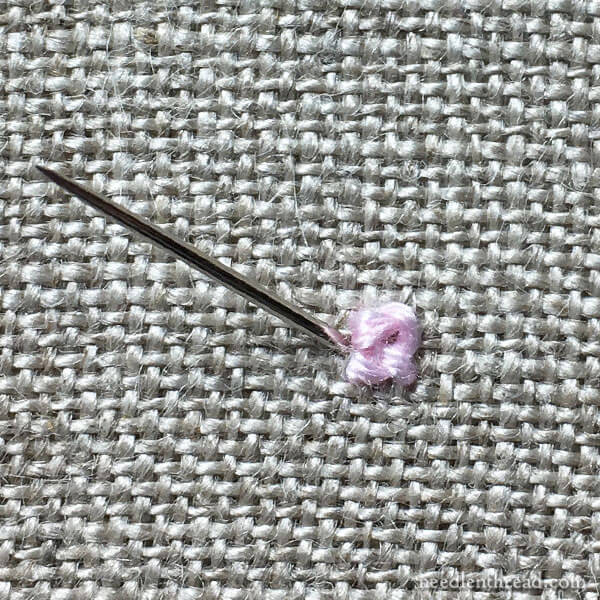
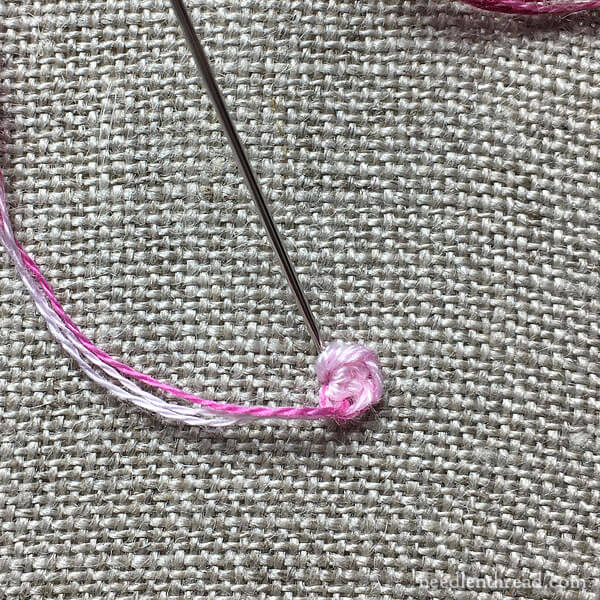
With the square knot finished, bring your needle and thread to the front of the fabric right next to the square knot, between two of the legs. This can be on any side of the square knot, as long as you’re between two of the legs and next to the knot.

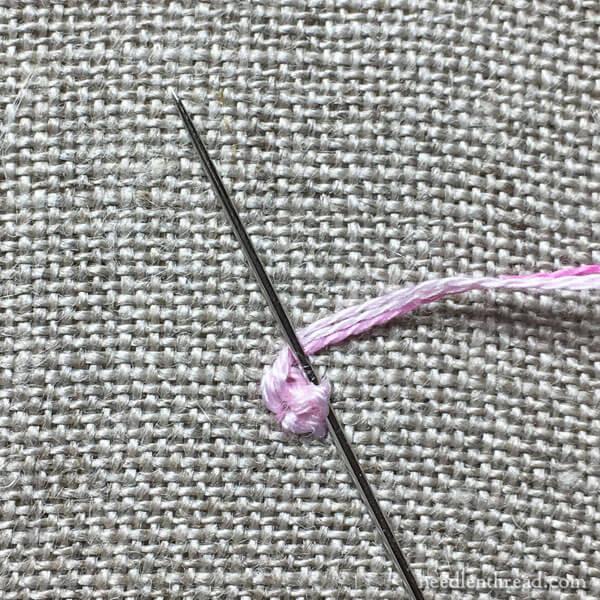
In the first layer of the stem stitch rose, you’ll work around the rose, passing under a leg of the square knot and over the working thread, as shown in the photo above.
Don’t pass into the fabric at this point. Use the legs as the anchor for the stitch.
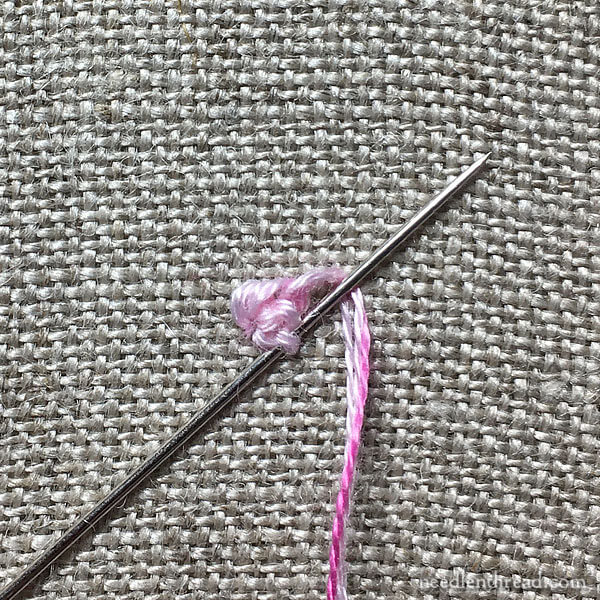
Progress around the square knot, passing under the next leg and out over the working thread, as shown above.
Continuing forward to the next leg, do the same thing…
And do the same thing over the last of the four legs.
At this point, if you just want a teeny tiny rose, you can end the rose at this layer, by taking the needle and thread to the back of the fabric, behind and underneath the center of the first petal worked on the first leg.
Angle the needle so that the last stitch tucks under the first stitch, and you’ll end up with a tiny little rose.
Essentially, you determine the size of the rose by how many rounds of stitches you work from here on out.
We’ll just assume we want a fully bloomed rose and keep going!

The rest of the rose is worked by picking up a tiny bit of fabric with each stitch around the perimeter of the knot and the first layer.
To balance the petal layout, pick up the fabric behind the center of the previous round’s petals. This will help create more of an off-set pattern.
That said, as your rose grows, you can add more stitches around the perimeter, depending on the look you want. The more you play with the rose, the more you’ll see how to manipulate it for a particular look.

Keep working around the outside of the rose, picking up a tiny bit of fabric with each stitch, and coming out over the working thread to form the loop of the petal.
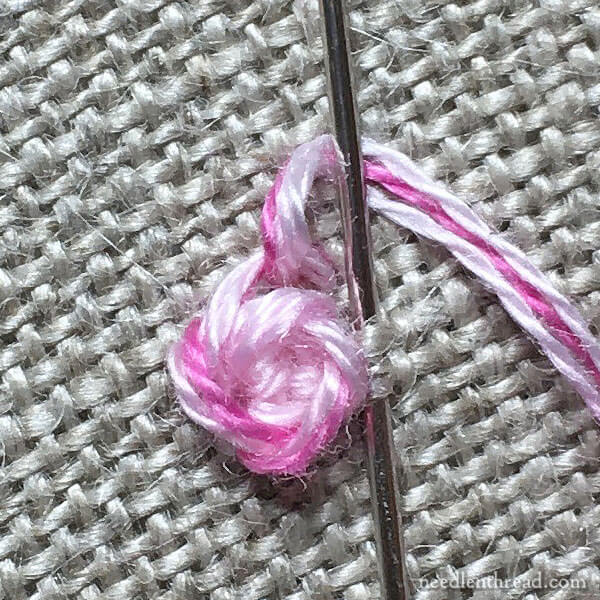
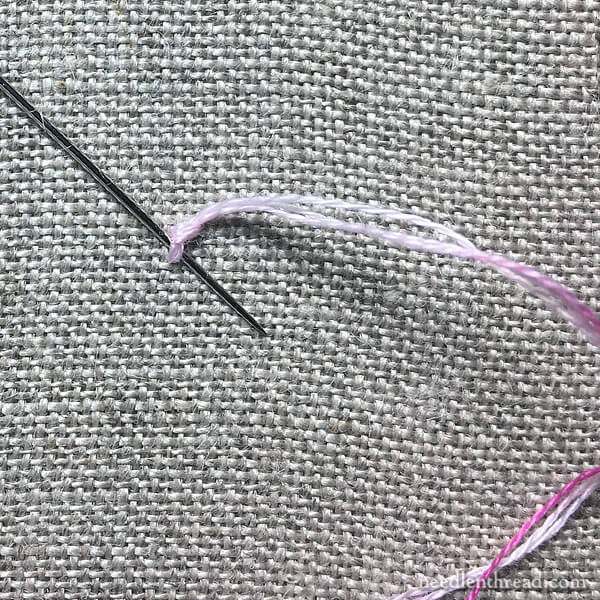
Here’s a close-up of picking up some fabric. In the photo above, I grabbed about three threads of fabric, but you can grab as little as one thread, if your fabric is sturdy enough. I think on this tiny rose, I averaged picking up about two threads of fabric with each stitch.
My needle in the photo above is pointing upwards and coming out of the fabric over the working thread.
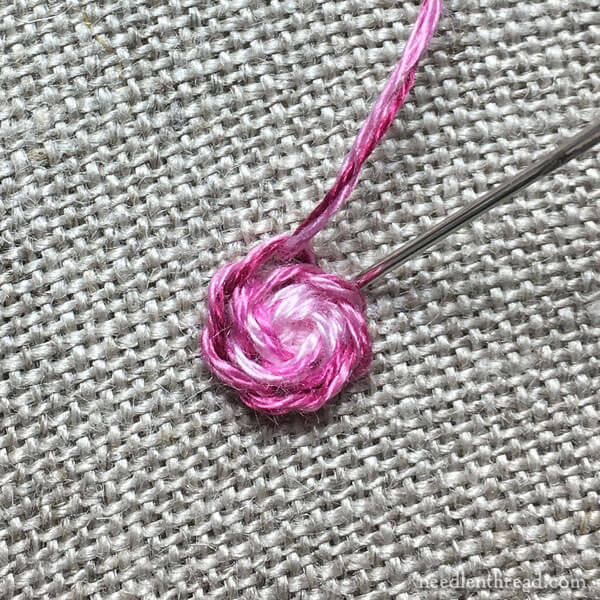
Once your rose has reached a satisfactory circumference, end it by taking the needle and thread to the back of the fabric, tucked in behind the stitch on the previous round.
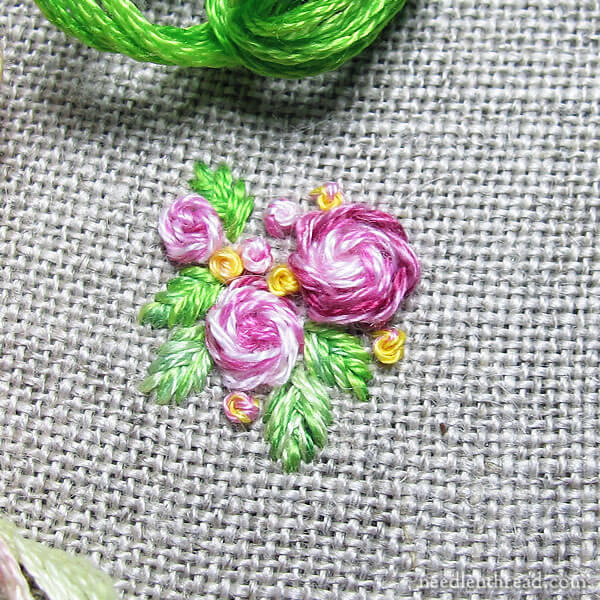
For a little rose motif, group together three sizes of stem stitch roses, work a few fishbone stitch leaves around them, and then fill the motif with tiny French knots in complementary or contrasting colors.
This is an easy, fun, and fast way to work up a pretty little floral cluster. The roses work up Very Quickly!
Differences
The stem stitch rose differs from the woven wheel or spider web stitch in a couple ways:
1. The stem stitch rose is not worked over a foundation of spokes; and
2. The loops of the rose sit higher on the fabric, thanks to the stem stitch, and create a more realistic looking flower.
More Stitch Fun?
Stitch Fun! is a series of photo tutorials here on Needle ‘n Thread, focusing on fun, different, or more obscure stitches, combinations, and explorations.
You can find the index for all the Stitch Fun! articles on Needle ‘n Thread, here. Why not try some this weekend?
You can also find my video library of embroidery stitches here, if you’d like to explore stitches via video.
I hope you enjoy this little tutorial and that you have a wonderful weekend with your needle and thread!
