When preparing for kids’ classes in hand embroidery, there’s a whole checklist of things to go through before the classes are ready.
Setting goals, planning projects, stitching models, ordering supplies, constructing lessons, printing materials, kitting supplies, working out schedules, squaring away the space, getting in adequate lighting, seating, and work surfaces… there’s a lot to do behind the scenes when self-hosting embroidery classes!
Even though I’m starting out with a snapshot of supplies here, this isn’t where it all begins.
Any kind of class that you might want to host locally – whether for kids or adults, whether at your home or a public venue – begins with nailing down a venue. Why? Because if you don’t have a place to meet, you’re going to have a hard time hosting a class!
Once I had the venue squared away, I considered the “audience” – in this case, the age groups I want to reach. At this point, I haven’t started thinking about projects, supplies, or anything else yet.
The first thing in any teaching endeavor is to consider your students. Who are they? What are their abilities? What do I want them to know by the time the class is over?
Once I have a grasp on those things, then I can consider the tools and methods that will achieve the goals for the class.
In my case, the summer classes I’ll be hosting for kids are focused essentially on three age levels: 9 & 10, 11 & 12, and 13-15.
They’re split into three levels because there is a vast difference between a 9 year old and a 12 year old, and a 12 year old and a 15 year old.
Even though they’re all at the beginner level despite the differences in ages, when working with kids, age is often a good indicator of developed motor and cognitive skills. A 9 year old is not likely to be as deft with a needle and thread as a 14 year old. And a 9 or 10 year old is not necessarily going to comprehend instructions as quickly or retain information the same way. Of course, this can (and will!) vary with individuals, but when planning to work with a group of unknowns, it’s helpful to consider the developmental levels typical of age groups. Refining and fine-tuning can come when the classes are underway.
General Goals for Kids’ Embroidery Classes
Once the audience is nailed down, then it’s time to consider the goals for the class. What do I want them to know and to be able to do when the class is over?
With embroidery, it’s pretty obvious!
I want them to know some basics about embroidery in general, to be able to put those basics to work on any self-directed project outside the class, to have a decent repertoire of stitches to begin with, and to have confidence to pursue embroidery away from the classroom. I also want them to experience successfully finishing a project. And, through it all, I want them to have fun!
Once general goals are in place, the specific goals for each class can be narrowed down.
Then, I have to consider the materials and the methods of reaching the goals for the class. And that’s where sample stitching comes in.
Now, I lean towards the type of teacher who believes that children are much more capable than we tend to give them credit for. I learned this when teaching embroidery to young children (7 and older) years ago. Make it too simple, and they fly through without bothering to really pay attention or exercise any care or precision. Make it a little more challenging, and they slow down, which helps them learn better.
Children can learn to thread (real) needles with embroidery floss just as easily as they can learn to thread a plastic needle with pearl cotton or thick wool. A child can learn to stitch on linen or cotton with as much facility as learning to stitch on plastic canvas or felt. It just depends on the approach and on overcoming fear of the unknown. Make it fun, make it satisfying, and the materials can be more advanced than you’d think. Children love a challenge, as long as they have the wherewithal to meet the challenges and the help they need to overcome fear of the unknown.
However, one thing I’ve found that can really hamper a child’s ability to get into needlework is presenting too many choices.
Limiting Choices & Why It’s a Good Thing
While it sounds nice to say, “What do you want to stitch? You can stitch whatever you want!” or “Pick your favorite colors,” and to leave everything to the creative ingenuity of the child, the fact is, too much choice can be a catalyst for anxiety. It can put the brakes on actually doing and learning. And it is certainly a hindrance to moving the class along.
Giving a child too much choice in this kind of situation is a lot like telling a 10-year-old “Write a composition about whatever you want to write about. Due tomorrow!” For most children at that age, that’s a recipe for failure.
So we’re preparing two levels of projects for the children’s classes.
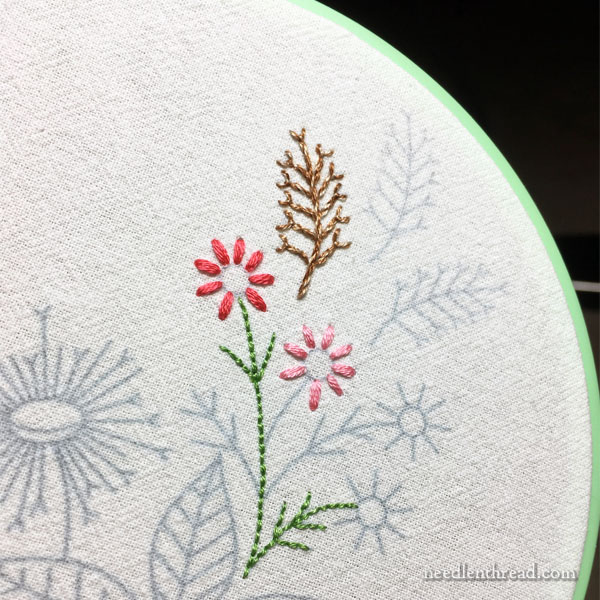
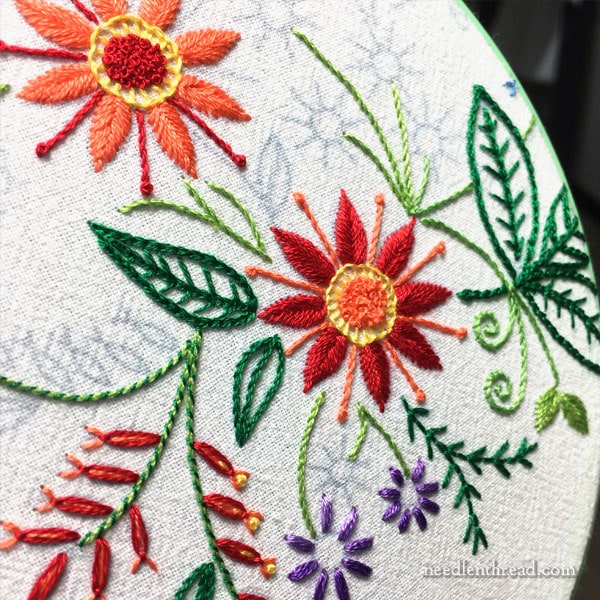
The 13-15 year olds will have slightly more advanced projects than the 9-12 year olds. Right now, I’m stitching up the sample for the older group.
To keep supplies affordable, the projects are fairly basic: we’re doing a monogram finished in a wooden hoop and a flour sack towel, accompanied by a stitch sampler or doodle cloth as they learn new techniques. This way, the have two finished items to show for their work.
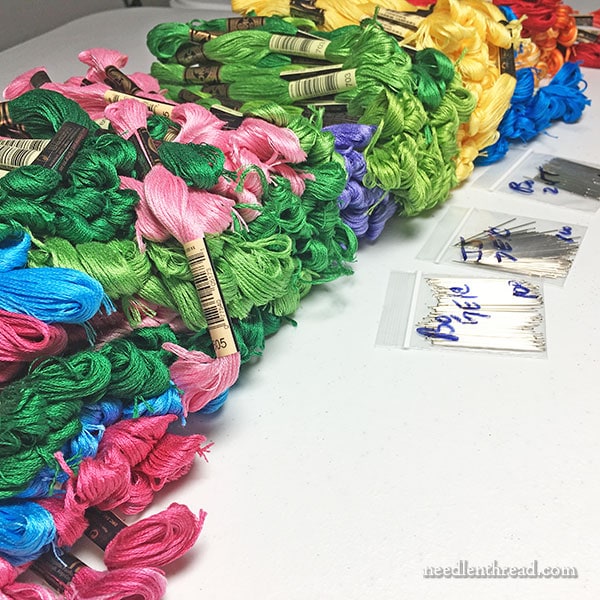
They’ll be working with regular stranded cotton in a decent array of colors, since this is the thread that, outside the classroom, they are most likely to find easily, should they explore embroidery further on their own. They’re also working with real needles (size 5 and 7 crewel, size 22 tapestry).
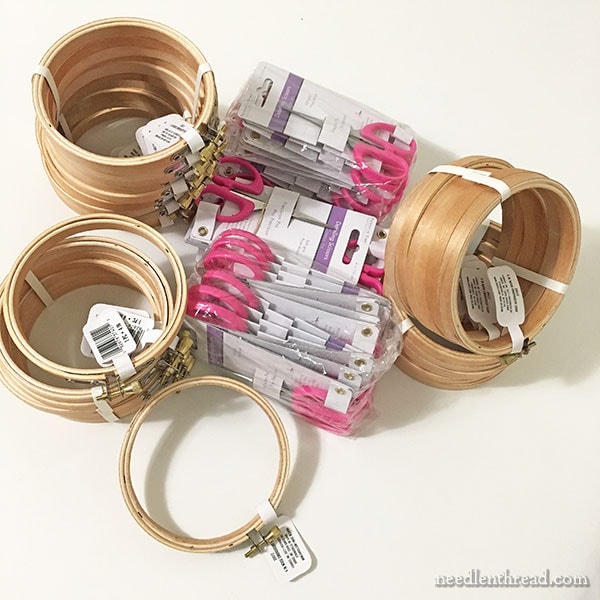
As far as hoops go, the most economical 6″ hoops that I could find that do the job well enough are Susan Bates plastic hoops. And yes, they’ll even have real embroidery scissors, small and sharp enough. When working with kids, I’ve found that it’s best that all supplies are supplied. Otherwise, the disparity of what they arrive with makes it difficult to keep things coherent.
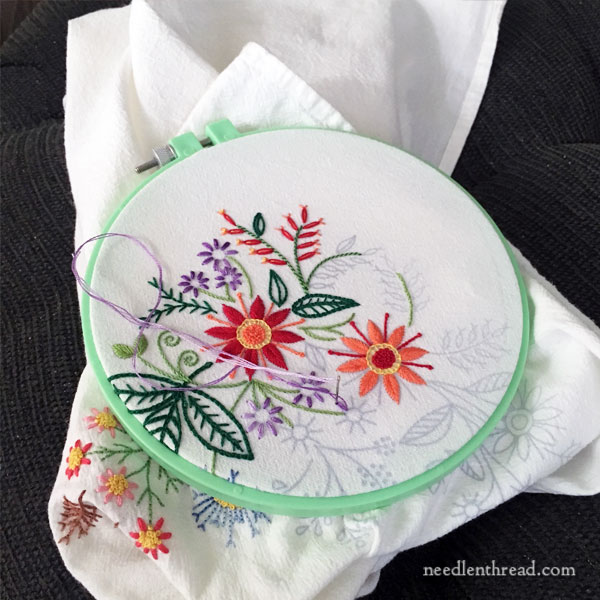
When it comes to stitching up class samples like the one above, I use the same supplies they will use, to make sure that I’m aware of everything they will encounter.
Once the model stitching is finished, we’ll work up specific lessons, then kit up supplies for each participant, and then we’ll be good to go!
Any questions, comments, or suggestions? You’re most welcome to chime in below!
