It ain’t pretty, but it works!
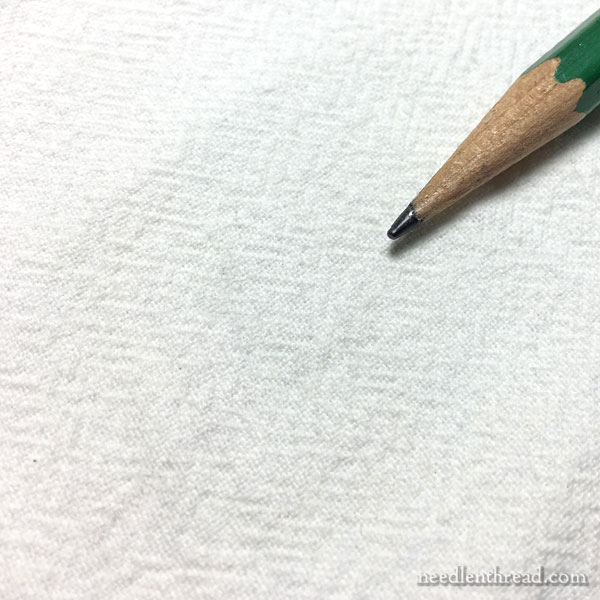
Lately, I’ve been free-hand drawing little motifs onto fabric using a pencil. Sometimes, I make mistakes.
Instead of re-drawing new lines over old lines and making a jolly mess with the graphite, and instead of washing the fabric and starting over, I use a little tool that helps me resume drawing on clean fabric with very little effort.
I’ve used this ugly little thing on several different types of fabric when I’ve wanted to remove pencil marks. It removes all or most of the graphite without smudging or damaging, fuzzing, or shredding the fabric surface.
For those who transfer embroidery designs with pencil or like to draw designs free-hand on their embroidery fabric, this tool is a time saver!
So here it is – a little handy tool that’s good to have in your arsenal in case you ever want to remove incorrectly drawn pencil marks from ground fabric before stitching.

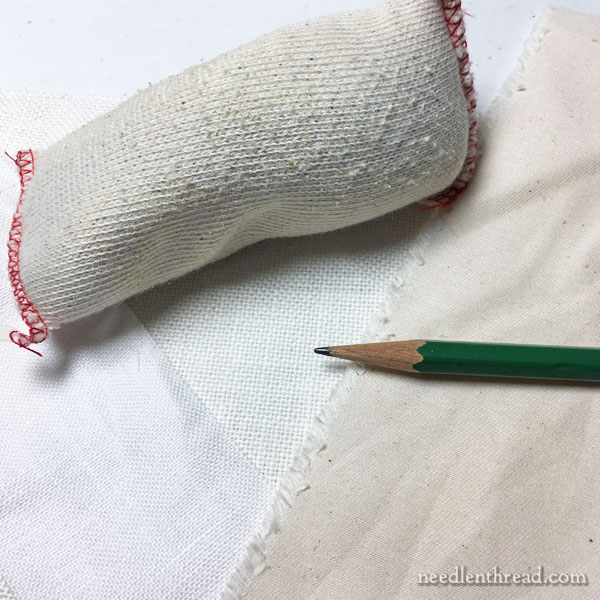
The tool in question is that ugly little sock thing in the middle of the photo.
If you’re an artist, an architect, engineer or draftsman, you are probably already familiar with it. It’s called a “dry cleaning pad.” It’s sold for drafting and artwork, to remove or lighten graphite markings from most papers and vellum without smudging and without ruining the “hand” or surface of the paper.
And it works on fabric, too.
In brief, it’s a little knit bag full of fine eraser crumbs. Let me show you how well it works…
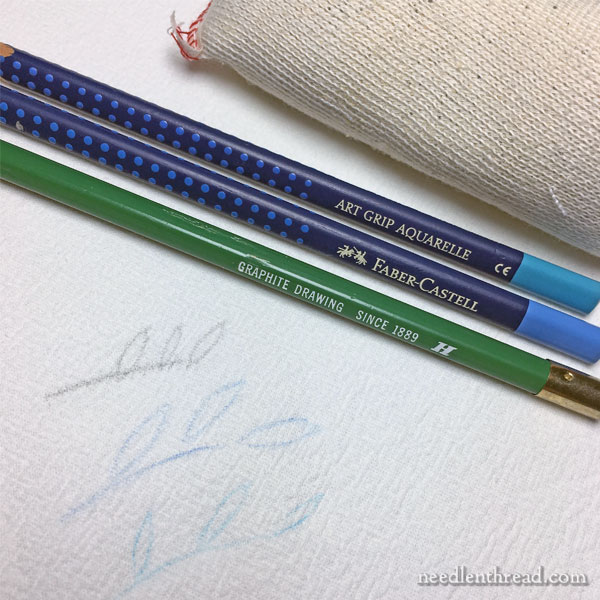
I drew three little elements on a piece of cheap cotton toweling, using the pencils in the photo above. One is an “H” graphite pencil. The other two are watercolor pencils by Faber-Castell.
The idea is to rub the little sock sack lightly on the marked area. Work in a small circular pattern over the drawn element that you want to remove.
If you need less surface area to the sock, just pinch a corner of the little sack to give yourself a smaller, firmer, more precise portion.
On the samples above (drawn, again, on cheap cotton toweling), after a few seconds of light rubbing, the blue lines came out completely, and the graphite line left barely a ghost of a mark.
The fabric still looks fine, even after being subjected to a good rub with an eraser of sorts.
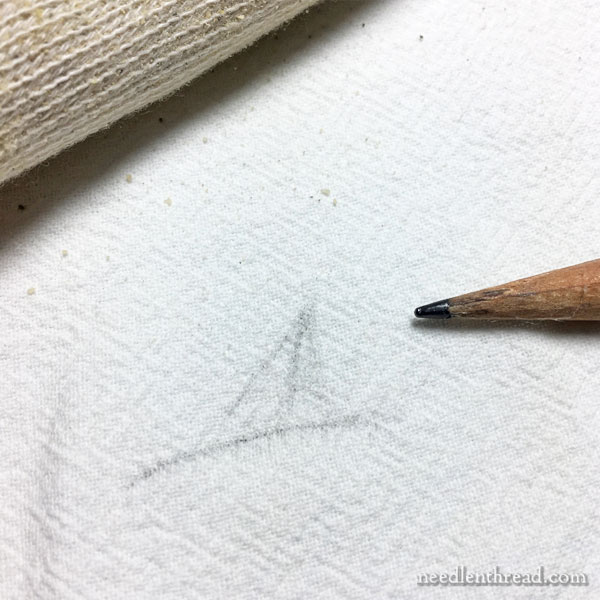
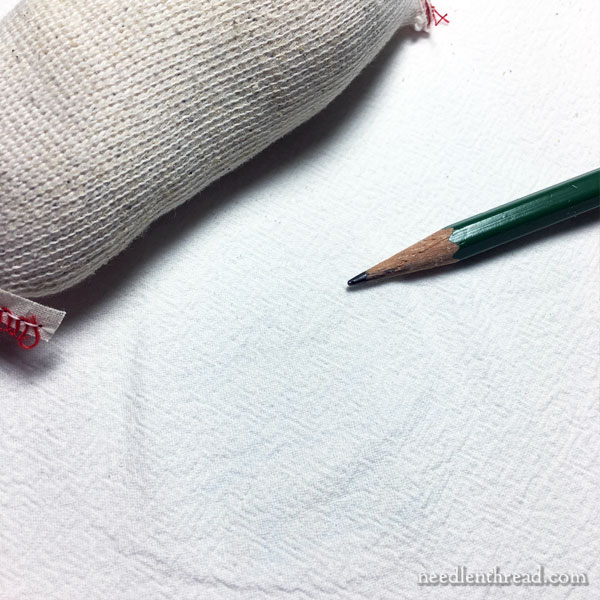
Here’s a slightly more smudgy graphite doodle – a sorry attempt at a sailboat, drawn right on the same spot as the previous little branches.
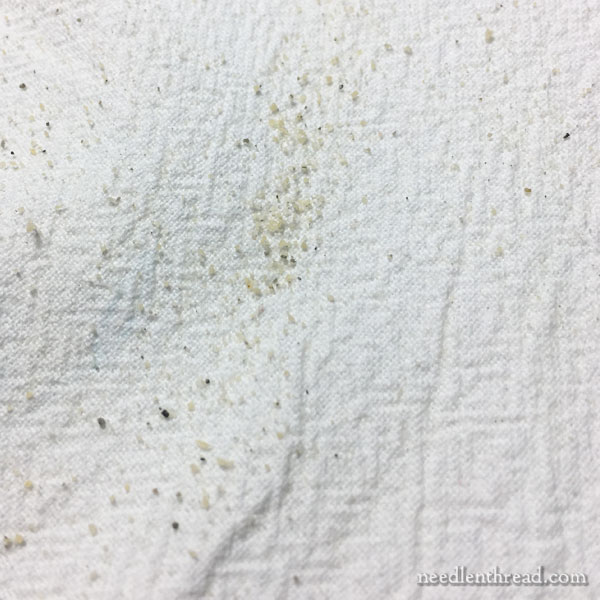
While rubbing the sailboat away, all the little eraser grits and bits scatter across the fabric…
…but nothing that a good brush-down won’t remove. Yes, it can be a little messy to use, but I think it’s worth the mess. I’d rather brush away a few eraser crumbs than have to start all over by washing the fabric, or grimace my way through stitching over really messy lines.
There’s slightly more ghosting on this attempt after a light rubbing, but it isn’t bad, considering the original smudgy drawing.
And again, the fabric looks good.
You could never do this with a regular eraser and end up with such unperturbed fabric.
So let’s go ahead and try it quickly on three other types of fabric: a fine white linen (lower left), a slightly coarser and heavier cream linen (back center), and a cotton twill (lower right).
The twill already has a bit of a speckle to it. The other two fabrics are smooth and free of blemishes.
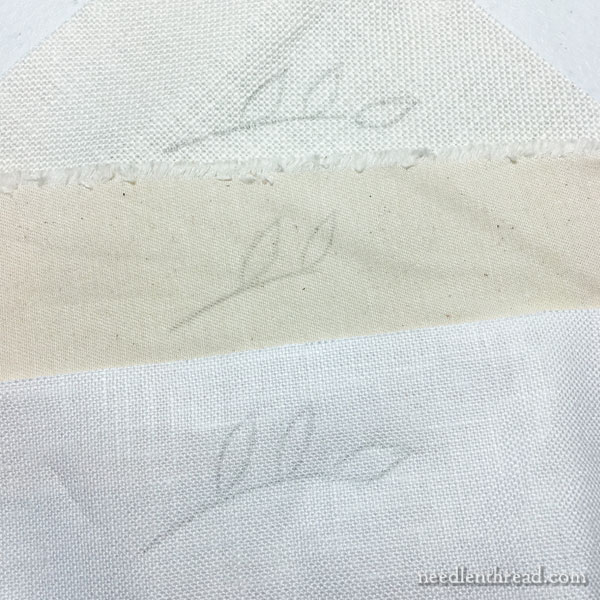
Here are my free-hand elements with pencil.
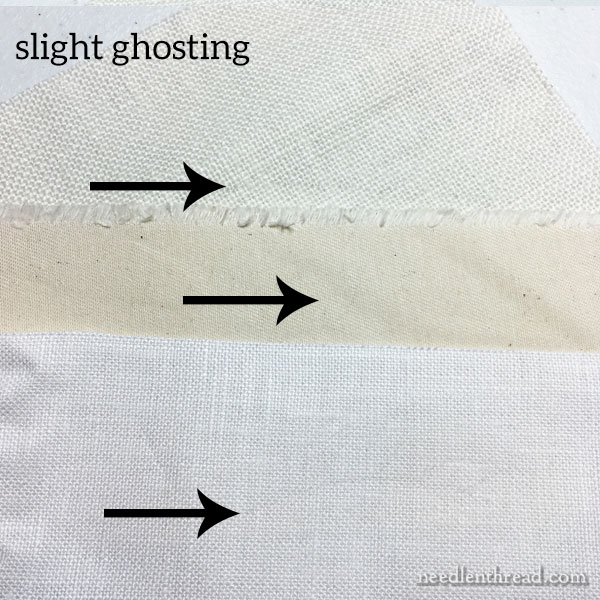
And after some quick, light rubbing, this is what we’re left with. The arrows point to the slight ghosting, but…
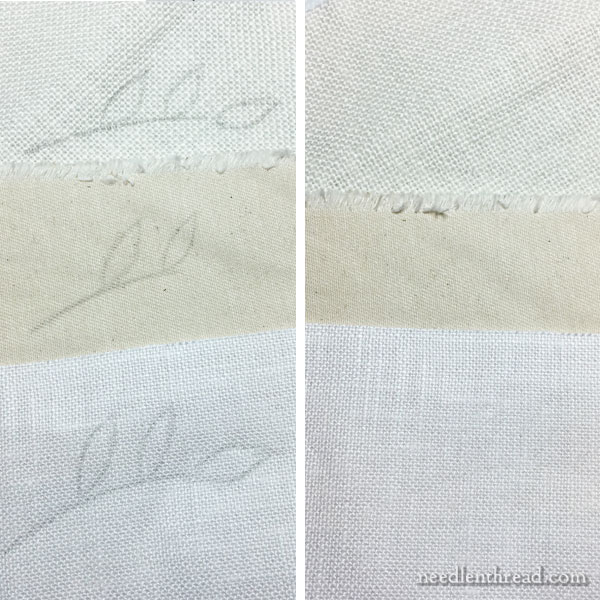
…in the scheme of things, not bad!
Where to Find It
You can find dry cleaning pads for drafting and artwork at art stores, of course, but in case you don’t have a thorough art store close by, you can also find them online.
You’ll find this particular dry cleaning pad available on my Amazon Recommendations page here, if you’d like to pick one up for your tool box, too!
How About You?
Do you have a solution for removing mistaken pencil marks from fabric before stitching a project? I’d love to hear your tip! Feel free to join in the conversation below!
Life in the new studio is going along splendidly! I’ve had my inaugural cup of tea with my beautiful new tea kettle (thank you very much!), and I’m getting used to the routine. Right now I’m still in the throes of preparing kids’ classes, and I’ll show you my headway on that on Friday, with a fun finish.
Hope you’re week is wonderful so far!
This article contains an affiliate link (to Amazon), which just means that, should you make an Amazon purchase through that link from my page, Needle ‘n Thread receives a small kick-back at no cost to you. Thanks!
