Today, our kids & youth embroidery classes wind down for the summer.
We’ve had two 1.5-hour daily sessions with different age levels of kids over the past three weeks, and it’s been a lot of fun!
And the results have been good! I think all the kids enjoyed the classes. There were only a few who were there because they were sent, rather than because they wanted to go, but even these participants worked steadily (perhaps chatted more steadily than they worked!), learned a bit of stitching, and had a good time.
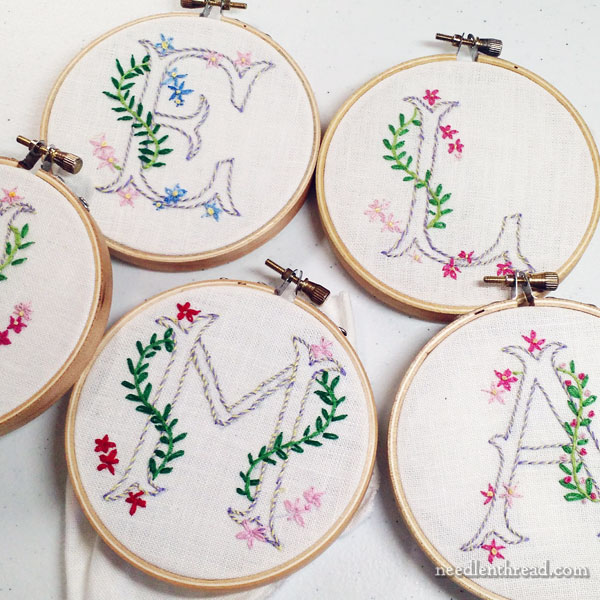
The first class projects were the simple monograms I wrote about here.
For this project, the kids learned backstitch, whipped backstitch, stem stitch, daisy stitch, and the French knot.
They also learned embroidery basics, like separating floss, threading a needle, starting and ending threads, setting up fabric in a hoop.
Finally, they learned how to finish the back of their little hoop art monograms.
The photo above is a group of finished monograms from the youngest classes. They did a great job!
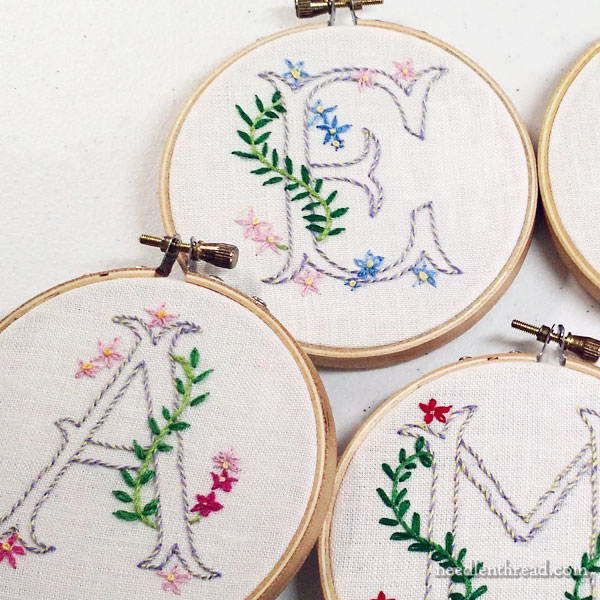
Some of the kids took the initiative to play around with their colors a bit, which was good to see. We started with a set color scheme, but, as kids will do, they asked if they could change the colors. Since they had a hearty selection of threads, there really was no reason why they couldn’t, so those who wanted to, did.
On their second project, they had much more color freedom – I’ll show you what I mean a little later!
We All Learned Things
The classes reminded me of a few good points to keep in mind for future classes:
1. Just because children have small hands doesn’t mean that small things are easy for them. In fact, it pretty much means the opposite, since they younger they are, the less control they have over their fine motor skills.
2. Especially with the younger children, basic concepts must be reinforced frequently – and I mean, frequently (several times in a class!) until the basic concept becomes second nature.
3. Take time to teach how to read diagrams, whether teaching younger children or older youth – or even adults!
4. The class time length was perfect. It could even have been longer (2 hours), but not longer than two hours.
Smaller Hands, Larger Hoops
Regarding the first point above, the 4″ hoops for the monograms were a bit small for the youngest children. When they switched to six inch hoops to work on their doodle cloths (for practicing stitches) or to work on their second project, they seemed decidedly relieved and they looked (and were) more comfortable and relaxed when holding their work.
They also seemed to progress a little faster when working with the larger hoop.
Lesson learned!
Reinforcement & Repetition = Efficiency
Regarding the second point, reinforcing basic concepts repeatedly at the beginning is key to efficiency. It may sound inefficient, to constantly repeat a concept that’s already been taught, but it’s not.
For example, we discovered that many of the younger kids, when they took their work home and stitched on it there, forgot to end off threads on the back. They would simply cut the thread after the last stitch. Then, when they started whipping their backstitches, the stitches popped out. So we had to do a bit of surgery along the way, to put things back in order.
They learned the lesson, but it would have been more efficient had we constantly reinforced that particular instruction during class time, rather than taking for granted that they understood the importance of it completely.
Diagrams
We discovered that even the simplest of diagrams for stitches can be confusing to kids. You know the stitch diagrams where we see “A” marking the start of a stitch and “B” marking the next movement?
It’s easy for stitchers to take those for granted. For us, they seem simple to understand! But with kids (and adults, too) who have’t seen step-by-step instructions laid out this way, you have to explain what A means, what B means, and then show them how their movements as they work a stitch correspond to the steps on the diagram.
It may take a few one-on-one diagram-reading sessions before it clicks. But once it clicks, diagram-reading opens a whole world of further instruction to the student, so it’s definitely worth taking time to teach how to read a diagram!
Length of Classes
We found the 1.5 hour class blocks practically perfect.
Initially, we planned to work 40 minutes of instruction, a break, and then 40 minutes of reinforcement on project stitching. What we ended up doing was instruction followed immediately by project work, with no break.
The kids didn’t really need a break in the 1.5 hour class. They had plenty of opportunity to chat while they were working on their projects, and the atmosphere was relaxed and fun. The 1.5 hours went by quickly.
More to Come!
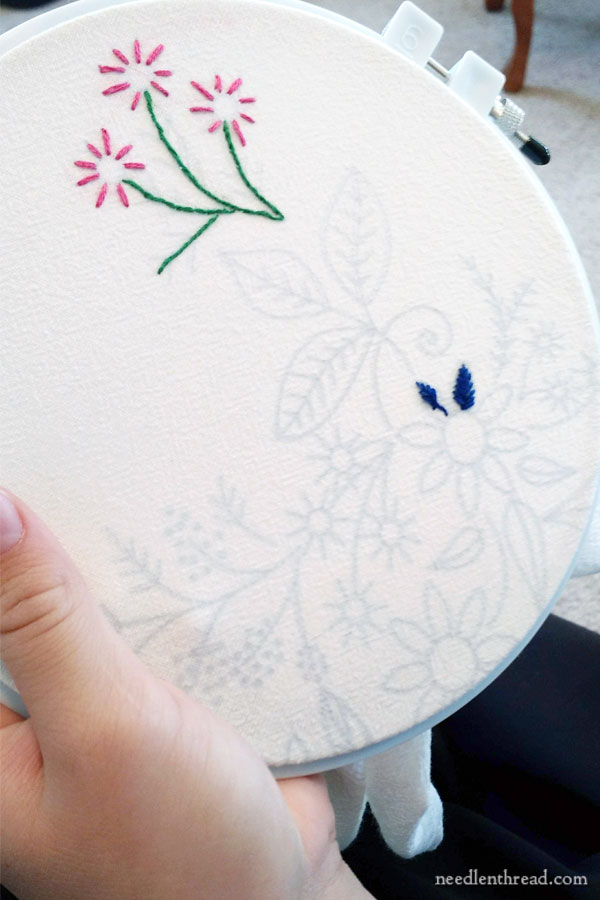
We knew that the second project would probably not be completed before the classes finished, in most cases. The idea was that the kids would have something to work on beyond the classes, but that they would have the skills and (hopefully) the interest in continuing the project over the rest of their summer vacation.
Still, many have made good progress on their floral corner designs, and I’ll show those to you and share a few more insights with you once I wind things up today and edit some photos.
In the meantime, I’m off to prep for the Last Day of Class. Gee, it’s just like being in school, all over again!
I hope you have a terrific weekend with your needle and thread!
