I promise this is the last installment on this year’s summer embroidery classes for kids!
I just wanted to share a few more photos, insights, and learning experiences from the recent round of kids’ classes, for those who have written in to ask questions and for those who want to teach children to embroider, too.
Here are a few progress photos and a few more finishes, then, with some commentary along the way. I hope you enjoy seeing what the kids have accomplished over their three week embroidery adventure!
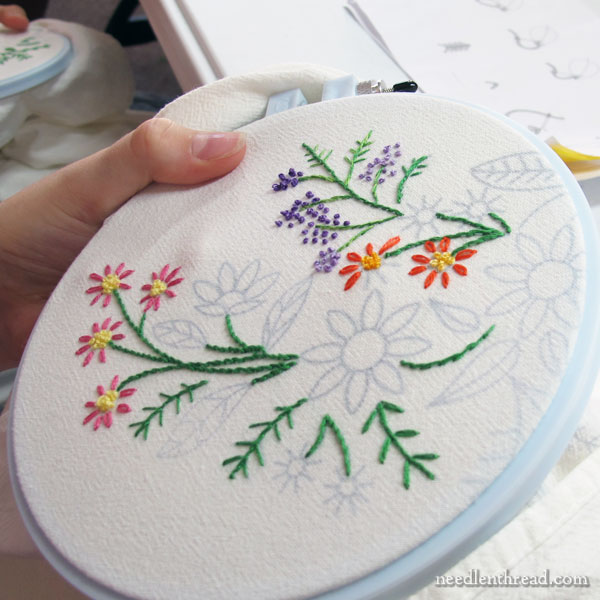
Here’s a little progress on a flour sack towel, from one of the younger groups (11 and under). Check out those French knots! Yay!!
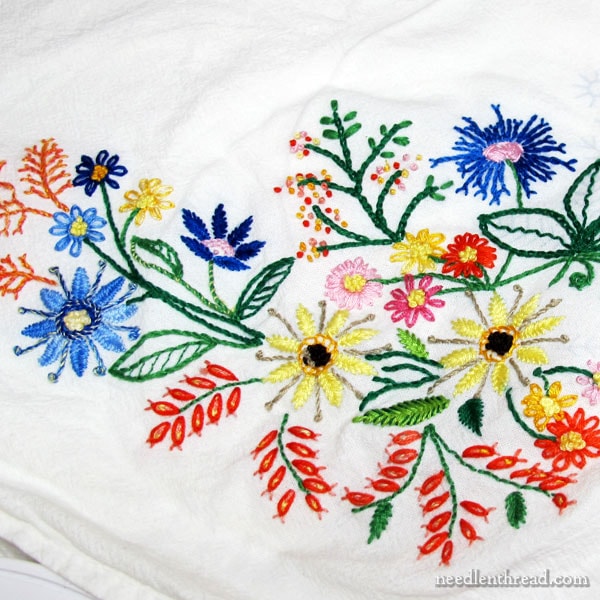
As mentioned earlier, I designed a floral composition for stitching on the corner of a flour sack towel as the second project for the classes.
The first design was a bit complex, so I lightened it up a bit and used the “lite” version for the younger classes, groups A, B, and C, which comprised 9-11 year olds.
On Embroidery Designs for Boys, Too
Now, many have asked about whether I had prepared designs for boys. In fact, no boys signed up, so I went with floral designs.
If you are teaching kids’ classes and you have boys who have signed up, there are lots of options for less “girly” floral designs – you could do animals, ocean life or scenes, trees and leaves, farm life (more appropriate, maybe, for Kansas audiences – if you’re in the city and farm life doesn’t resonate, perhaps it wouldn’t work as well). You could do geometric designs. You could try designs that are “zentangle” type drawings. You could have the kids draw something that interests them and embroider it.
There are many, many options for designs that would appeal to girls and boys. You could even check out the iron-on patterns, for example, that are available through places like Colonial Patterns online. They have the Aunt Martha range, but they also have the “stitcher’s revolution” range, that includes some fun designs. They’re inexpensive, and they’re a great way to have a stitch-ready design to use for teaching.

Here, we have some very nice, bright green stems underway!
This little stitcher was doing a fantastic job keeping her stems very neat. There was one little catch, but with this age, it’s not something I harp on: she’s actually doing more outline stitch than stem stitch, which was her intended stitch!
About Teaching Stem Stitch
This is one difficulty about teaching stem stitch to kids! With adults, even, the concept can be hard to master.
It’s the idea that stem stitch, when stitched left to right, always requires that the thread is below the design line or below the needle. But when stitched right to left, the thread has to be above the needle, to get the rope effect of the stem stitch line. Otherwise, you end up with outline stitch, which, due to the twist of the thread, ends up being a much smoother line, with more of a “wrapped” look to the stitches.
You can learn more about this concept in my stem stitch video and the article around it. You can also read about how s-twist and z-twist threads come into the question here, including how left-handed instructions come into the question, too.
It’s a complicated idea, so I don’t dwell on it too much when I teach little kids. I just remind them now and then to turn their hoops so that the line is left to right and to keep their thread below the needle in that situation.
If they don’t always stick with it – if they fall into outline stitch – that’s ok. If a child notices the difference and is really concerned about it, then I take time to explain it extra-specifically to that child. Usually, in such cases, the kid picks up on the difference and remembers it.
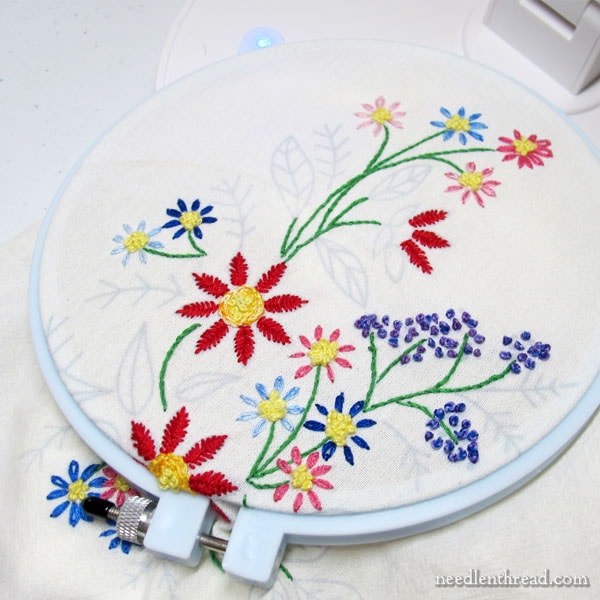
Lots of color going on here, and I love it!
Freedom with Color Choices & Class Preparation
On the floral corners, the kids picked their own colors as they went. They had the option of using the colors I used in the stitched samples if they wanted, or they could just pick the colors they like. Some stuck closer to the sample colors, mixing in their own favorites now and then, while others branched out even little farther and did entirely their own thing.
Kids love color, and they have very specific notions of what colors they like and what colors they don’t like. So it’s good to let them have a little color freedom while they’re learning to stitch.
That said, to prepare embroidery classes in a way that makes sense, I’ve found that it’s best to select a limited range of colors for each participant, rather than allow the kids to look over a whole line of threads to pick out their favorite colors (which would take far too long!).
In this case, the kids had about 15 skeins of thread in their kits that covered just about every color group. Originally, I had planned for 20, but I pared down the list to keep costs down by substituting some variegated flosses for two shades from the same color family.
Here’s one of the 12-year-olds, stitching along and making good, neat progress on her towel.
She’s got the French knots down. Each knot was perfect, beautiful, precise, and plump. Since I have a penchant for French knots myself, this made my little knotty heart sing!
Enthusiasm + Generosity = Success
One of my favorite overheard conversations during the course of the classes had to do with French knots.
The kids were slogging away on their doodle cloths, the class practically silent while concentration permeated the room. They were tackling the French knot for the first time – and suddenly, there was a breakthrough! One of the kids “got it”!
“Oh wow!” she cried, peering close at her fabric. “It looks like a perfect, teeny tiny rose!”
She got it – and after that, she was a French knot fiend!
But better yet, she was a magnificent support to her little neighbors, helping them get it, too.
Her enthusiasms for the French knot – with which the kids weren’t too besotted up to this point – spread rapidly. Before we knew it, the class was practically declaring their undying love of the French knot!
There’s nothing more infectious in a class of kids than enthusiasm and success, when generously directed outwards (rather than self-focused) through helping others experience the same delightful results.
That was a great moment for the kids and a great moment for their teacher, Anna. (I was sitting in the corner, stitching on something else that day!)
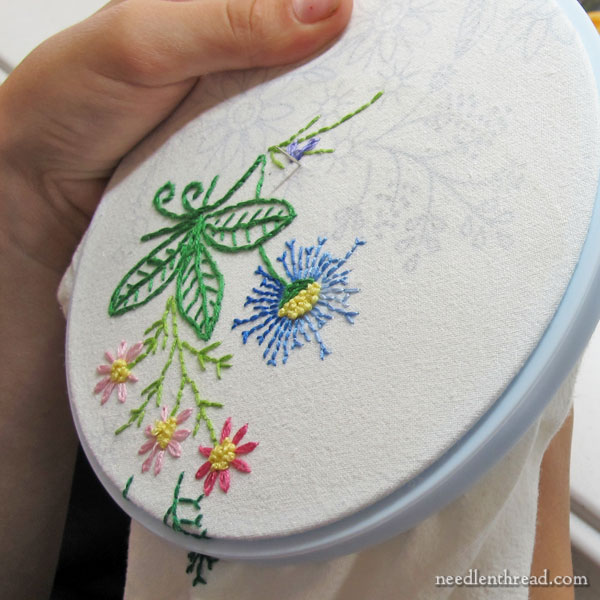
Here’s a very light and delicate approach from one of the older girls (12-15), who selected soft colors and worked with two strands on everything, keeping things really light. She opted for stem stitch circles inside the flower centers, rather than clusters of French knots.
I love the fact that she was thinking in terms of an impression she wanted to create (light and airy), and she achieved that impression by choosing colors and stitches that would convey it.
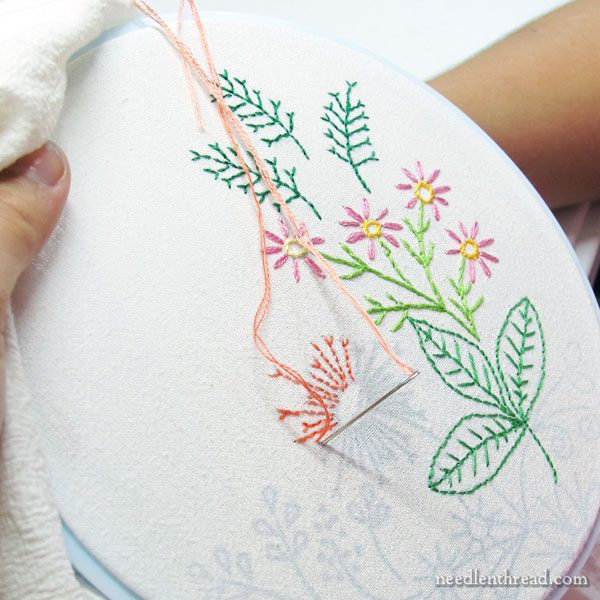
And here’s a bright and exuberant example from one of the older girls. I love the life in this! And I love the fact that she had no fear of trying different stitches, stitch combinations, and colors!
Her work indicates she was definitely enjoying the process – not just because it is lively and experimental, but because she progressed farther than any of the other participants. Her final project was just short of finished at the end of the last class.
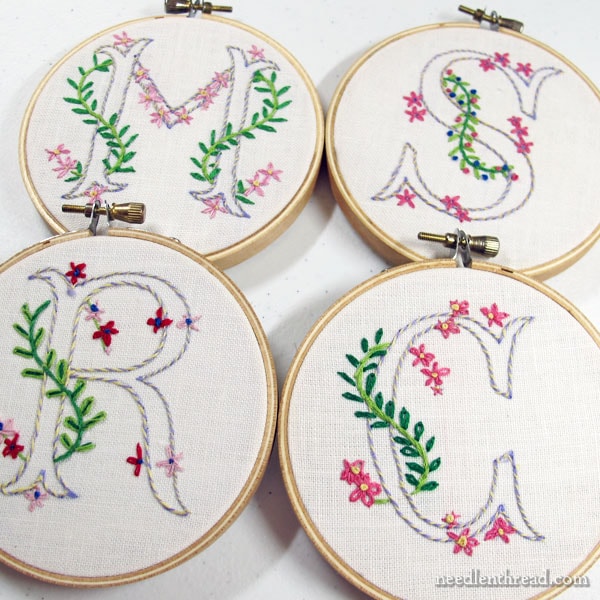
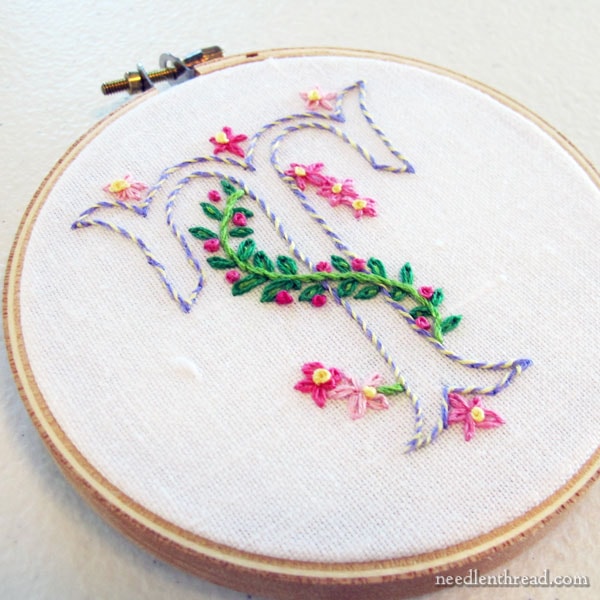
Of course, we had lots more finishes on the hooped monograms, too!
And that, my friends, is the end of our summer embroidery class adventures!
For those who have asked for the patterns for the floral corners, I’ll be making them available soon. I wanted to have them up on the site for you by the end of last week, but alas, as usual, I’m behind… I’ll be concentrating on that this week, and we’ll see how far I get!
I hope you enjoyed reading about the progress of the kids’ classes! And I hope it encourages you, if you have the opportunity, to share your stitching skills with little people in your lives – not just for the good of the art, but more importantly, for the good of the child!
Happy Monday!
