Today, just a quick little stitch tip to start your week off – and hopefully to make your embroidery quicker and easier!
Last week, we talked about the back of embroidery projects and I shared three tips to help you keep the back neat when it matters. Among those tips, we looked at how to start and end threads in a way that reduces “tweakers” (loose thread ends) on the back of our work.
This particular thread-starting tip that I’m going to share today is a quick and easy one that I use quite frequently, if all the stars are aligned and I’m working in exactly the right circumstances – which happens pretty frequently!
The first circumstance that has to be correct when using this no-knot start is that you’re stitching with two strands of embroidery floss.
Well, I take that back.
You can apply the principle of this trick to any embroidery that’s worked with any even number of strands. It won’t work with one strand, or three strands, or five – but it would work with two, four, and six. However, the more strands you’re using (four and six), the more awkward the start would be. It works great with two strands of floss, which happens to be a pretty common choice for numbers of strands to stitch with.
This no-knot starting trick also requires that either the first formation of your stitch is a straight stitch of some sort, or that you work a straight stitch to anchor the thread and then stitch over it with your other stitches.
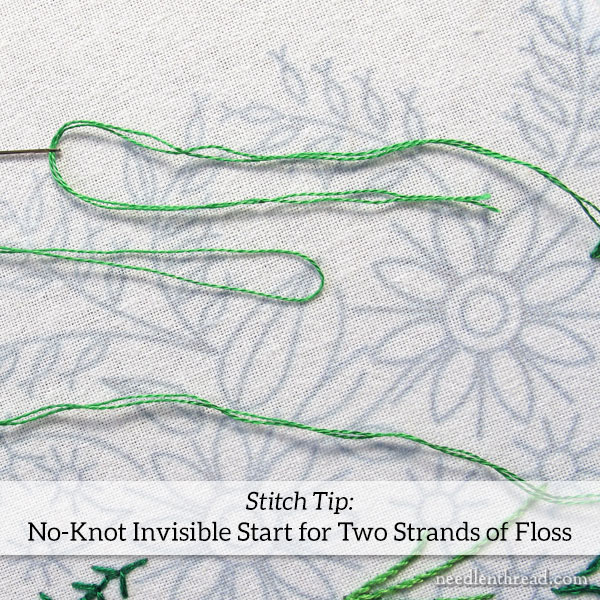
Let’s take a look. It’s a super easy, super quick, and super secure start, with the advantage of being practically invisible.
We’re going to assume that the plan is to stitch a line of stem stitch with two strands of embroidery floss in the needle.
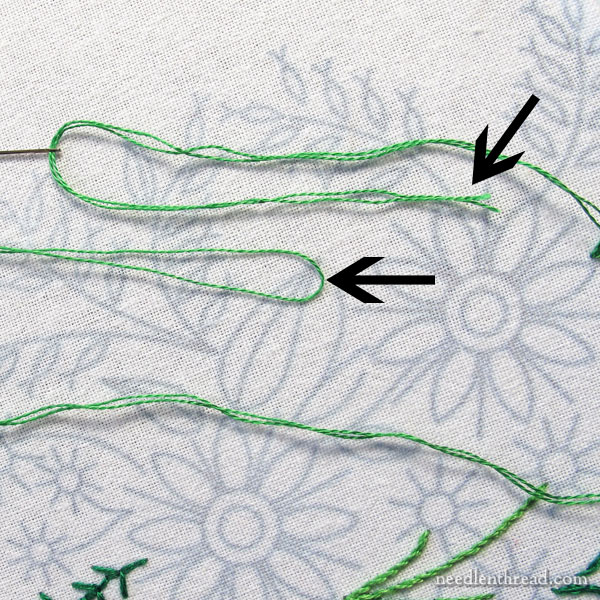
When you cut your stranded cotton, cut double the length you normally would. If you’re accustomed to working with about 18″ of floss in the needle, cut a 36″ piece from your skein.
Strip one thread from the six. Here’s a tutorial on stripping or separating floss easily and avoiding tangles in the process.
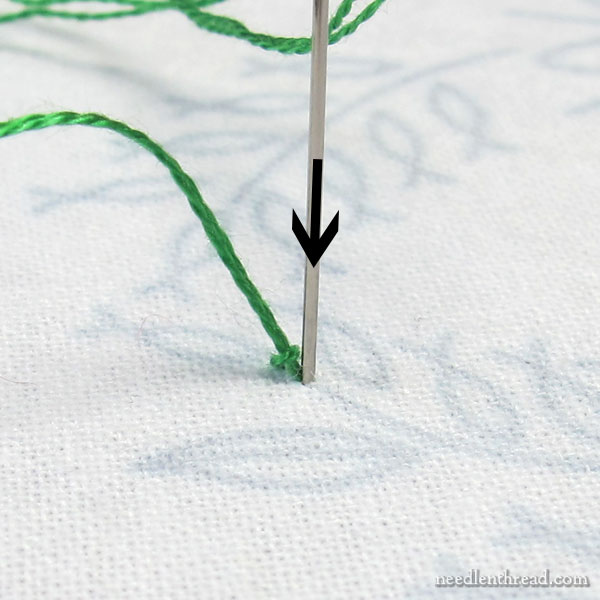
Fold the thread in half (the arrow in the center of the photo above points to the halfway fold in the thread), and then thread the two cut ends into the eye of the needle.
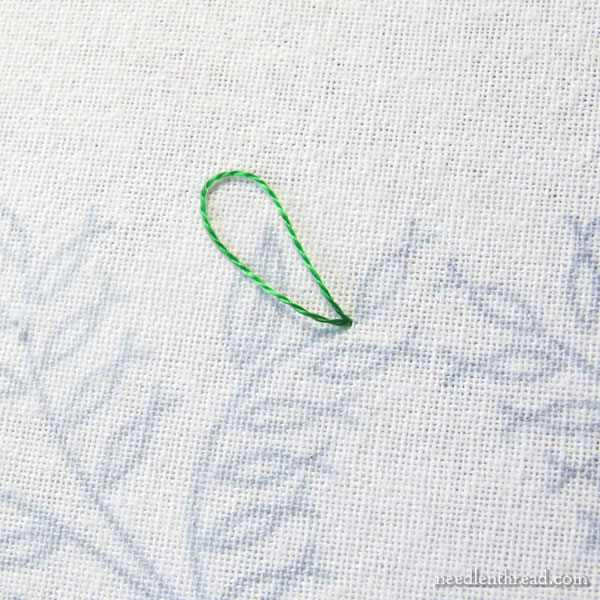
Take your needle down into the fabric from the top, at the beginning of your line that you want to stitch.
Don’t pull all the way through. Leave a loop on the top of the fabric.
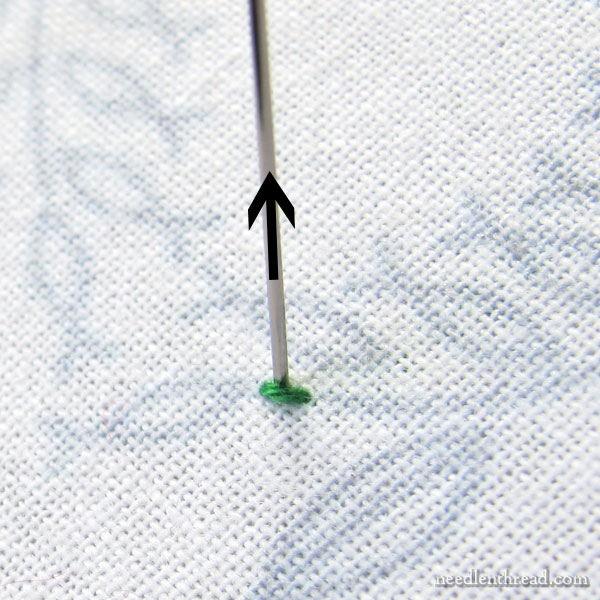
Go forward a whole stitch length down the line you’re going to stitch and bring the needle back up into the fabric and into the center of the loop on the front – just as if you were making a daisy stitch, for example.
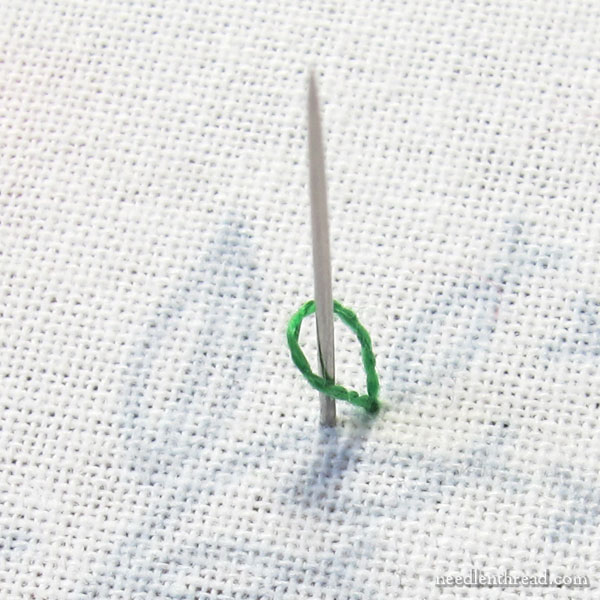
Now take the needle down into the fabric over the loop, just like the anchor stitch for a daisy stitch – only make certain that the needle goes down into the same hole it emerged from.
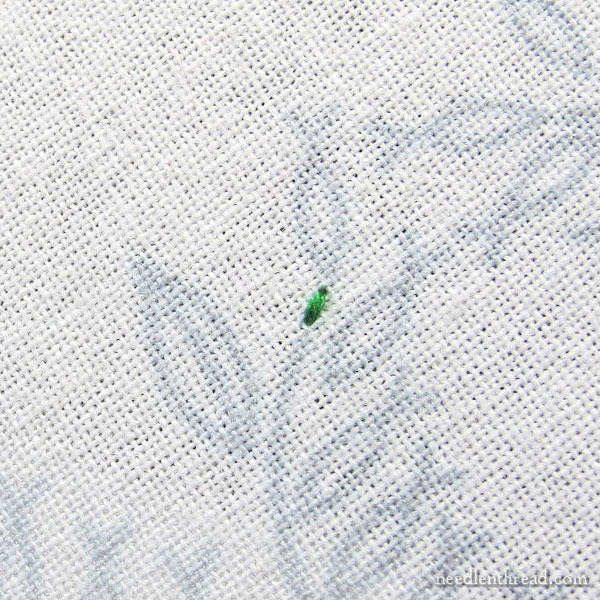
Give the thread a little tug as you pull through, to pop the end of the loop through to the backside of the fabric. You’ll end up with a small two-stranded straight stitch on the fabric’s surface.
This is my favorite way of starting a stem stitch line when I’m working with two threads. I just bring my needle up on the design line about halfway between the start and end of that little stitch, nudging the stitch out of the way so that it’s below my needle.

And then I stitch my stem stitch line and that’s it! No waste knot to deal with, no thread to worry about catching on the back. Super Simple!
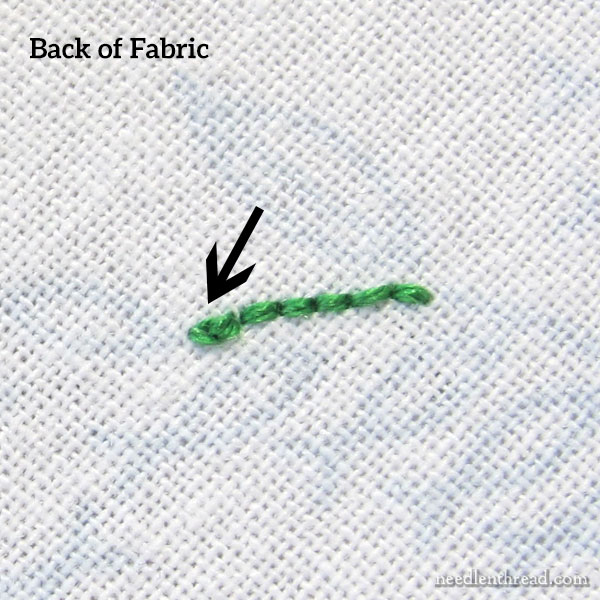
And the icing on the cake? It makes a pretty clean start to a line of stitching, when looking at the back of the fabric.
So there’s your little tip for today. Now, go forth and spend some quality time with your needle and thread!
Looking for More?
Looking for more tips and techniques to make your embroidery easier? You’ll find all kinds of them listed on my Tips & Techniques Index on Needle ‘n Thread. Why not have a browse? You never know what vital information you might pick up!
