If I had to pick an embroidery stitch that I have mixed feelings about, it’s the satin stitch.
I love it – I consider it the Queen of Embroidery Stitches. It screams elegance. Refinement. Style.
But on the other hand, there’s one thing I don’t like about it: sometimes, it’s a hard stitch to get right!
There have been times when I’ve been satin stitching along, all perfectly happy, when suddenly, I notice my direction has shifted. Or my stitches aren’t as silky smooth as they should be. Or the edge is wobbly.
Satin stitch is one of those stitches that either looks absolutely terrific….or not very terrific at all.
When it looks good, it looks good.
But when satin stitch looks bumpy and clumpy and wobbly ….wellllll. It just doesn’t sing the same way.
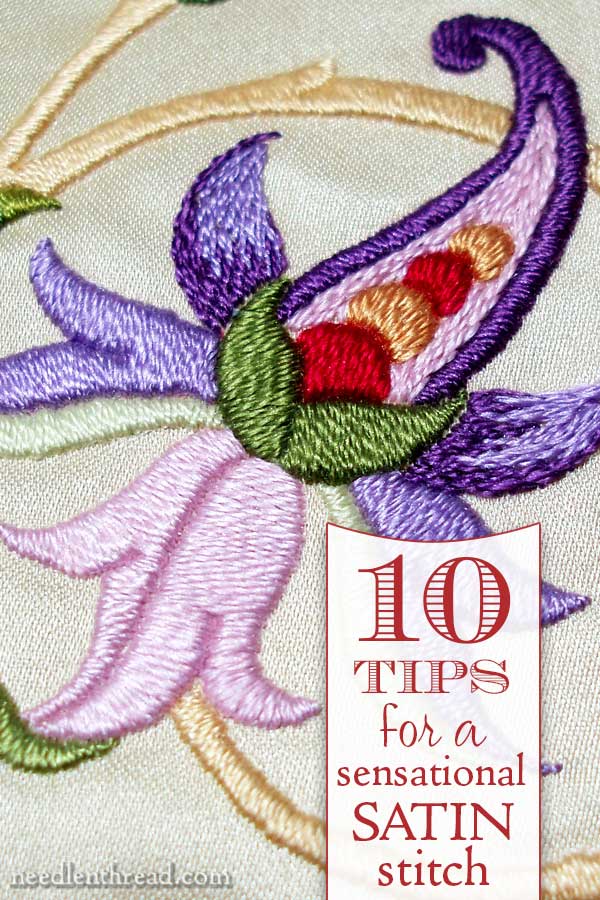
If you’ve experienced difficulties with satin stitch, these ten tips will help you produce a sensational satin stitch!
Satin Stitch Tip #1: The Thread Makes a Difference
Some threads work better than others for achieving a smooth satin stitch. Using a non-divisible thread with a softer twist for the top-most layer of satin stitch will give you the best results when you want to achieve a smooth surface.
For example, using a single strand of embroidery floss works better than using two strands in the needle at once. This includes cotton floss (like DMC), stranded silk (like Soie d’Alger, Soie de Paris, Silk Mill silk, Madeira silk, Caron Waterlilies, and so forth)
Some threads are, by their very structure, non-divisible, like floche or coton a broder. Both of these threads work up into a beautiful satin stitch. They come off the skein in a single thread (they aren’t meant to be split), they have a soft, low twist that gives them a good “spread”, and they have a nice sheen.
Threads like perle cotton are also non-divisible, but they have a tighter twist, which makes for a bumpier looking surface when using them for satin stitch.
Here are some articles that will help you understand these threads and concepts:
Comparing cotton embroidery threads
Cotton Floche vs Coton a Broder
Satin Stitch Tip #2: The Fabric Makes a Difference
If your embroidery project is going to include satin stitch, choose a ground fabric that has a high count and a firm, full weave. Fabrics with spaces between the warp and weft threads make it more difficult to achieve a smooth, straight edge with satin stitch.
If your fabric has a more open weave, consider backing it with a high count cotton muslin, to give your satin stitches something to hold onto.
When I embroidered this monogrammed needle book, the design was originally intended to be a counted cross stitch design. I decided to alter the kit a little and work with surface embroidery stitches instead, including a satin stitched monogram. Because the fabric was meant for counted work, I ran into some difficulties getting a really smooth edge on my satin stitch.
Satin Stitch Tip #2: Keep it Small
Satin stitch works best when it is used in a relatively small area. The larger the area, the more prone the stitches will be to loosening up.
If your satin stitch is padded, you can get away with a larger area to cover – up to, for example, an inch-long satin stitch. But this only because the padding will provide support and friction to help keep your stitches in place.
Otherwise, 3/8″ – 1/2″ for a satin stitch is a good rule of thumb. You can make modifications, depending on the weight of the thread you’re using and so forth, but for one strand of regular floss, anything over half an inch gets into dangerous territory – and, if your stitching isn’t padded, half an inch might even be too long!
Some Notes on Satin Stitch is an article I wrote previously that illustrates the question of stitch length.
Satin Stitch Tip #3: Stitch the Right Outline First
In this case, I’m not talking about an outline around the outside of finished satin stitch, but rather an outline over the design line, over which you work the satin stitch.
On any satin stitching except the tiniest satin stitched elements, an outline that you stitch over will help you keep a nice, smooth, crisp edge on your satin stitch.
But not just any outline! Split stitch works best. Why split stitch and not backstitch? Or split stitch, as opposed to split backstitch? Here are some articles that will help clarify:
The Backstitch vs. The Split Stitch
Split Stitch vs Split Backstitch
Satin Stitch Tip #4: Start in the Middle & Slant your Stitches
You’ll find a whole article on starting satin stitch in the middle of a shape and slanting your stitches. It does make a difference on certain types of shapes!
Satin Stitch Tip #5: Circles in Satin Stitch
When you satin stitch a circle or dot, don’t satin stitch all the way to the edge. These two articles will show you how to satin stitch a perfect dot:
How to Pad a Satin Stitch Dot
How to Satin Stitch a Perfect Dot
Satin Stitch Tip #5: Fan your Stitches when Taking a Curve
This article on embroidering around a curve with satin stitch will explain everything!
Satin Stitch Tip #6: Try Surface Satin Stitch for Certain Techniques
There’s a difference between regular satin stitch (where, on the back of the fabric, the thread passes in a long stitch just like it does on the front of the fabric) and surface satin stitch, where you end one stitch and step over to the side a tiny bit to start the next stitch.
You can find information on surface satin stitch here. There are certain techniques where surface satin stitch comes in handy, especially when working with very long surface satin stitches (or laid threads) that will be secured by other stitching on top of them.
Satin Stitch Tip #7: Step Your Stitches to fill Irregular Shapes
When filling an irregular shape with satin stitch, sometimes you might want to “step” your satin stitches. This article on stepping your satin stitches will explain how to do this.
In the article, the stitch is actually surface satin stitch, but the concept applies equally to satin stitch.
Satin Stitch Tip #8: How to bring Satin Stitch to a Sharp Point
Especially for small leaves, it’s helpful to know how to satin stitch to a sharp point. That link will take you to an article that shows you how!
Satin Stitch Tip #9: Saving Expensive Thread
If you’re embroidering padded satin stitch with a more expensive thread, like silk as opposed to cotton, this article will show you how to save your more expensive thread for a beautiful satin stitch surface.
Satin Stitch Tip #10: Use a Laying Tool
If you must embroider some satin stitch with more than one strand of thread in the needle, then consider using a laying tool while you stitch. A laying tool will help you keep those stitches smooth!
Here’s information on what a laying tool is, and here’s a tutorial on how to use a laying tool for satin stitch.
Further Reading on Satin Stitch
This article on satin stitch recaps also explores how to improve the satin stitch, if you want to check it out!
How About You?
Do you have any favorite satin stitch tips you’d like to share with everyone? Feel free to chime in below!

